
17
To record a
Custom Title
onto a tape you must first set up the
Title Message
using
the
Title Set Up
option in the
Option Menu
. See page 30.
▲
In order to apply a
Custom Title
, be sure that:
- the tape you wish to title is in Deck 2.
- Deck 2 is in
Record
mode (can record from any source).
- the record safety tab is in place.
If you attempt to apply a
Custom Title
to a pre-recorded tape, the video Source
for Deck 2 will copy onto the tape along with the title, recording over your pre-
recorded tape.
▲
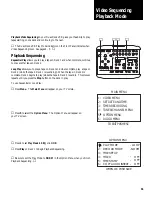
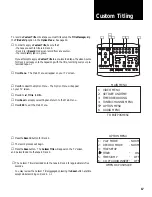
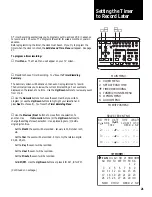
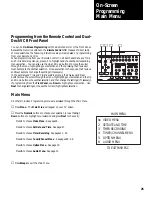
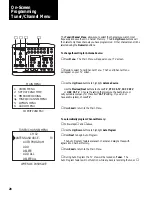
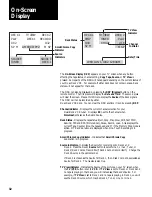
❶
Press
Menu
. The Main Menu will appear on your TV screen.
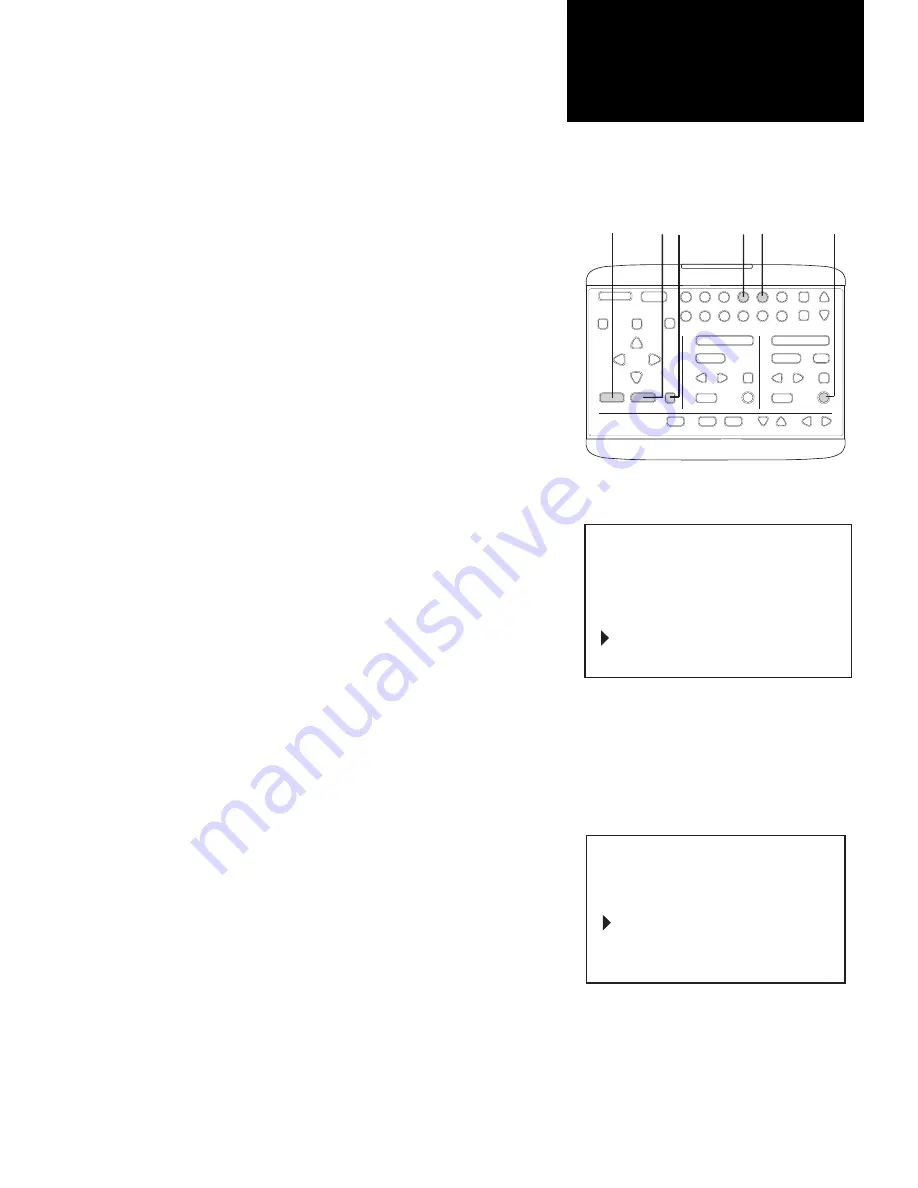
❷
Press
5
to select the Option Menu
.
The Option Menu will appear
on your TV screen.
❸
Press
4
to set
Titler
to
ON.
❹
Press
Save
to accept your settings and return to the Main Menu.
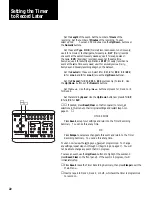
❺
Press
ESC
to exit the Main Menu.
❻
Press the
Record
button for Deck 2.
➆
The record process will begin.
❽
Press the
Save
button. The
Custom Title
will appear on the TV screen
and be recorded onto the tape in Deck 2.
Custom Titling
1
2
STOP/EJECT
REW
FWD
PAUSE
SOURCE
REC
SAVE
ESC
MENU
UP
DOWN
NEXT
PREV
4
5
6
9
0
7
8
COPY
TAPE
POWER
CTR
RESET
MEMORY
VCR/TV
CH
LCV
DSP
PLAY/LOAD
STOP/EJECT
SOURCE
REC
PLAY/LOAD
SLOW
TV VIEW
INDEX
MARK
TRACKING
SLOW SPEED
MUTE
1
2
3
REW
FWD
PAUSE
▲
❹
❶
❷
❸
❽
❻
➎
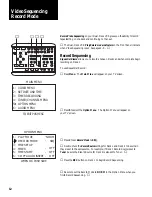
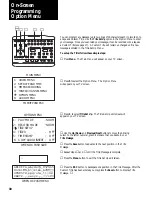
1: PLAY MODE
2: RECORD MODE
3: TITLE SET UP
4 TITLER
5: TIME STAMP
6: COPY AUDIO INSERT
NORM
NORM
ON
-
-
-
-
-
WHEN OK PUSH SAVE
OPTION MENU
OFF
OFF
▲
The Custom Title is recorded onto the tape in Deck 2 for approximately five
seconds.
You may review the Custom Title message by pressing the
Save
button anytime
except while recording
on Deck 2.
▲
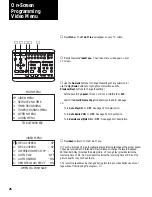
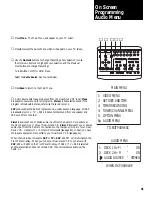
1: VIDEO MENU
2:
3: TIMER RECORDING
5 OPTION MENU
4: TUNER/CHANNEL MENU
TO EXIT PUSH ESC
MAIN MENU
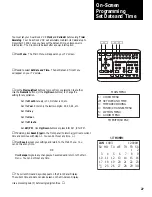
SET DATE AND TIME
6: AUDIO MENU


