3.
Drill the marks and insert the screw anchors.
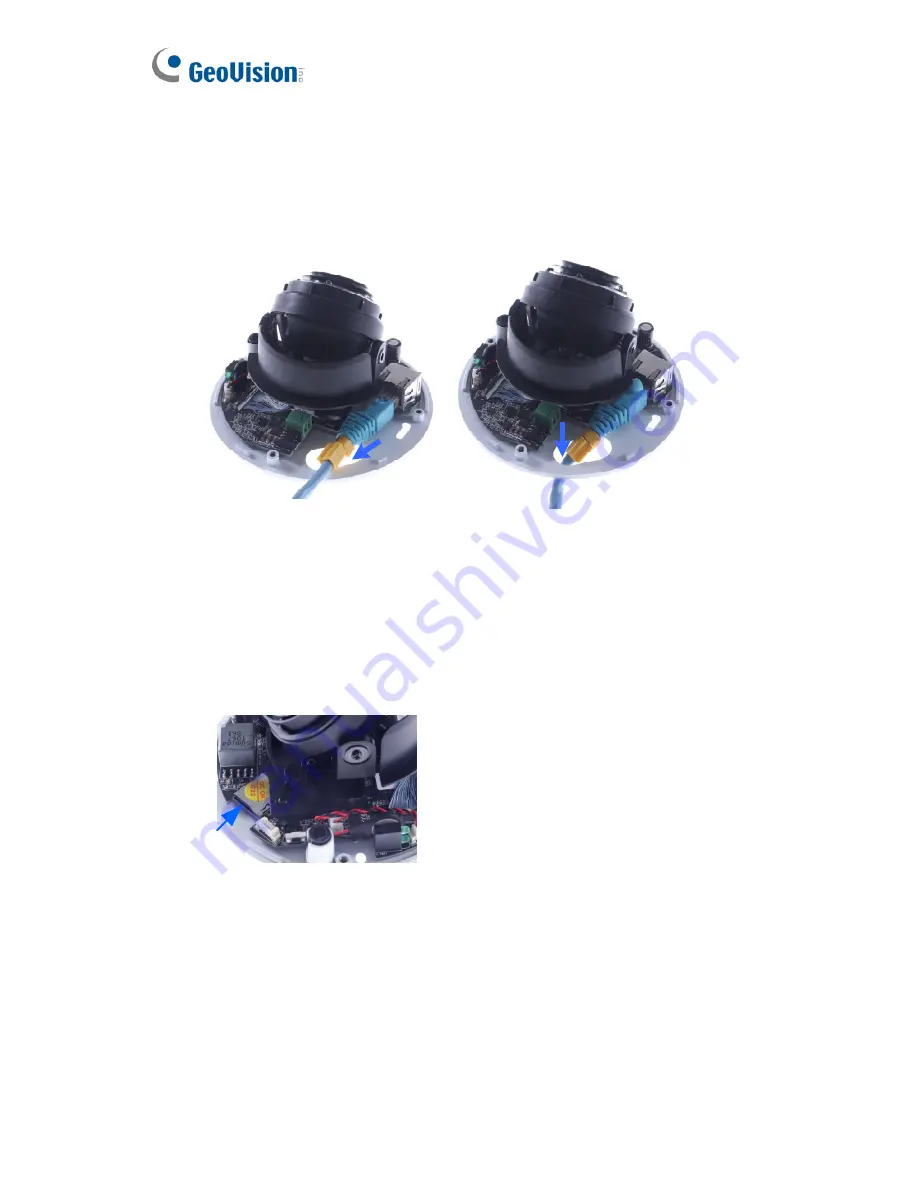
4. Thread the power and / or network cable(s) through the oval-shaped
hole or the cable opening on the side.
Figure 2-4
5.
Connect the camera to network, power, a microphone or a speaker,
and one input and one output devices. For details, see
2.4
Connecting the Camera
.
6. Optionally insert a memory card.
7.
Secure the camera to the ceiling or the wall with the supplied screws.
8. Access the live view. For details, see
7.2 Accessing the Live View.
9. Adjust image clarity using the GV-IP Device Utility program. For
details, see
7.3 Adjusting Image Clarity
.
30


