a USB port of your computer. Once both plugs have been inserted, the
DCS400 monitor’s screen will go all blue, except for the letters “MSDC” in
the center.
Once this has occurred, you can access the stored files through the normal
functioning of your computer. The DCS400 will appear as a remote storage
device in your computer’s menu.
To just view your pictures on a remote device you use the video cable. Sim-
ply insert the black mini-plug into the mini-jack on the right side of the
DCS400 monitor labeled “Video out”. Next, insert the yellow RCA plug into the
yellow jack of the remote TV or monitor labeled “Video in”. Put the unit into
playback mode by briefly depressing the on/off button on its top. When you
do this, the scopes monitor goes dark and the remote monitor will display
the images. If you’re using a TV as your remote device you will need to tune
to the “video in” channel.
You then use the black left and right buttons (
Fig.3
#9 & #10) below the dis-
play of the DCS400 monitor to scroll through your media.
Finally, if your computer or remote monitor is equipped with a slot for a stan-
dard SD or Micro SD memory card, you can view your saved media without
using any of the cables. To do so, remove the Micro SD card from the scopes
monitor by first pushing it in then releasing it, letting it pop out. If the slot on
your computer can accept a Micro SD card directly you can simply plug it in.
If the slot is the wider, standard SD slot you can use the SD card adapter that
was supplied in the same plastic case as the Micro SD card. Insert the Micro
SD card into the open side of the adapter so its gold contacts face the same
way as the contacts on the opposite side. Then insert the adapter, contacts
first, into the slot on the computer or remote monitor.
If you’ve done this on a computer, you can now use your computer’s normal
functioning to locate and view the captured pictures and video. The media
files will me found in a folder labeled “YCKC.” At this point, it’s a good idea
to copy the YCKC folder to your computer’s hard drive. Once you have stored
the pictures and videos on your computer, you can edit, delete, or e-mail any
of them, just as you would any digital file.
19
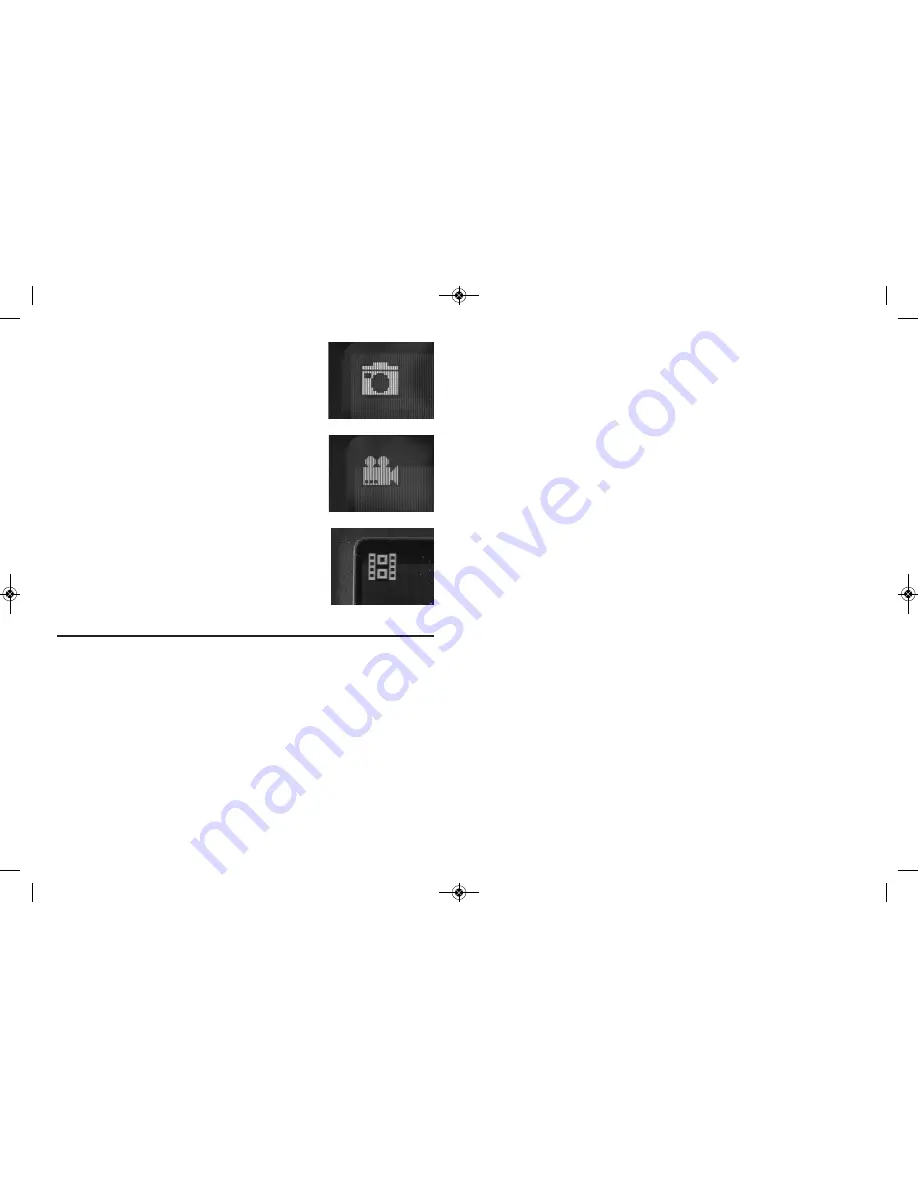
by pressing the left yellow button. When videos are
being played back, a white film strip icon appears in
the upper left of the display, next to the timer (
Fig.20
).
To pause or resume playback again press the yellow
button with the up arrow. Pressing the yellow button
on the right with the down arrow will cancel the play-
back and bring you back to the main menu.
To return back to live camera mode again briefly press
the on/off button. Pictures and video can viewed si-
multaneously on a monitor using the video cable or
uploaded to a computer using the USB cable or the
Micro SD card with or without the adapter.
CHAPTER 4:
VIEWING STORED IMAGES
AND UPLOADING
PICTURES AND VIDEOS
You can view your stored images on the scopes monitor, on a computer
screen, on a remote monitor, or on a TV. Just a note about format: still image
pictures are initially stored on the DCS400 as JPEG files and video is stored
as AVI files. To send live video over the internet using Skype, use General
Tools RCV100 Streaming Video USB wireless receiver (sold separately).
To connect to a computer you can either use the USB cable connector which
has a standard A-Type connector on one end and a Mini-B Type connector on
the other end or you can use the Micro SD card to transfer the images.
To connect to a remote monitor or a TV you need to use the video cable. The
video cable has a black mini-plug connector on one end and a yellow RCA
plug on the other.
For a computer upload using the USB cable simply insert the Mini-B Type
connector into the small USB slot on the right side of the scopes monitor
which has a USB icon above it. Next, insert the larger A-Type connector into
18
Fig.19
Fig.20
Fig.18
DCS400_NEW_082610_AWB13P:Layout 1 8/26/10 10:47 AM Page 18


