51BChapter 4: Operating instructions
32
TruVision DVR 20 User Manual
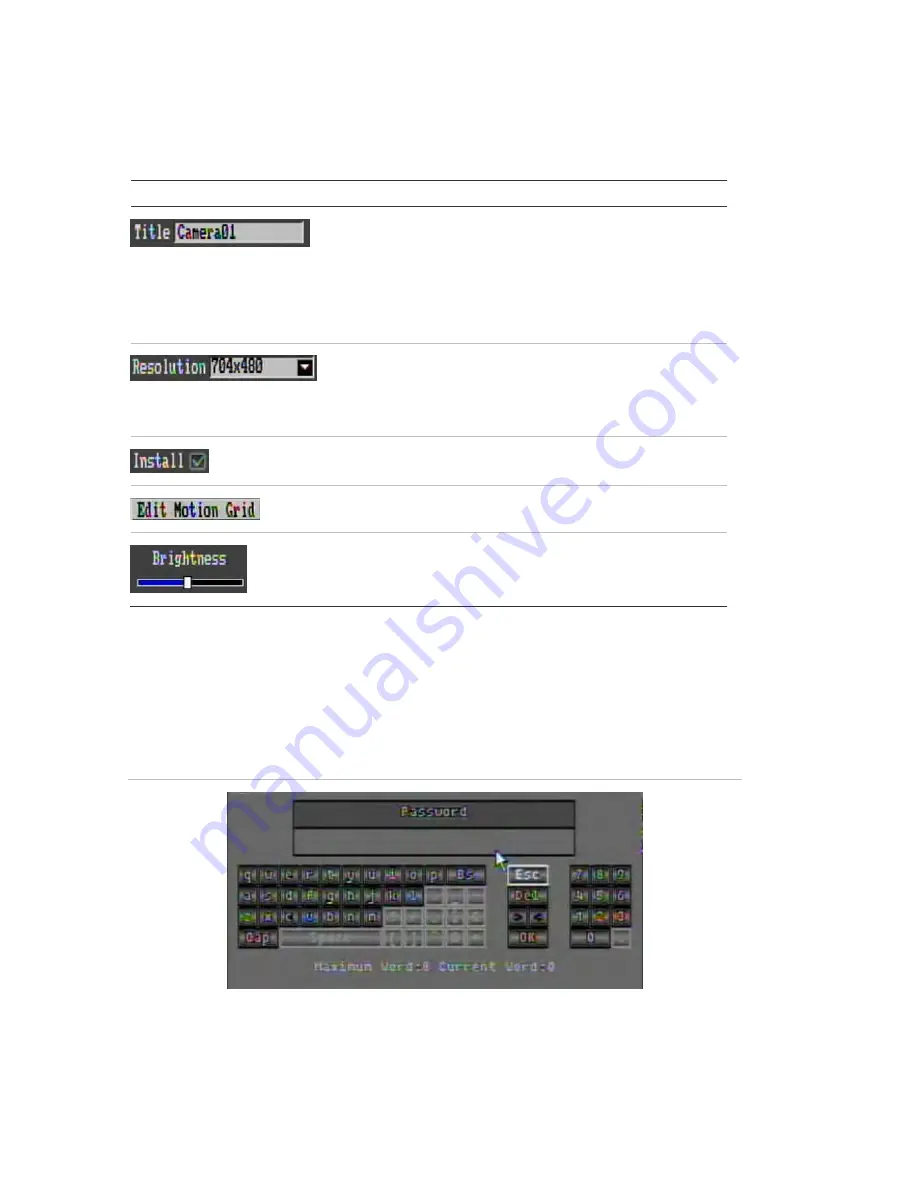
Changes to screen settings can be entered in various ways as shown in Table 10
below.
Table 10: Types of control
Control Function
Description
Edit box
An edit box lets you type characters to set the
value of an option, such as a camera name. You
must be in edit mode before you can enter a
value.
Click the box and an on-screen keyboard will
appear to enter text. See “Using the on-screen
keyboard” below.
List box
Provides more than two values for the option.
Only one of them can be selected. Click the
scroll arrows at the right-hand side of the box to
scroll through the possible values. Click an
option to then select it.
Check box
Provides two values:
indicates enabled and ×
indicates disabled. Click the check box.
Button
Executes the function displayed on the button.
Click the button.
Bar
Lets you adjust the scale of a value. Click and
hold the cursor. Adjust its position left or right
along the bar.
Using the on-screen keyboard
A keyboard will appear on-screen when you need to enter characters in a screen
option. Click a key to input that character. Inactive keys are white.
Figure 16: On-screen keyboard
The keys on the right and bottom have the following functions:
Summary of Contents for TruVision DVR 20
Page 1: ...GE Security P N 1069892 EN REV 1 1 ISS 31MAY10 TruVision DVR 20 User Manual ...
Page 8: ...48BChapter 1 Product introduction 4 TruVision DVR 20 User Manual ...
Page 22: ...49BChapter 2 Installation 18 TruVision DVR 20 User Manual ...
Page 26: ...50BChapter 3 eZ setup 22 TruVision DVR 20 User Manual ...
Page 38: ...51BChapter 4 Operating instructions 34 TruVision DVR 20 User Manual ...
Page 64: ...52BChapter 5 Basic operation 60 TruVision DVR 20 User Manual ...
Page 114: ...54BChapter 7 Web Browser 110 TruVision DVR 20 User Manual ...
Page 116: ...55BChapter 8 eZ DDNS 112 TruVision DVR 20 User Manual ...
Page 126: ...TVR 20 menu map ...


