51BChapter 4: Operating instructions
TruVision DVR 20 User Manual
31
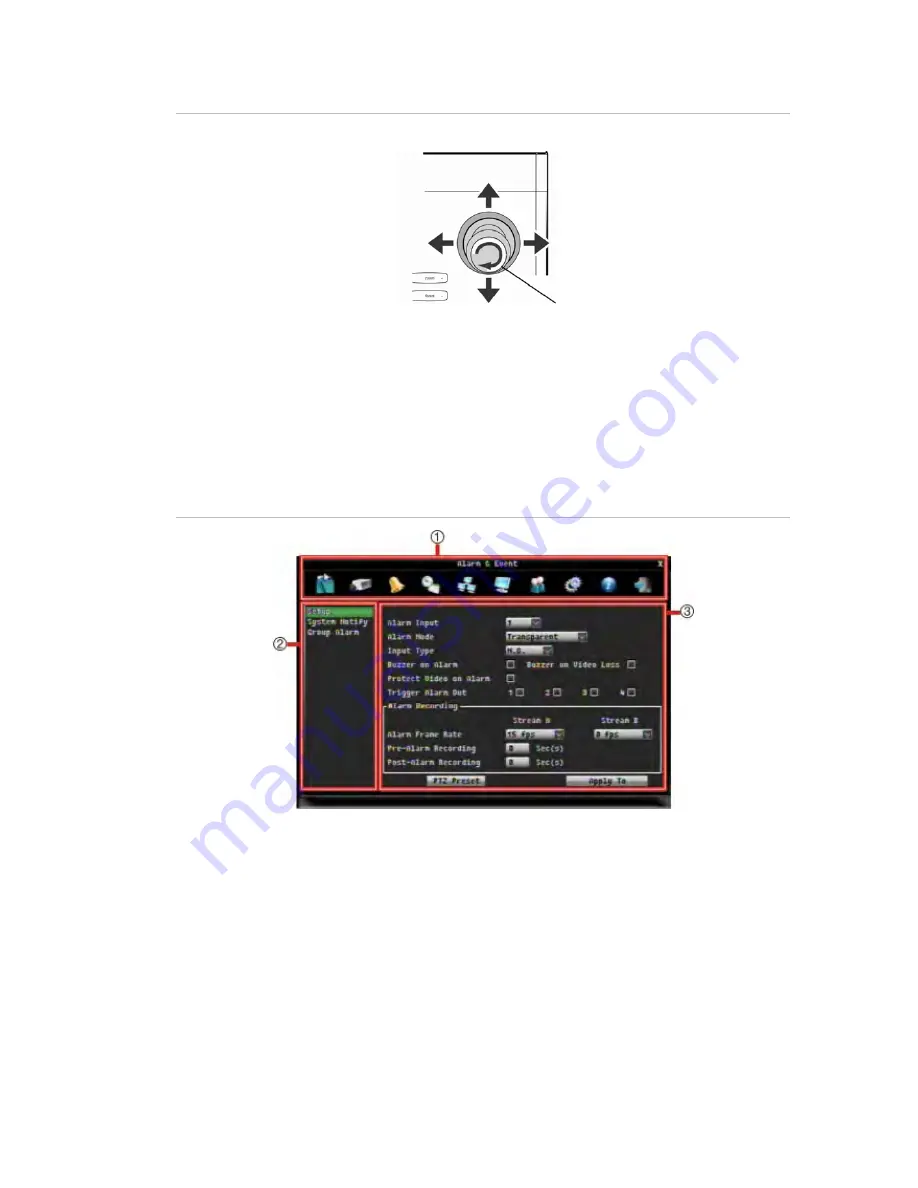
Figure 14: Joystick motion
Scroll
up
Previous
Next
Scroll down
Edit (turn joystick clockwise)
Screen overview
Each setup menu screen includes various options and buttons. The screen is divided
into three main sections (Figure 15 below) as shown below;
Figure 15: Setup menu (Camera setup menu shown)
1.
Menu toolbar:
Setup options available for the selected menu function. Move the mouse over an
icon and click to select it. See page 61 for a description of the icons.
2.
Submenus:
Submenus for the selected menu function are displayed. Click on an item to select it.
3.
Setup menu:
All the details for the selected sub-menu will be available. Click on a field to make
changes.
Navigating through a dialog screen
Use the mouse to select any option or button on the screen. You can also use the
directional arrow buttons (Up, Down, Left, or Right) on the front panel to navigate
through the options and press ENTER to select. Press MENU to return to configuration
category and icon.
Summary of Contents for TruVision DVR 20
Page 1: ...GE Security P N 1069892 EN REV 1 1 ISS 31MAY10 TruVision DVR 20 User Manual ...
Page 8: ...48BChapter 1 Product introduction 4 TruVision DVR 20 User Manual ...
Page 22: ...49BChapter 2 Installation 18 TruVision DVR 20 User Manual ...
Page 26: ...50BChapter 3 eZ setup 22 TruVision DVR 20 User Manual ...
Page 38: ...51BChapter 4 Operating instructions 34 TruVision DVR 20 User Manual ...
Page 64: ...52BChapter 5 Basic operation 60 TruVision DVR 20 User Manual ...
Page 114: ...54BChapter 7 Web Browser 110 TruVision DVR 20 User Manual ...
Page 116: ...55BChapter 8 eZ DDNS 112 TruVision DVR 20 User Manual ...
Page 126: ...TVR 20 menu map ...


