OEC 9800 Installation Procedure
22
7.
Press each of the following collimator switches while pressing the X-Ray ON switch and verify each of the following
collimator functions again.
A. Collimator iris opens/closes
B. Collimator semitransparent leaves open and close
C. Collimator semitransparent leaves rotate
8.
Press the MANUAL CONTRAST/BRIGHTNESS key and verify that you can increment and decrement through a series of
preset levels of contrast and brightness.
9.
Press the AUTO CONTRAST/BRIGHTNESS key and verify that the system automatically selects the optimum amount of
contrast and brightness.
10. Press the kVp and mA keys and verify that the technique can be adjusted manually.
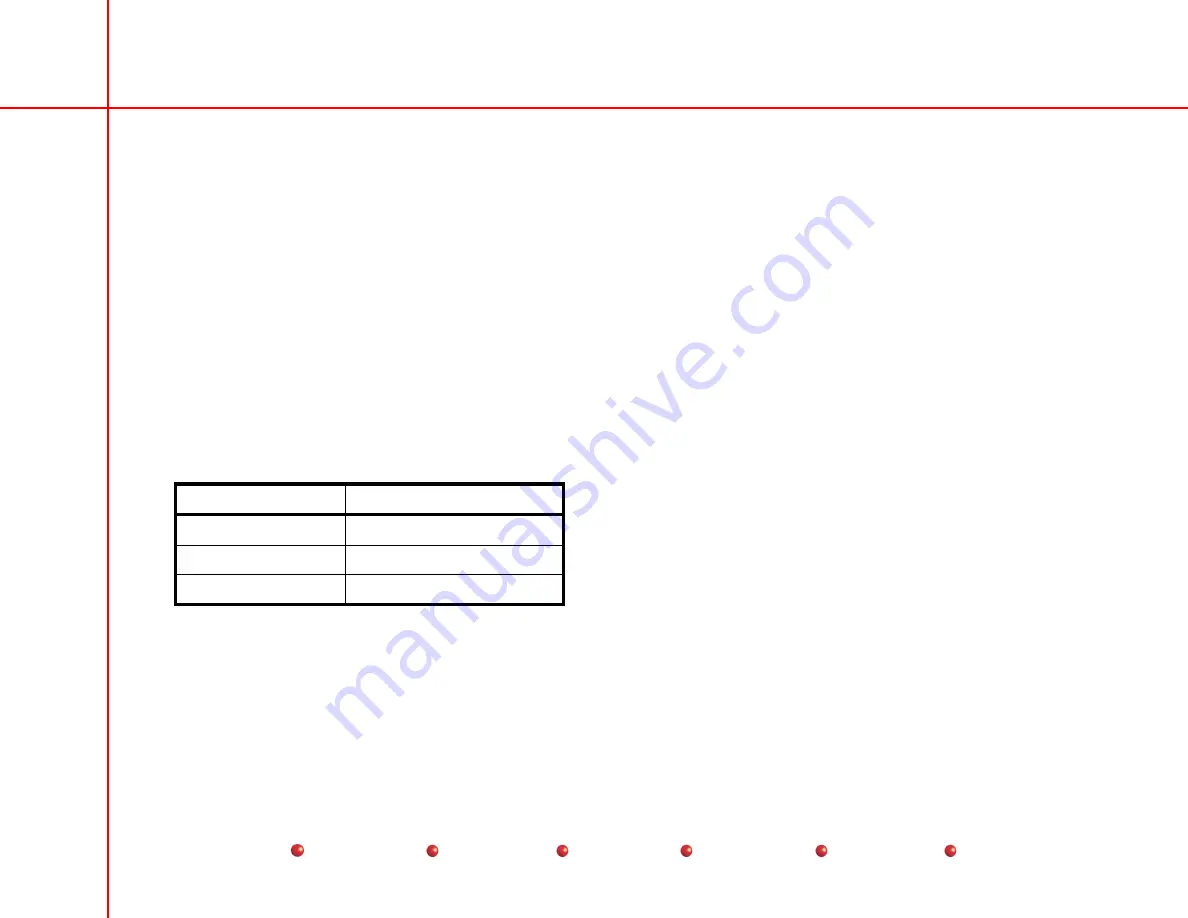
11. Select Auto Fluoro mode and the NORM field size and verify that the kVp tracks accurately as copper filters are inserted into
the field per the following ranges, then record the kVp value in the corresponding table in the
Report/Checklist
.
Copper Filters
kVp range
1
61 kVp
±
3 kVp
2
71 kVp
±
3 kVp
3
79 kVp
±
3 kVp
12. Select HLF mode via the Workstation Mode screen.
A. Cover the II with 4 layers of lead aprons and press the right Foot/handswitch.
B. Verify that the audible tone beeps at twice the normal rate.
C. Verify that the mA is driven higher than the Fluoro limit of 10 mA.
13. Select PULSE mode via the C-Arm Control Panel.
A. Select a pulse rate of 4 PPS via the Workstation Mode screen and press the right foot/handswitch.


