– 39 –
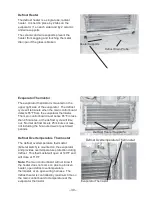
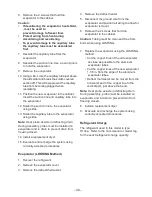
6. Remove the 2 screws that hold the
evaporator to the cabinet.
Caution:
•
If desoldering the evaporator, heat shield,
, must be used to
prevent damage to freezer liner.
•
Protect wiring from heat during
desoldering and resoldering.
•
To prevent damage to the capillary tube,
the capillary tube must be desoldered
first.
7. Desolder the capillary tube from the
evaporator.
8. Desolder the suction line. Use a pair of pliers
to hold the evaporator.
9. Remove the evaporator.
10. Using a file, score the capillary tube just above
the old solder and break the solder-covered
section off. This will help prevent the capillary
tube from becoming plugged when
resoldering.
11. Position the new evaporator in the cabinet.
Insert the suction line and capillary tube into
the evaporator.
12. Solder the suction line to the evaporator
using silfos.
13. Solder the capillary tube to the evaporator
using silfos.
Note:
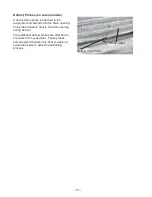
Heat probe assists in defrosting drain.
During assembly, probe must be installed on
evaporator and in drain to prevent drain from
freezing closed.
14. Install a replacement dryer.
15. Evacuate and recharge the system using
currently accepted procedures.
Evaporator (LOKRING Method)
1. Recover the refrigerant.
2. Remove the evaporator cover.
3. Remove the defrost thermostat.
4. Remove the defrost heater.
5. Disconnect the ground wire from the
evaporator and position all wiring to allow for
evaporator removal.
6. Remove the 2 screws that hold the
evaporator to the cabinet.
Caution:
Tubing must be clean and free from
burrs when using LOKRING.
.
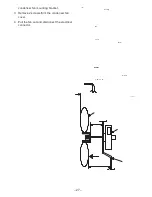
7. Replace the evaporator using the LOKRING
method .
• Cut the copper lines of the old evaporator
as close as possible to the aluminum
evaporator tubes.
• Cut the copper lines of the new evaporator
1-1/8 in. from the edge of the aluminum
evaporator tubes.
• Defrost thermostat can be moved from the
horizontal part of the copper line to the
vertical part, just above the bend.
Note:
Heat probe assists in defrosting drain.
During assembly, probe must be installed on
evaporator and in drain to prevent drain from
freezing closed.
8. Install a replacement dryer.
9. Evacuate and recharge the system using
currently accepted procedures.
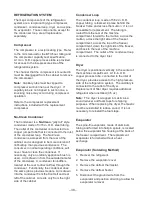
Refrigerant Charge
The refrigerant used in this model is type
R134a. Refer to the mini-manual or model tag
for the exact refrigerant charge quantity.
Summary of Contents for GTRS0 Series
Page 2: ......
Page 5: ...3...
Page 7: ...5 MODEL NOMENCLATURE Model series GTRS0 GTRC0 GTRL0 MTRL0 20 cubic foot refrigerators...
Page 11: ...9...
Page 14: ...12 REMOVE FRESH FOOD DOOR LOWER HINGE WITH 5 16 SOCKET SCREWDRIVER REMOVE TWO NUTS...
Page 34: ...20 EXPLODED VIEWS Knob Electro mechanical EX PL OD ED VIE WS...
Page 35: ...21 Knob Electronic...
Page 36: ...22 structure...
Page 37: ...23 FREEZER DOOR FRESHFOOD DOOR...
Page 38: ...24 HINGE...
Page 39: ...25 RACKS SPILLPROOF...
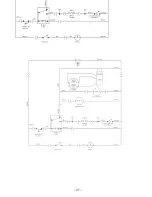
Page 51: ...37 Schematic Knob Electro mechanical...
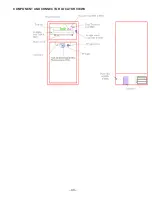
Page 54: ...40 COMPONENT AND CONNECTOR LOCATOR VIEWS...
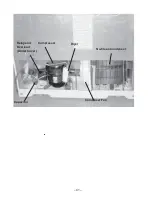
Page 55: ...41 Relay and Overload Under Cover Compressor Dryer No Clean Condenser Capacitor Condenser Fan...

