23
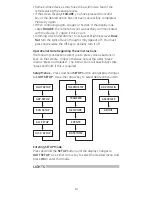
8. The display should briefly change to
SUCCESS and then go back
to the previous mode screen.
Please note that the remote stays in Thermostat mode until a dif-
ferent mode is selected.
Deleting a Thermostat:
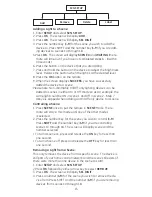
1. Enter
SETUP and select THERMOSTAT.
2. Press
OK. The screen will display ADD.
3. Use either arrow key to select
DELETE.
4. Press
OK. The screen will display WAITING.
5. Press the button on the thermostat’s Z-Wave interface*.
6. When the screen displays
SUCCESS, you have successfully
deleted the thermostat.
* Refer to the thermostat’s instructions for detailed instructions.
ADVANCED CONFIGURATION
Some Z-Wave devices provide advanced capabilities avail-
able only through the use of a remote control like the GE 45633
Advanced Remote. One example is the GE in-wall dimmer which
allows the end user to create 3 different dim rates depending
upon how the dimmer is activated (manually, via a normal Z-Wave
“Dim” command or via an All-On or All-Off Z-Wave command).
Please refer to the instructions of your Z-Wave device for avail-
able options and specific instructions on changing its advanced
configuration.
To Change Advanced Configuration Settings:
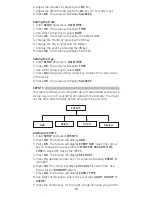
1. Enter
SETUP and select ADV CONFIG.
2. Press
OK. The screen will display PARAM 0.
3. Use either Arrow key to scroll until the display reads the proper
parameter number (1 - 255) as indicated in the Z-Wave de-
vice’s instructions.
4. Press
OK. The screen will change to NUM BYTES.
5. Use either Arrow key to scroll until the display reads the proper
number of bytes (1, 2 or 4) as indicated in the Z-Wave device’s
instructions.
6. Press
OK. The screen will display CONF VAL.
7. Press
OK. The display will change to VAL = 0.
8. Use either Arrow key to scroll until the display reads the proper
value (0 - 255) as indicated in the Z-Wave device’s instructions.
9. Press
OK.
10. Press the button on the device.
11. The screen will display
SUCCESS.
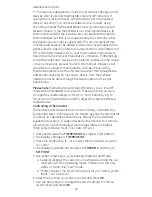
ASSOCIATION
Param_
Num Bytes
Conf Value
Adv Config


