


18
6. Adjust the minutes by pressing the
#2 key.
7. Adjust the AM/PM setting with the
#3 key (12 hr mode only).
8. Press
OK. The screen will display SUCCESS.
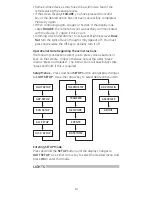
Setting the Date:
1. Enter
SETUP and select DATE/TIME.
2. Press
OK. The screen will display TIME.
3. Use either Arrow key to select
DATE.
4. Press
OK. The screen will display the default date
5. Change the Month by pressing the #
1 key.
6. Change the day by pressing the #
2 key
7. Change the year by pressing the #
3 key
8. Press
OK. The screen will display SUCCESS.
Setting the Day:
1. Enter
SETUP and select DATE/TIME.
2. Press
OK. The screen will display TIME.
3. Use either Arrow key to select
DAY.
4. Press
OK followed by either arrow key to select the current day
of the week.
5. Press
OK. The screen will display SUCCESS.
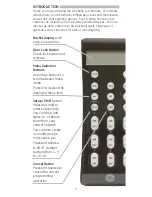
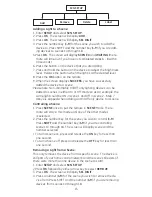
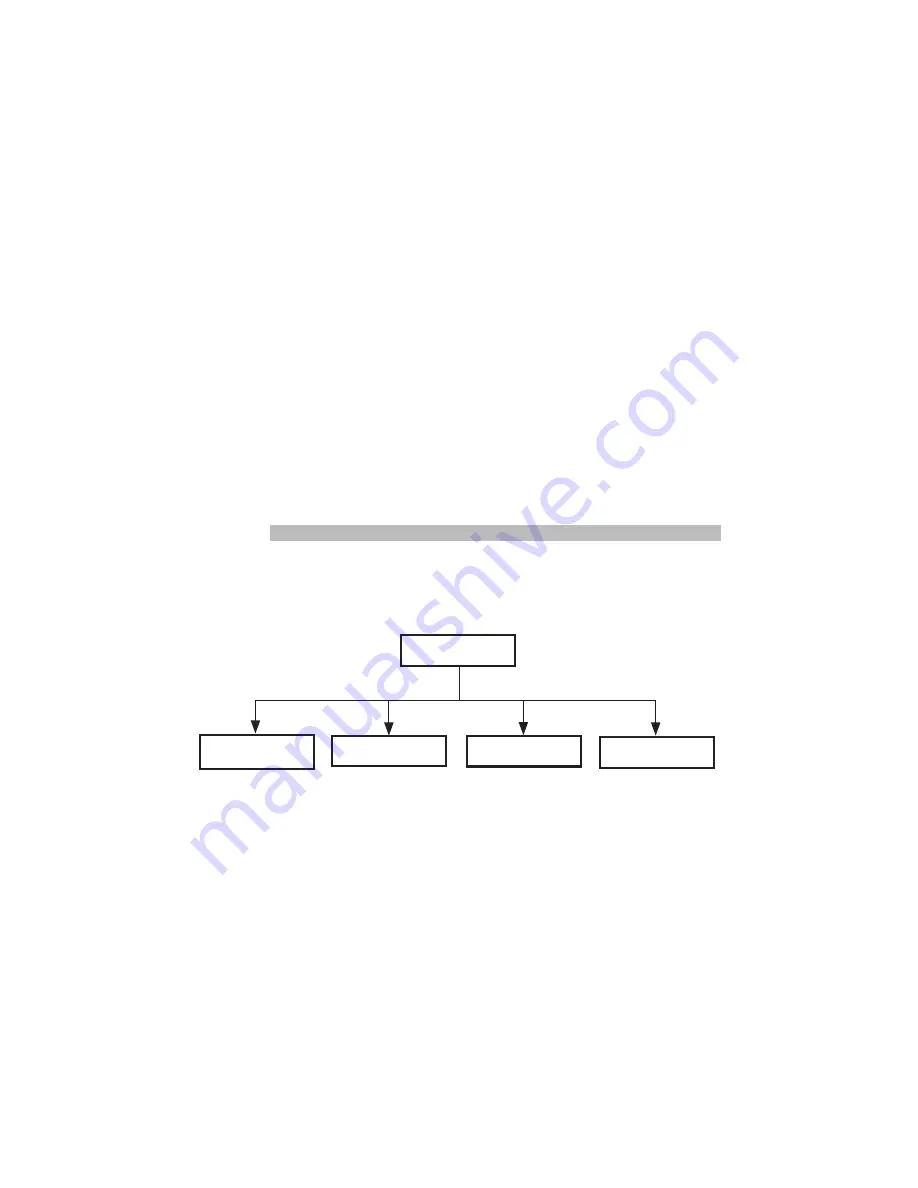
EVENTS
This remote allows you to program up to 9 automated events such
as turning on or off your lights at a preset time and day. You must
set the time, date and day before programming an Event.
Adding an EVENT:
1. Enter
SETUP and select EVENTS.
2. Press
OK. The Screen will display ADD.
3. Press
OK. The Screen will display EVERY DAY. Use Either Arrow
key to change the event profile to
MON-FRI, SAT-SUN, ONE
TIME or a specific Day of the WEEK.
4. Press
OK. The Screen will display SEL DIGIT.
5. Press the desired number key. The screen will display
EVENT X
(number).
6. Press
OK. The screen will display ACTUAL for exact time. See
below for the
RANDOM option.
7. Press
OK. The Screen will display EVENT TYPE.
8. Use either arrow key to select the event type (
LIGHT, GROUP or
SCENE).
9. Press the number key for the Light, Group or Scene you want to
EVENTS
Delete
On-off
Review
Add


