GCI E84 Emulator Getting Started Manual
Version 2.4a
GCI E84 Emulator Getting Started Manual
3
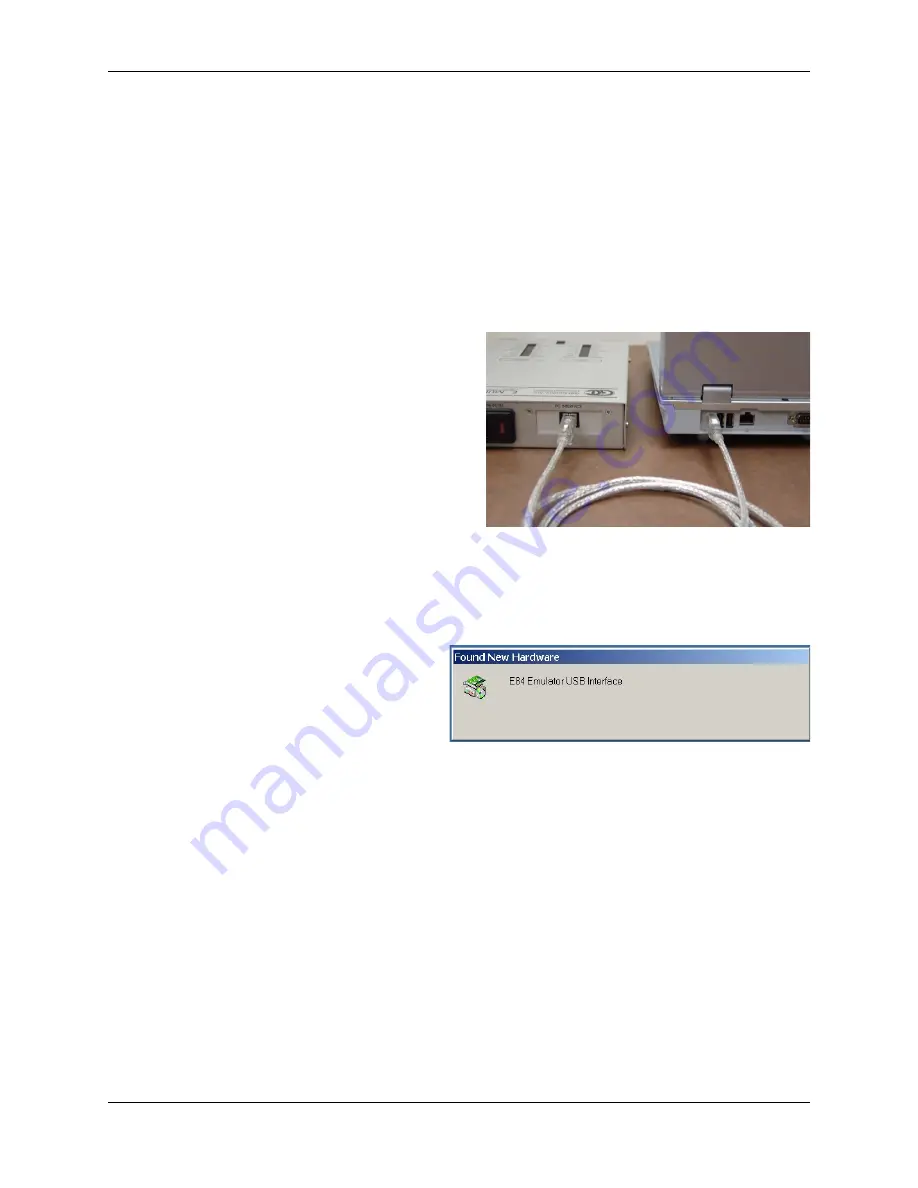
USB Cable Connection
Found New Hardware Message
Uninstalling the E84 Emulator Application
The
E84 Emulator
Installation program adds a shortcut to an uninstall program that will completely
remove the
E84 Emulator Application
from your system. If it becomes necessary to remove the
Application, simply click on the Uninstall shortcut and follow the on-screen instructions.
PC to E84 Emulator Connection
Connecting to USB
Connect the
E84 Emulator
to a PC USB Port and turn Emulator on before running the
E84 Emulator
Application
.
Connect the provided USB cable into a USB Port on the
PC and to the USB Port on the
E84 Emulator
as shown.
The USB Port is located on the back panel next to the
AC power input module. It is labeled PC INTERFACE.
Powering Up the E84 Emulator
Plug the provided standard power cord into the
E84
Emulator
and into a 100V - 240V AC wall outlet. Turn
the power switch on. The power switch is located on the
power input module.
The top of the
E84 Emulator
has cut-outs showing a
series of status LEDs. Make sure the two green power LEDs are both illuminated (+24V and +5V). If
either of these LEDs are not illuminated when the
E84 Emulator
is connected to a known good AC power
source (and the power switch is in the ON position), there may be a problem with the power supply in the
unit.
The first time the USB Interface E84 Emulator is
turned on, Windows will display a brief message
indicating that it has found new hardware. The
E84 Emulator utilizes the Human Interface Device
(HID) Class of USB drivers. Windows XP, 7 and
10 all provide a default HID Class Driver. It is not
necessary to install any additional drivers. Note,
this message only appears the first time you start
up the
E84 Emulator
.
Summary of Contents for E84
Page 1: ...GCI E84 Emulator Getting Started Version 2 4a...
Page 2: ......


