


172
232003110G (03)
OPERATION of Rotary Attachment and Rotary Chuck:
1) Use a ruler to measure the diameter (at the point on the work piece you will be engraving) and
length of the work piece you will be engraving. Make a record of this.
2) Load the work piece onto the rotary attachment
a) First list the lever on the rotary attachment, unlock the adjustable end of the rotary attachment.
Slide the adjustable end to accommodate the length of the work piece. Load the working piece
by centering the open end of the work piece against the rubber wheel and slide the adjustable end
to fit the bottom of work piece firmly. Now simply lower the lever to secure the work piece with the
rotary attachment.
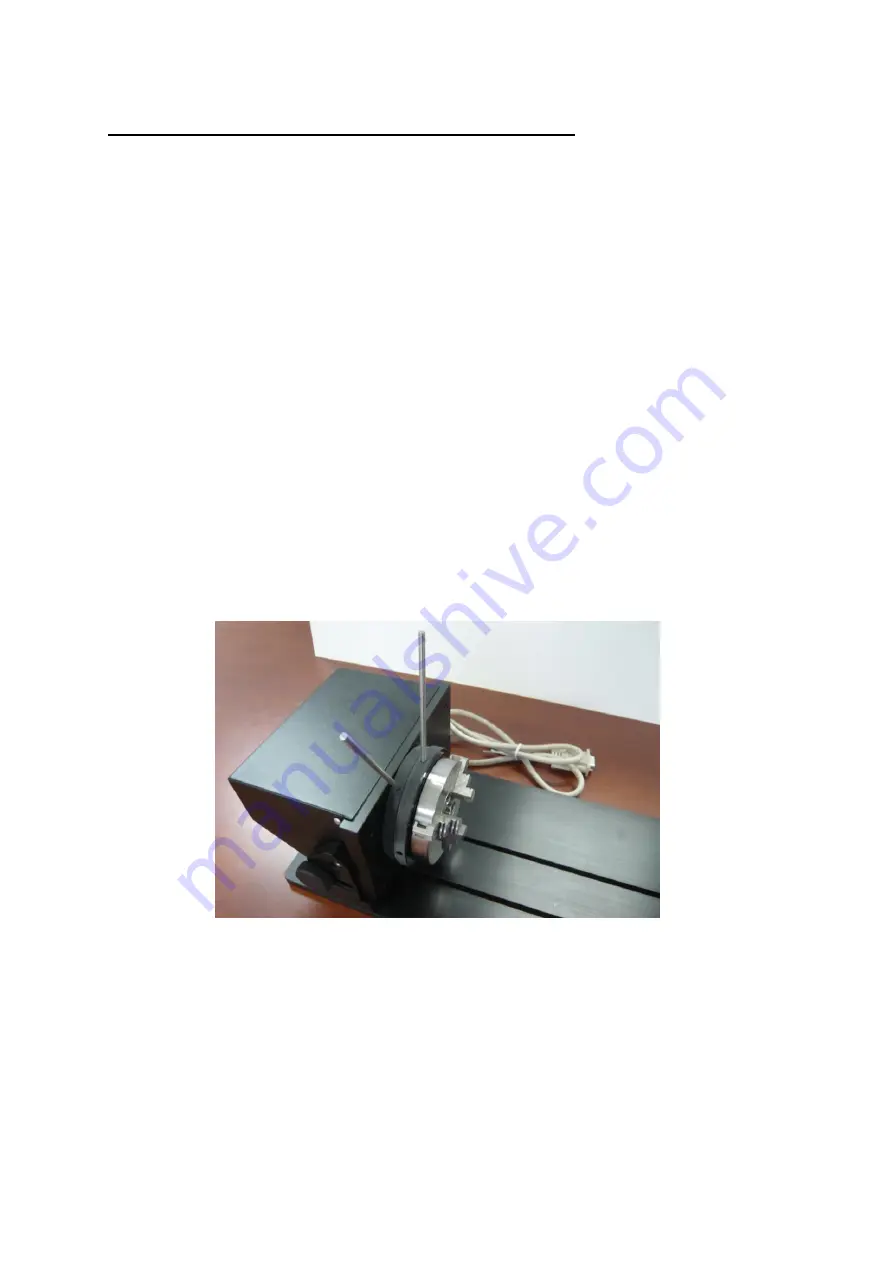
3) Load the work piece onto the rotary chuck
a) Unlock the adjustable rear end of the Rotary Chuck, load the work piece onto the Rotary Chuck
by centering the object to the clamping end and adjustable rear end. Adjust the leveling screws on
the rear end of Rotary Chuck to make sure the work object is centering to the clamping end, thus
work piece is horizontally leveling to the laser carriage in X axis. Slide the adjustable rear end to
accommodate the length of the work piece firmly.
b) To load the object, you can use the enclose too to widen or tighten the metallic claws. Simply
insert the two metal pins into the holes on the turn-dial and turn it to widen or tighten the claws to
hold the engraving object.
There are two different ways that the rotary attachment can hold an object, by sliding the clamps
inwards or outwards to hold the object as shown below.
Summary of Contents for LaserPro S400
Page 1: ...Spirit Series User Manual...
Page 8: ...6 232003110G 03...
Page 9: ...7 232003110G 03...
Page 10: ...8 232003110G 03...
Page 11: ...9 232003110G 03...
Page 12: ...10 232003110G 03...
Page 13: ...11 232003110G 03...
Page 14: ...12 232003110G 03...
Page 15: ...13 232003110G 03...
Page 16: ...14 232003110G 03...
Page 17: ...15 232003110G 03...
Page 18: ...16 232003110G 03...
Page 19: ...17 232003110G 03...
Page 20: ...18 232003110G 03...
Page 21: ...19 232003110G 03...
Page 22: ...20 232003110G 03...
Page 23: ...21 232003110G 03...
Page 24: ...22 232003110G 03...
Page 25: ...23 232003110G 03...
Page 26: ...24 232003110G 03...
Page 27: ...25 232003110G 03...
Page 28: ...26 232003110G 03...
Page 29: ...27 232003110G 03...
Page 52: ...50 232003110G 03 3 5 Rear View...
Page 56: ...54 232003110G 03...
Page 57: ...55 232003110G 03...
Page 62: ...60 232003110G 03...
Page 87: ...85 232003110G 03 5 1 3 Touch Screen Navigation Chart...
Page 140: ...138 232003110G 03...
Page 152: ...150 232003110G 03...
Page 154: ...152 232003110G 03 Step 3 Edit the characters for the website...
Page 180: ...178 232003110G 03 6 Gently cover the SmartLID...
Page 193: ...191 232003110G 03 9 Chapter 9 Basic Troubleshooting...
Page 195: ...193 232003110G 03 10 Chapter 10 Appendix Glossary LaserPro S400 Specification Sheet...


