84
LaserPro C180 User Manual
3) Connect a ¼" tubing to the air tube fastener valve on the air compressor.
NOTE
It is important that the ¼" air tubing has clean, straight cuts on each end. Jagged or
slanted cuts will not produce adequate sealing capabilities.
4) Take the unattached end of the ¼" air tubing (other end already connected to air compressor) and
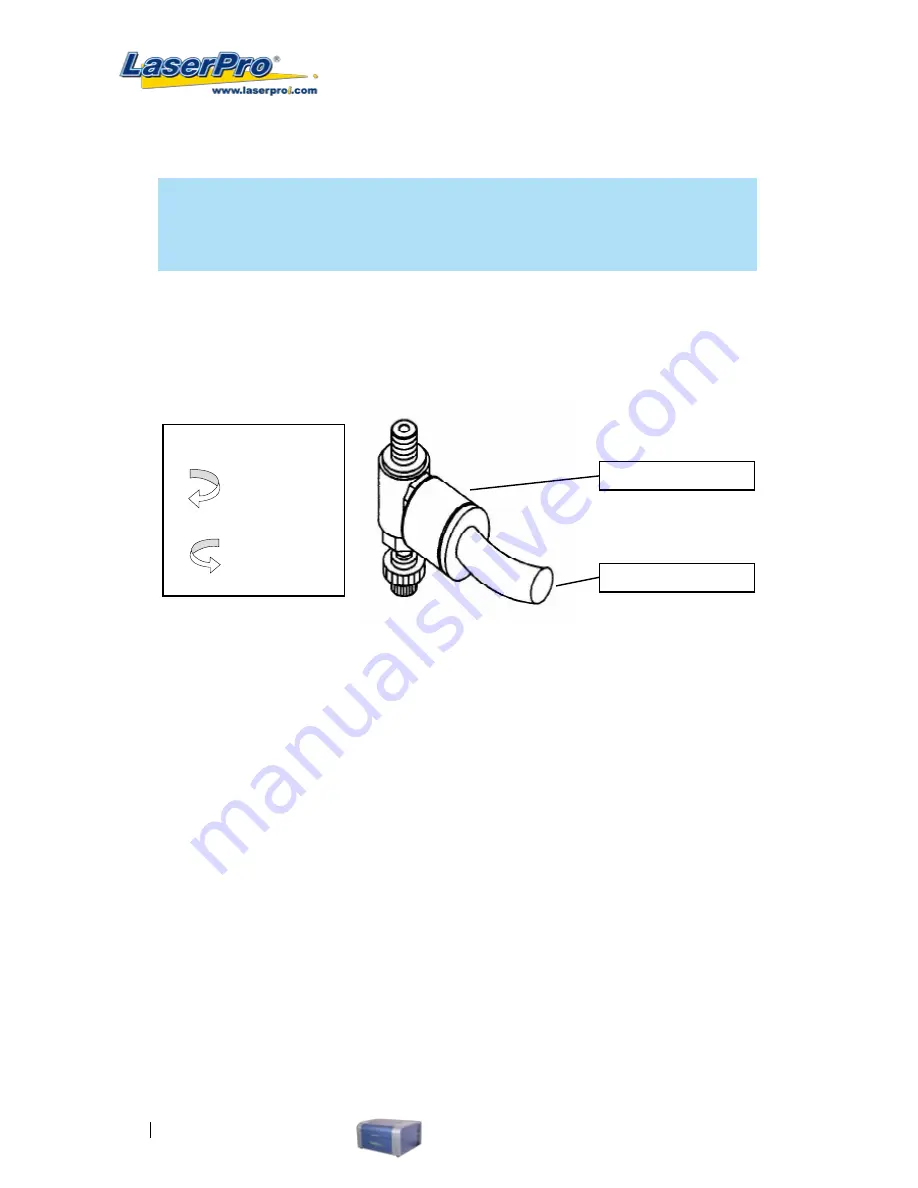
connect it to the air tube connector on the air assist valve. Make sure you press down on the air
tube fastener when inserting the ¼" air tubing, to form a tight, secure attachment as indicated in
the diagram below.
Air Tube Fastener
Air Flow Regulator:
Turn Clockwise
to increase
airflow
Turn Counter-
Clockwise to
decrease
Air Tube Connector
5) Congratulations, you have finished setting up the air compressor. Make sure you have the proper
SmartAIR nozzle installed (depending on your application), before you turn on and utilize the air
compressor.
OPERATION:
1) Switch on the air compressor unit and make sure that the airflow regulator on the air assist valve
is opened (turn clockwise to increase the airflow, counter-clockwise to decrease the airflow). The
air nozzle under the laser head should emit a steady flow of air.
7.3 Honeycomb Table Option
Honeycomb tables are important to tune out a beautiful output when working with cutting operations. The
C180 has a very easy to install honeycomb table. Simply lay it on top and against the upper left corner of the
working area for use.
7.4 SmartAIR Nozzle (Fine/Ultra)
The optional SmartAIR Fine Nozzle is recommended for engraving or cutting thin materials such as textile.
The smaller caliber nozzle is positioned closer to the object for a concentrated blast directed over a small
area to eliminate burning on the cutting edge. The perfectly-vertical design of the SmartAIR Fine Nozzle pro-
duces a concentrated airflow to blow away dust and unwanted residue, leaving a clean product surface. The
Ultra Nozzle is recommended for the need of even stronger airflow for applications such as deep cutting.
Summary of Contents for LaserPro C180
Page 1: ......
Page 2: ......
Page 6: ......
Page 22: ......
Page 64: ...58 LaserPro C180 User Manual...
Page 78: ......
Page 86: ......
Page 106: ......
Page 107: ...LaserPro C180 User Manual 101 Chapter 9 Basic Troubleshooting 9...


