5
How to bind
1
Measure document using colour coded guide
(fig.1)
Open the lid of the machine and rest your document
(including any cover sheets you have chosen) against
the lid on the ‘staging’ area provided. Gently push the
document back against the lid and check the document
size using the colour coded guide on the staging area.
You can leave your document on the staging area in
readiness to punch.
2
Select comb which fits your document (fig.2)
Use the comb size guide to select the size of comb that
fits your document i.e. 25 sheet document = 6mm comb.
3
Load comb onto machine (fig.3)
Insert the binding comb next to the white positional arrow
on the machine, behind the metal comb support fingers,
with the open side of the comb pointing upwards.
Note: If using Swingline
™
GBC
®
ProCombs™ the white
arrow on your comb should align to the white arrow on
the machine.
4
Open comb by turning lever towards you (fig.4)
The coloured arrows adjacent to the opening comb
act as a guide as to how far to open in order to allow
punched sheets to be easily inserted.
Note: If using Swingline
™
GBC
®
ProCombs™ the
coloured line on your comb should align to the coloured
arrows on the machine for faster binding.
5
Select document size (fig.5)
Adjust the edge guide button to select the paper / cover
size you wish to bind; A4 (297mm x 210mm) or Letter
(11” x 8 1/2”) When using oversized covers, select the
oversize position, punch the covers for your document
and set aside. Then select either A4 or Letter and
proceed.
6
Load pages into slot (fig.6)
You can punch 2 cover sheets (PVC /240gsm Card only
- other materials x 1 sheet) or up to 20 sheets of paper
(20lbs/ 80gsm) at a time.
Using the conventional method: Select the quantity
of sheets to punch and tap the edge of the sheet stack
against the staging area to ensure that all sheets are
aligned. Place the stack to be punched directly into the
punching slot and slide to the left until it comes to rest
against the edge guide. Your sheets will now be perfectly
aligned.
Using the gravity fed paper count method for
increased productivity: Pull forward your document
(or a stack of sheets from your document) from its
resting position against the lid. Continue until it meets
the wall in front of the punch slot. Relax your grip on the
document or stack and the first 20 sheets will fall directly
into the punching slot. Return the sheets not engaged in
the punch slot back to a resting position against the lid.
Slide the sheets in the punching slot to the left as far as
they will go.
7
Punching the document (fig.7)
Press the ON / OFF button
. A blue light will
illuminate to indicate that the power is on and the punch
button
will light up in green.
To punch, press the illuminated green punch button
.
When finished punching turn the machine OFF by
pressing the ON / OFF
button.
If the punch jams the red jam light
will illuminate to
indicate that the machine has jammed. The machine
will automatically reverse the punches to clear the jam
and the red jam light will remain illuminated. Remove the
paper and push the punch button to re-set the machine.
The red jam light will turn off indicating that the machine
is ready to punch. Reduce some of the sheets and
repeat steps 2 to 4 to avoid jams on additional lifts.
Note: If the red light remains on, unplug the unit and
contact an authorised Swingline
™
GBC
®
service
representative for any required repairs.
When finished punching turn the machine OFF by
pressing the ON / OFF
button.
8
Assemble pages onto open comb (fig.8)
Remove the sheets from the punch slot and insert onto
the fingers of the binding comb.
9
Repeat process as required
Repeat stages 6-8 until your document is fully loaded
on the comb.
J
Close (fig.9)
Close comb and remove document.
Service
Contact an authorised Swingline
™
GBC
®
service
representative for any required repairs.
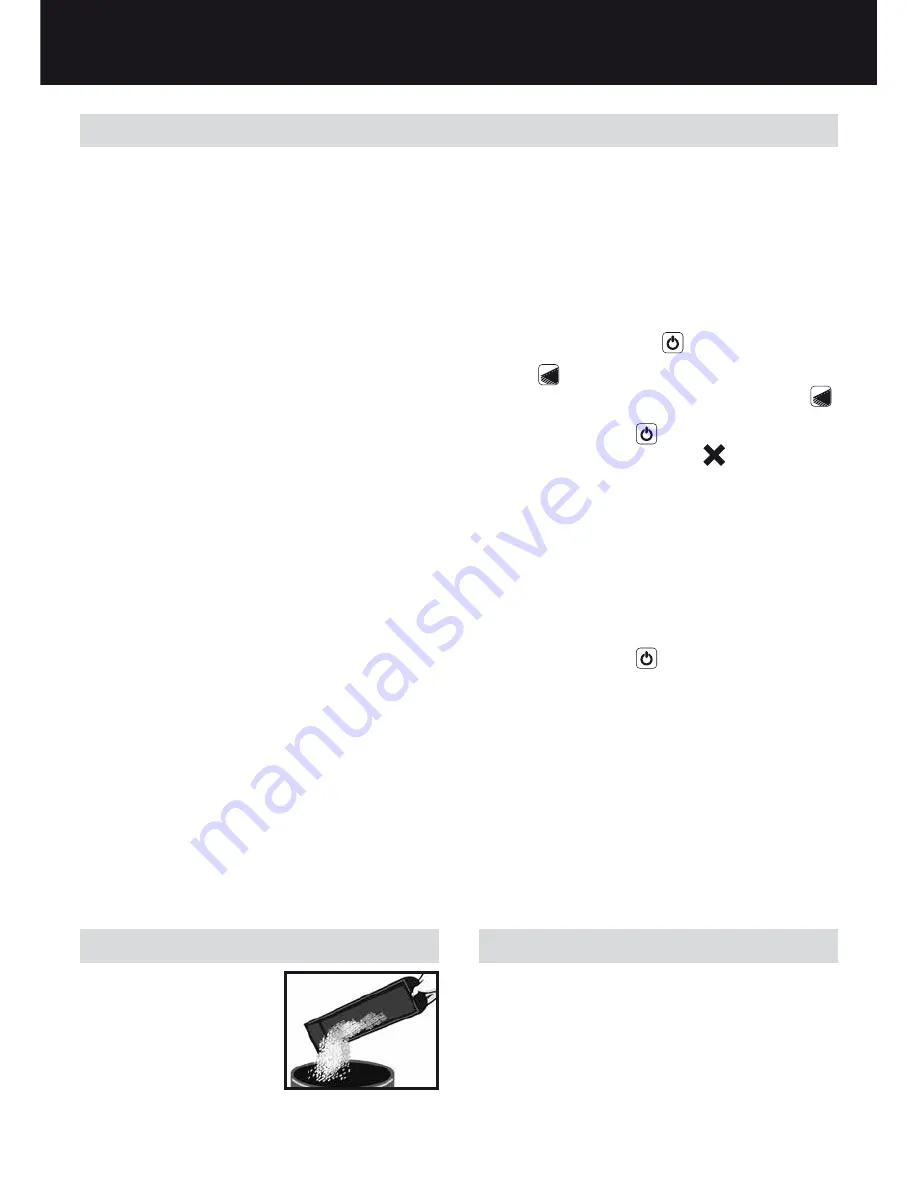
Maintenance
Please ensure that the clippings
tray is emptied on a regular
basis. This will prevent blockage
and ensure that the unit is
always ready to punch. The
clippings tray can be accessed
from the side of the machine.
In order to prevent overloading
never try and punch more than the maximum numbers of
sheets recommended (20 sheets of 20lbs/80gsm). The unit
is maintenance free if handled correctly.
o
US
Summary of Contents for CombBind 210E
Page 2: ...US English 4 CA Fran ais 6 MX Espa ol 8...
Page 3: ...4 6 5 7 9 8 1 3 2...
Page 10: ......
Page 11: ......


