


44 Using Your Gateway Solo 2500 Multimedia Notebook
1.
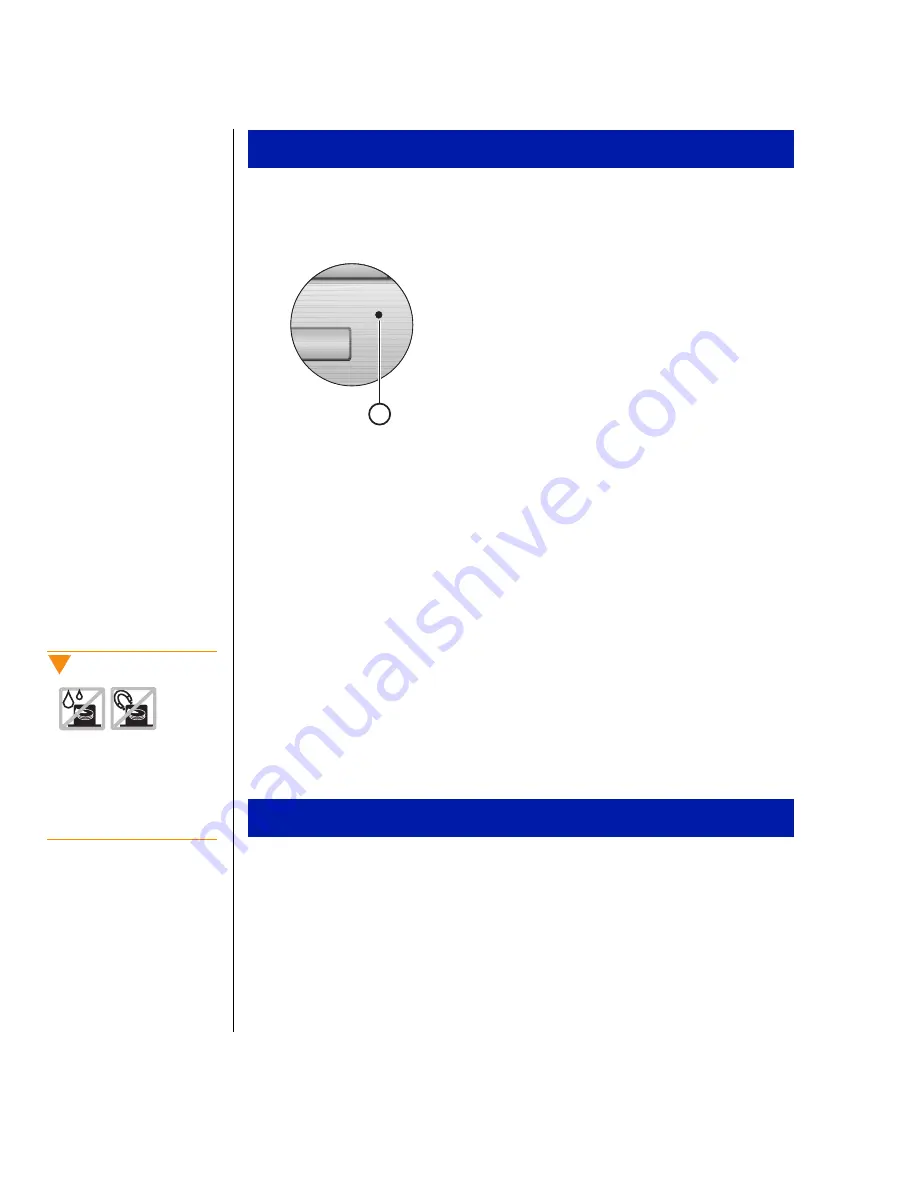
Carefully insert a stiff wire (such as a straightened, heavy-duty paper
clip) into the emergency eject hole until you feel resistance.
A.
Emergency eject hole
2.
Gently press a bit harder until the drive tray slides out (CD-ROM) or
until the diskette ejects.
3.
(CD-ROM only.) Gently grasp the front of the tray and pull it out.
Removing and replacing the hard disk drive
You can remove the hard disk drive (HDD) from your notebook to swap to a
second HDD.
If you decide to add a new HDD, then use the documentation that comes
with the HDD to prepare the hard drive for use.
1.
Save all work.
2.
Click
Start
,
Shut Down
,
Shut down your computer?
, then click
OK
.
3.
Close the LCD lid.
4.
Disconnect the AC power.
5.
Remove the battery. See “To remove the battery pack” on Page 57.
To use the emergency eject
To remove the hard disk drive
A
Caution!
Do not expose the hard
drive to liquid or magnetic
fields. Exposure could
damage the data on the
hard drive.
Summary of Contents for Solo 2500
Page 5: ...Chapter 1 Checking Out Your Notebook Computer Checking Out Your Solo 2500 6 ...
Page 14: ...14 Using Your Gateway Solo 2500 Multimedia Notebook ...
Page 22: ...22 Using Your Gateway Solo 2500 Multimedia Notebook ...
Page 54: ...54 Using Your Gateway Solo 2500 Multimedia Notebook ...
Page 65: ...Appendix A Accessories Solo Notebook Accessories 66 ...
Page 68: ...68 Using Your Gateway Solo 2500 Multimedia Notebook ...
Page 76: ...76 Using Your Gateway Solo 2500 Multimedia Notebook ...
Page 83: ...Index 83 ...


