


166
PIPS II Owners Manual and Users Guide
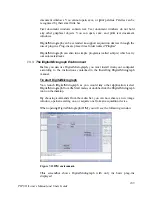
Key areas
Menu bar
At the top is the menu bar containing the File, Edit, Display, Process,
Analysis, Window, Microscope and Help menus. In these menus are all the
controls for operating the application.
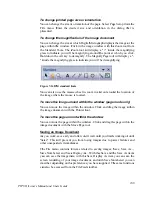
Tool bar
Under the menu bar is a toolbar.
Floating Windows
On the left hand side several Floating Windows are displayed. Floating
Windows can also appear on the right hand side of the screen.
Result Window
At the bottom is the Results Window. This window is used to report results
and updates of operations performed by DigitalMicrograph. This window may
be hidden to increase the area available for image windows.
Image Windows
All images are displayed in Image Windows. They can be displayed anywhere
in the application, and many images can be open at the same time.
To Exit DigitalMicrograph
You can exit DigitalMicrograph when you're finished with it. Choose Exit
from the File menu, or hold down the Alt key and touch F4 to exit.
If any modified documents are open and haven't been saved,
DigitalMicrograph asks whether you want to save the documents.
You can exit without saving any of the files by holding down Control and Alt
keys and touch F4 to exit.
Opening an Image
You can either open a single frame image or a series of images (3-dimensional
image or a stack).
Single image file:
Go to File: Open… and brows to the location the file is
saved, then select the file and touch open.
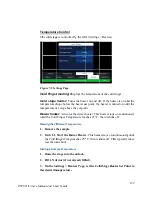
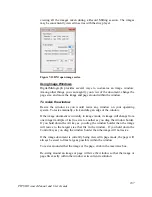
Series of images (stack):
Go to File: Open Series… and brows to the location
the files are saved, then select the first file in the series, and touch open. The
dialog box shown below will appear. Here you can define the number of slices
you want to open (Output images, Size). This option is very useful for