


14
To darken or lighten the display on the
dock, move the slider as appropriate.
The dock will not show the new LCD
setting until the “Set Config” button is
pressed.
Status After Test
Once the IQ6 Dock finishes processing
an instrument, it can be programmed to
turn the instrument off, or to leave it in
the state that it was in (either on or off)
when it was placed in the dock. The
“Status After Test” control is located
beneath the LCD Contrast Control near
the center of the screen.
If “Status After Test” is set to Off, the
PHD6 will automatically be turned off by
the dock once the instrument has been
processed.
If “Status After Test” is set to “No
Change”, the instrument will return to the
state it was in when it was placed in the
dock.
In the case of rechargeable versions of
the PHD6 that will be charged in the IQ6
Dock after processing, Status After Test
must be set to “Off” to ensure that the
instrument will charge properly.
Battery
The battery level shown on the dock tab
is for the internal battery in the IQ6 Dock
. This battery serves to keep the real
time clock accurate while the dock is
unplugged and should not be a concern
to the user unless the battery level drops
below 2.50 Volts.
Calibration Interval
The Dock’s calibration interval settings
are controlled from the Dock Tab and are
located below the battery level and
above the LCD Display box. The dock’s
calibration interval is the maximum
number of days that the dock will allow to
pass between calibrations for any
instrument that is placed in the dock. If
an instrument is placed in the dock and
the interval has been exceeded, the dock
will automatically initiate a full span
calibration of the instrument regardless of
the results of the bump test or the
instrument’s own calibration status.
To use the setting, click on Enable Cal
Interval and set the interval to the
number of days between calibrations.
Note that this setting may cause the
instrument to undergo a full
calibration even when the instrument
itself is not due for calibration.
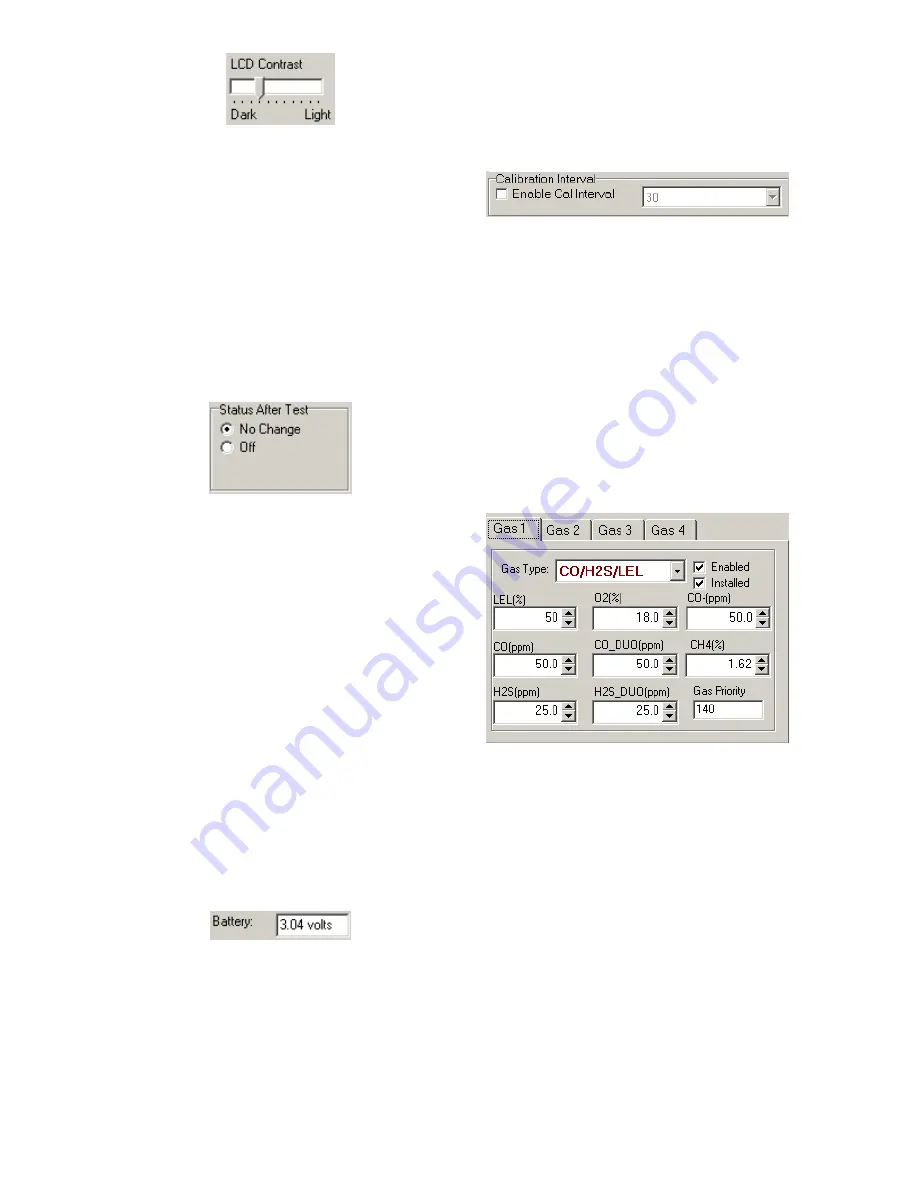
Gas Configuration
The calibration gas configuration for the
4 gas inlet ports on the back of the dock
is located on the right side of the window.
If the values are shown in red text, they
can be changed. If the values are shown
in black text and you wish to change
them, press “Change Config”.
Note: The gas values shown here are
the values that will be used in calibrating
PHD6 instruments that interface with the
dock regardless of the instrument’s own
built-in calibration gas settings.
To change the calibration gas value, first
select the Gas Port (Gas 1, Gas 2, Gas 3
or Gas 4). Then select the Gas Type
from the list.


