


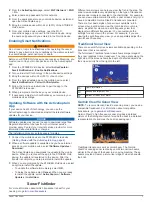


When you share a contour map, only the contour map is shared.
Your waypoints are not shared.
When you set up your ActiveCaptain app, you may have
selected to share your contours with the community
automatically. If not, follow these steps to enable sharing.
From the ActiveCaptain app on your mobile device, select
Sync with Plotter
>
Contribute to Community
.
The next time you connect the ActiveCaptain app to the
STRIKER Vivid device, your contour maps are transferred to the
community automatically.
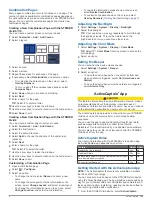
Map Settings
Select
Quickdraw Map
>
.
Waypoints
: Shows the list of waypoints.
Waypoint Display
: Sets how to display waypoints on the chart.
Quickdraw Contours
: Turns on bottom contour drawing, and
allows you to create fishing map labels.
Routes
: Shows the list of routes.
Tracks
: Shows your travel history on the map.
Search
: Allows you to search for saved routes and waypoints.
Map Setup
: Sets the perspective of the map and shows the
heading line, which is a line drawn on the map from the bow
of the boat in the direction of travel.
Overlay Numbers
: Allows you to customize the data shown on
the map.
Garmin Quickdraw Contours Settings
From a chart, select
>
Quickdraw Contours
>
Settings
.
Recording Offset
: Sets the distance between the sonar depth
and the contour recording depth. If the water level has
changed since your last recording, adjust this setting so the
recording depth is the same for both recordings.
For example, if the last time you recorded had a sonar depth
of 3.1 m (10.5 ft.), and today's sonar depth is 3.6 m (12 ft.),
enter -0.5 m (-1.5 ft.) for the a Recording Offset value.
User Display Offset
: Sets differences in contour depths and
depth labels on your own contours maps to compensate for
changes in the water level of a body of water, or for depth
errors in recorded maps.
Comm. Display Offset
: Sets differences in contour depths and
depth labels on the community contours maps to compensate
for changes in the water level of a body of water, or for depth
errors in recorded maps.
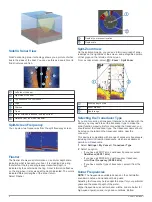
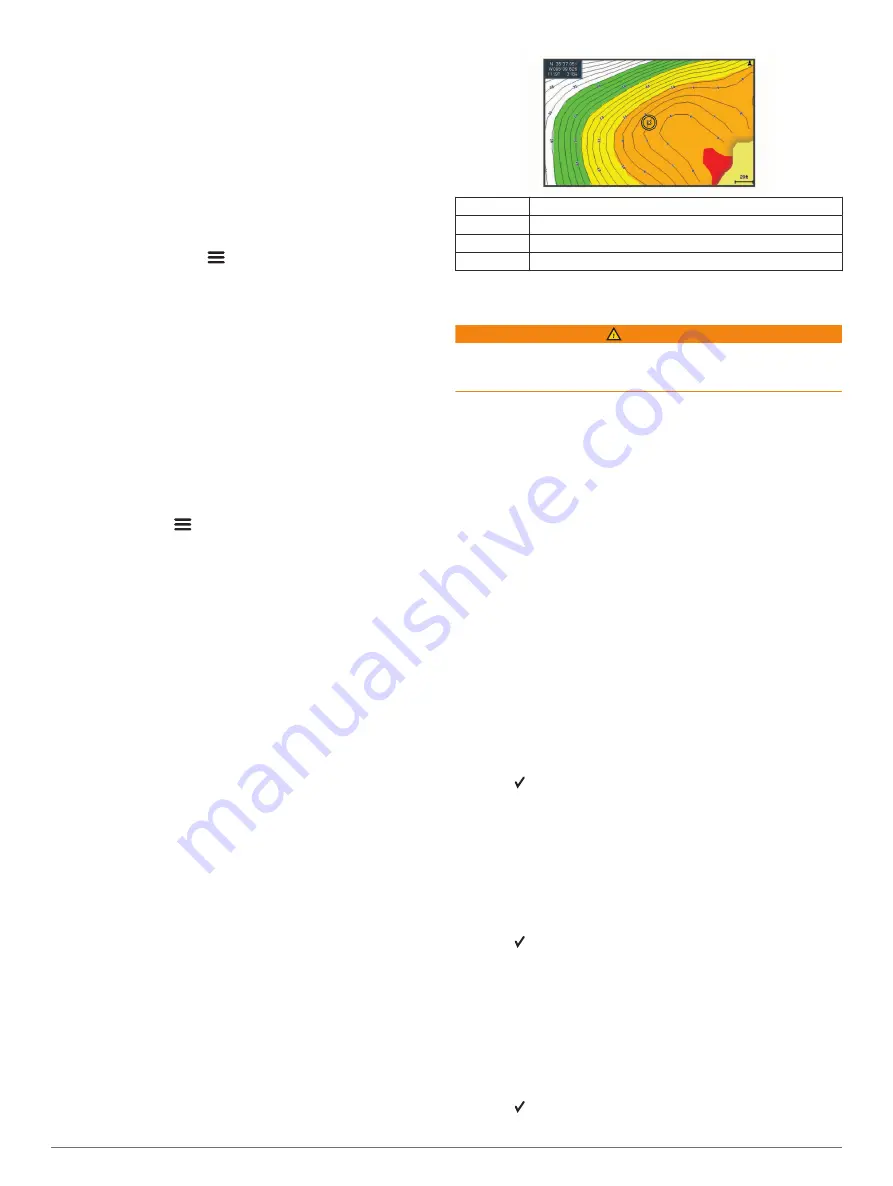
Survey Coloring
: Sets the color of the Garmin Quickdraw
Contours display. When this setting is turned on, the colors
indicate the quality of the recording. When this setting is
turned off, the contour areas use standard map colors.
Green indicates good depth and GPS position, and a speed
under 16 km/h (10 mph). Yellow indicates good depth and
GPS position, and a speed between 16 and 32 km/h (10 and
20 mph). Red indicates poor depth or GPS position, and a
speed above 32 km/h (20 mph).
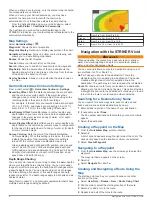
Depth Range Shading
You can set color ranges on your map to show the water depths
where your target fish are currently biting. You can set deeper
ranges to monitor how quickly the bottom depth changes within
a specific depth range. You can create up to ten depth ranges.
For inland fishing, a maximum of five depth ranges can help
reduce map clutter. The depth ranges apply to all charts and all
bodies of water.
Some Garmin LakeVü
™
and premium supplemental charts have
multiple depth range shading by default.
Red
From 0 to 1.5 m (from 0 to 5 ft.)
Orange
From 1.5 to 3 m (from 5 to 10 ft.)
Yellow
From 3 to 4.5 m (from 10 to 15 ft.)
Green
From 4.5 to 7.6 m (from 15 to 25 ft.)
Navigation with the STRIKER Vivid
WARNING
When navigating, the course may pass over land or shallow
water. Use visual sightings, and steer to avoid land, shallow
water, and other dangerous objects.
You can set and follow a course to a destination using one of
two methods: Go To or Route To.
Go To
: Takes you directly to the destination. This is the
standard option for navigating to a destination. The device
creates a straight-line course or navigation line to the
destination. The path may run over land and other obstacles.
Route To
: Creates a route from your location to a destination,
allowing you to add turns along the way. This option provides
a straight-line course to the destination, but allows you to add
turns into the route to avoid land and other obstacles.
Searching for a Destination by Name
You can search for saved waypoints, saved routes, saved
tracks, and marine services destinations by name.
1
Enter at least a portion of the name of your destination.
2
If necessary, select
Done
.
The 50 nearest destinations that contain your search criteria
appear.
3
Select the destination.
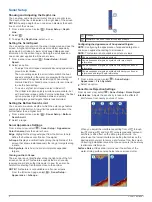
Creating a Waypoint on the Map
1
From the
Quickdraw Map
, select a location.
2
Select .
A list of options appears along the right side of the chart. The
options vary based on the location or object you selected.
3
Select
Create Waypoint
.
Navigating to a Waypoint
1
From the
Quickdraw Map
, use the arrow keys to select the
waypoint.
The waypoint name appears on the screen.
2
Select .
3
Select
Navigate To
>
Go To
.
Creating and Navigating a Route Using the
Map
The starting point can be your present location or another
location on the map.
1
Select
User Data
>
Routes
>
New
>
Route Using Chart
.
2
Pan the map to select the starting location of the route.
3
Select to add a turn to the route.
4
Repeat to add all of the turns in the route.
8
Navigation with the STRIKER Vivid