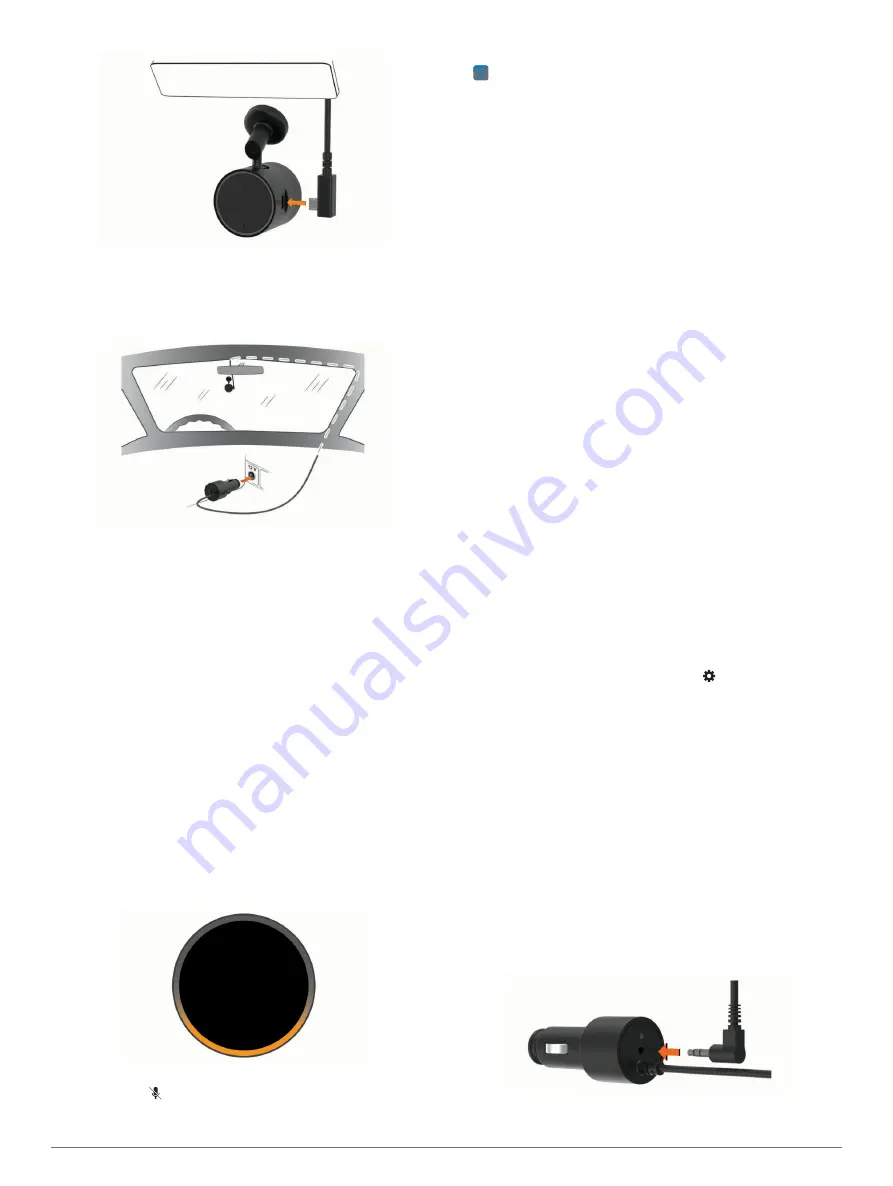
3
Route the power cable to your vehicle power outlet.
The included long, lightweight power cable is designed to be
routed out of sight. To hide the cable, you can route it around
the windshield and tuck it into the gap between the
windshield and the trim.
4
Plug the Garmin Speak Plus power cable into a power outlet
in your vehicle.
5
If necessary, turn on the vehicle ignition switch to provide
power to the power outlet in your vehicle.
The device turns on.
6
Follow the on-screen instructions to complete the initial
device setup (
).
Pairing with Your Smartphone
NOTE:
The Garmin Speak app can no longer be installed and
has been replaced by the Garmin Drive
™
app. If you are using
the Garmin Speak app on your smartphone, remove this app
and update to the latest version of the Garmin Drive app.
The Garmin Speak Plus device requires a connection to the
Garmin Drive app to operate. To use the device, you must pair it
with your smartphone using the Garmin Drive app and complete
the initial setup.
1
Connect the device to power (
).
The first time the device turns on, it enters pairing mode
automatically. While the device is in pairing mode, the LED
ring shows a spinning orange light.
TIP:
If the device does not enter pairing mode automatically,
you can hold for about 5 seconds until the LED shows a
spinning orange ring.
2
From the app store on your smartphone, install and open the
Garmin Drive app.
3
On your smartphone, select
Garmin Speak Series
from the
device menu.
4
If a pairing code appears on the Garmin Speak Plus screen,
verify it matches the pairing code on your smartphone, and
press any button on the Garmin Speak Plus device to accept
the pairing request.
5
On your smartphone, select the option to authorize pairing
with the device.
The device connects to your smartphone.
6
Follow the on-screen instructions to finish setting up the
device.
TIP:
If multiple people need to use your Garmin Speak Plus
device, you can pair it with additional smartphones (
Another Smartphone with Your Garmin Speak Plus Device
). If you have Garmin Speak Plus devices in multiple
vehicles, you pair each of them with your smartphone (
an Additional Garmin Speak Plus Device with Your Smartphone
).
Connecting to the Vehicle Stereo
Connecting to the Stereo Using a Bluetooth
®
Connection
If you have a compatible vehicle stereo, you can send the
Garmin Speak Plus audio to the vehicle stereo using a wireless
Bluetooth connection. This allows you to hear high-quality audio
for media, Alexa responses, and phone calls from your vehicle
speakers without a wired connection.
NOTE:
If your stereo does not have Bluetooth technology, you
can send audio to the stereo using an auxiliary audio cable
(
Connecting to the Stereo Using an Auxiliary Audio Cable
).
1
From the Garmin Drive app, select an option:
• During the initial device setup, select
Yes
when the app
asks whether you currently use Bluetooth technology to
connect your smartphone to your vehicle.
• After the initial device setup, select >
Garmin Speak
Plus
>
Audio
, and verify
Vehicle
is selected for each
audio type you want to send to your stereo using a
Bluetooth connection. Audio types set to
Garmin Device
play from the
Garmin Speak Plus
device speaker.
2
Set the audio source for your vehicle stereo to the Bluetooth
input.
Connecting to the Stereo Using an Auxiliary Audio
Cable
If your Garmin Speak Plus is not connected to the vehicle stereo
using a Bluetooth connection, you can send the Garmin
Speak Plus audio to the vehicle stereo using a 3.5 mm stereo
auxiliary audio cable (not included).
NOTE:
For the best audio quality, a Bluetooth connection to the
stereo is recommended, when available (
).
1
Connect one end of the cable to the 3.5 mm audio output
jack on the Garmin Speak Plus power cable plug.
2
Connect the other end of the audio cable to the auxiliary input
jack for your vehicle stereo.
2
Getting Started


