Page 5-10
GMX 200 Installation Manual
Revision D
190-00607-04
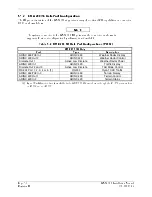
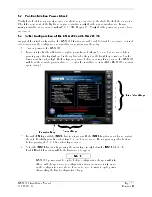
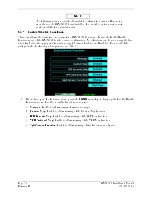
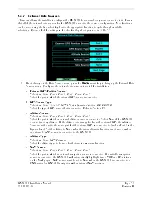
5.3.3 Miscellaneous Setup Options
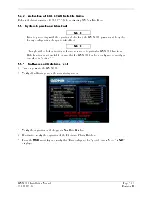
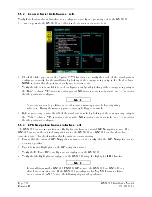
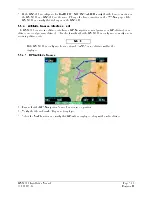
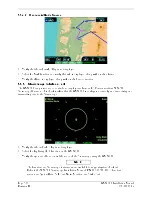
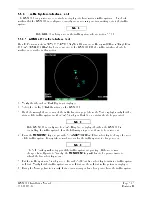
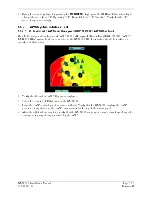
This menu allows the installer to set up various options on the GMX 200. Modifications can be made
using the line select key beside the appropriate function to cycle through available selections. Record all
of the settings in the checkout log sheet provided in Table 5-3.
1.
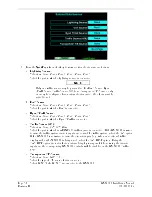
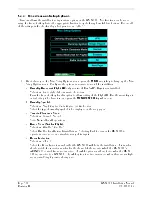
If not already on the Misc Setup Options menu, press the
MISC
smart key to bring up the Misc
Setup Options menu. Configure the options as required to match the installation.
a.
Ownship Broadcast Flight ID
(only required if UAT/ADS-B system is installed):
Selections: Up to eight alpha-numeric characters
Press the line select key for this option to allow editing of the Flight ID. Use the smart keys to
enter/edit up to 8 characters, and press the
MENU/ENTER
key when done.
b.
Ownship Symbol:
Selections: Single Engine, Twin Engine, Jet, Helicopter
Select the type of ownship symbol to be displayed on the map pages.
c.
Terrain Clearance Mode:
Selections: Normal, Special
Set to Normal for
all
operations.
d.
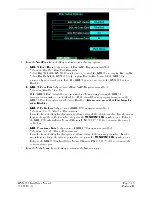
Demo Mode (Not for Flight):
Selections: Disabled, Enabled
Select Disabled for
all
aircraft installations. Selecting Enabled causes the GMX 200 to
operate in demo mode and simulate many of its inputs.
e.
Radar Indicator:
Selections: All, 1, 2
Select the Radar Indicator number that the GMX 200 will be in the installation. This number
should match the indicator number for the channel of the radar to which the GMX 200’s
ARINC 429 control lines are connected. The ALL option must be selected when the GMX
200 is connected to a GWX 68. The ALL option is not recommended when there are multiple
radar control/display devices being used.
Summary of Contents for GMX 200
Page 1: ...190 00607 04 March 2007 Revision D GMX 200 Installation Manual ...
Page 105: ......
Page 106: ......

