can be useful for tracking a bottom that has minimal or moderate
terrain changes.
Manually adjusting the range enables you to view a specified
range, which can be useful for tracking a bottom that has large
terrain changes, such as a drop-offs or cliffs. The bottom can
appear on the screen as long as it appears within the range you
have set.
1
From a sonar view, select
MENU
>
Range
.
2
Select an option:
• To allow the chartplotter to adjust the range automatically,
select
Auto
.
• To increase or decrease the range manually, select
Up
or
Down
.
TIP:
From the sonar screen, you can select or to
manually adjust the range.
TIP:
When viewing multiple sonar screens, you can select
SELECT to choose the active screen.
Sonar Appearance Settings
From a sonar view, select
MENU
>
Sonar Setup
>
Appearance
.
Color Scheme
: Sets the color scheme.
A-Scope
: Displays a vertical flasher along the right side of the
screen that shows instantaneously the range to targets along
a scale.
Edge
: Highlights the strongest signal from the bottom to help
define the hardness or softness of the signal.
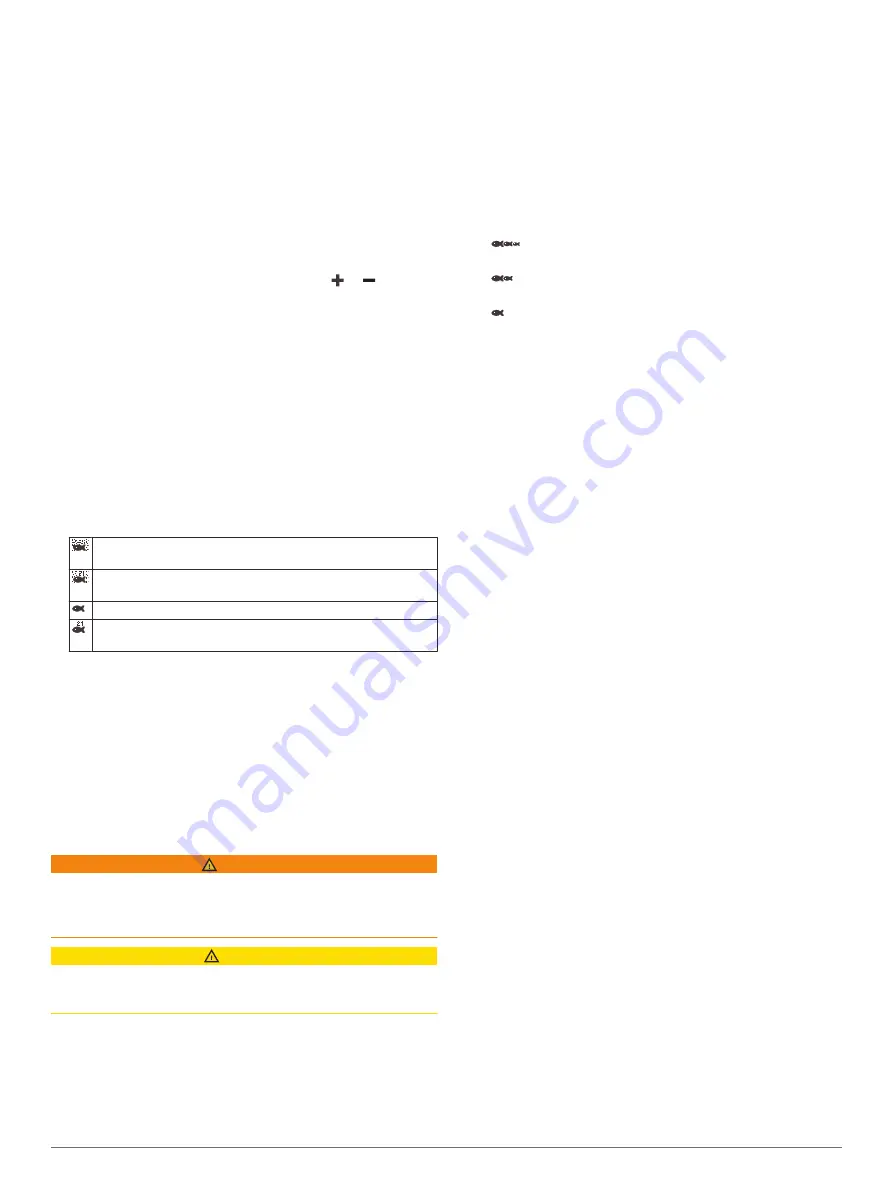
Fish Symbols
: Sets how the sonar interprets suspended
targets.
Shows suspended targets as symbols and background sonar
information.
Shows suspended targets as symbols with target depth
information and background sonar information.
Shows suspended targets as symbols.
Shows suspended targets as symbols with target depth
information.
Pic. Advance
: Allows the sonar picture to advance faster by
drawing more than one column of data on the screen for
each column of sounder data received. This is especially
helpful when you are using the sounder in deep water,
because the sonar signal takes longer to travel to the water
bottom and back to the transducer.
The 1/1 setting draws one column of information on the
screen per sounder return. The 2/1 setting draws two
columns of information on the screen per sounder return, and
so on for the 4/1 and 8/1 settings.
Sonar Alarms
WARNING
The sonar alarms feature is a tool for situational awareness only
and may not prevent grounding in all circumstances. It is the
obligation of the vessel operator to ensure safe operation of the
vessel.
CAUTION
The Beeper setting must be turned on to make alarms audible
(
). Failure to set audible alarms could
lead to injury or property damage.
NOTE:
Not all options are available on all transducers.
Select
Settings
>
Alarms
>
Sonar
.
Shallow Water
: Sets an alarm to sound when the depth is less
than the specified value.
Deep Water
: Sets an alarm to sound when the depth is greater
than the specified value.
FrontVü Alarm
: Sets an alarm to sound when the depth in front
of the vessel is less than the specified value, which can help
you avoid running aground (
Setting the FrontVü Depth Alarm
). This alarm is available only with Panoptix FrontVü
transducers.
Water Temp.
: Sets an alarm to sound when the transducer
reports a temperature that is 2°F (1.1°C) above or below the
specified temperature.
Fish
Fish
: Sets an alarm to sound when the device detects a
suspended target.
•
sets the alarm to sound when fish of all sizes are
detected.
•
sets the alarm to sound only when medium or large
fish are detected.
•
sets the alarm to sound only when large fish are
detected.
Advanced Sonar Settings
NOTE:
Not all options and settings apply to all models and
transducers.
From a sonar view, select
MENU
>
Sonar Setup
>
Advanced
.
Interference
: Adjusts the sensitivity to reduce the effects of
interference from nearby sources of noise.
The lowest interference setting that achieves the desired
improvement should be used to remove interference from the
screen. Correcting installation issues that cause noise is the
best way to eliminate interference.
Surface Noise
: Hides surface noise to help reduce clutter.
Wider beam widths (lower frequencies) can show more
targets, but can generate more surface noise.
Color Gain
: See
.
TVG
: Adjusts the appearance of returns to compensate for
weakened sonar signals in deeper water, and reduces the
appearance of noise near the surface. When the value of this
setting is increased, the colors associated with low-level
noise and fish targets appear more consistent through
various water depths. This setting also reduces the noise
near the surface of the water.
Transducer Installation Settings
NOTE:
Not all options and settings apply to all models and
transducers.
From a sonar view, select
MENU
>
Sonar Setup
>
Installation
.
Restore Sonar Defaults
: Restores the factory default settings
for the sonar view.
Transducer Type
: Allows you to select the type of transducer
that is connected to the device.
Flip Left/Right
: Changes the orientation of the SideVü sonar
view when the transducer is installed backward.
Flipped
: Sets the orientation of the Panoptix sonar view when
the transducer is installed with the cables pointing toward the
port side of the boat.
Beam Width
: Sets the width of the Panoptix transducer beam.
Narrow beam widths allow you to see deeper and farther.
Wider beam widths allow you to see more coverage area.
Use AHRS
: Allows the internal attitude heading and reference
system (AHRS) sensors to detect the installation angle of the
Panoptix transducer. When this setting is turned off, it is
assumed the transducer is installed at a 45-degree angle.
Sonar Frequencies
NOTE:
The frequencies available depend on the chartplotter,
sounder modules, and transducer being used.
Sonar Fishfinder
25
Summary of Contents for ECHOMAP UHD
Page 1: ...ECHOMAP UHD Owner sManual...
Page 6: ......


