


Connecting to the Stereo Using an Auxiliary Audio
Cable
If your Garmin DriveSmart device is not connected to the vehicle
stereo using a Bluetooth connection, you can send the device
audio to the vehicle stereo using a 3.5 mm stereo auxiliary audio
cable.
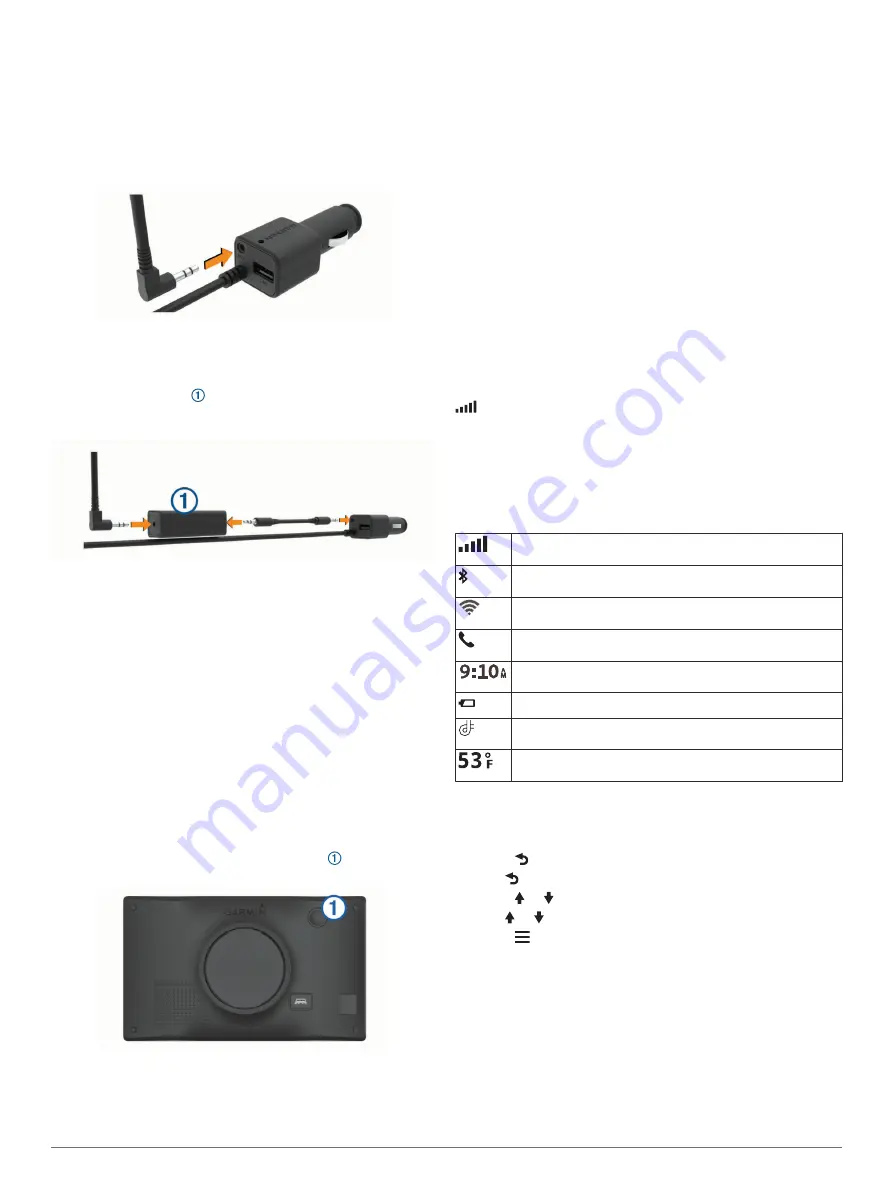
1
Connect one end of the audio cable to the 3.5 mm audio
output jack on the Garmin DriveSmart power cable plug.
TIP:
The electrical system in some vehicles may generate
background noise in the device audio, such buzzing or
squealing, when you connect to the stereo using an auxiliary
audio cable. If this occurs in your vehicle, you can connect a
ground loop isolator (sold separately) between the audio
cable and the audio output jack on the power plug. This can
help eliminate the electrical background noise.
2
Connect the other end of the audio cable to the auxiliary input
jack for your vehicle stereo.
This jack may be labeled AUX or Line In. See your vehicle
owner's manual for more information.
3
Set the audio source for your vehicle stereo to the auxiliary
input.
4
Select an option:
• During the initial Garmin Drive app pairing process, select
No
when the app asks whether you currently use
Bluetooth technology to connect your smartphone to your
vehicle.
• After the initial pairing process, from your Garmin
DriveSmart device, select
Volume
>
Bluetooth Audio
Setup
, and verify
Garmin Device
is selected for each
audio type.
Turning the Device On or Off
• To turn the device on, press the power key , or connect the
device to power.
• To put the device in power saving mode, press the power key
while the device is on.
While in power saving mode, the screen is off and the device
uses very little power, but it can wake instantly for use.
TIP:
You can charge your device faster by putting it in power
saving mode while charging the battery.
• To turn off the device completely, hold the power key until a
prompt appears on the screen, and select
Off
.
The prompt appears after five seconds. If you release the
power key before the prompt appears, the device enters
power saving mode.
Acquiring GPS Signals
When you turn on your navigation device, the GPS receiver
must collect satellite data and establish the current location. The
time required to acquire satellite signals varies based on several
factors, including how far you are from the location where you
last used your navigation device, whether you have a clear view
of the sky, and how long it has been since you last used your
navigation device. The first time you turn on your navigation
device, it may take several minutes to acquire satellite signals.
1
Turn on the device.
2
Wait while the device locates satellites.
3
If necessary, go to an open area, away from tall buildings and
trees.
in the status bar indicates the satellite signal strength. When
at least half the bars are filled, the device is ready for navigation.
Status Bar Icons
The status bar is located at the top of the main menu. The status
bar icons display information about features on the device. You
can select some icons to change settings or view additional
information.
GPS signal status. Hold to view GPS accuracy and acquired
satellite information (
).
Bluetooth technology status. Select to view the Bluetooth
settings (
).
Wi-fi signal strength. Select to change the wi-fi settings
(
).
Connected to hands-free calling. Select to place a phone call
(
).
Current time. Select to set the time (
).
Battery charge level.
Garmin Drive app connection status (
).
Temperature. Select to view the weather forecast (
).
Using the On-Screen Buttons
On-screen buttons allow you to navigate the pages, menus, and
menu options on your device.
• Select to return to the previous menu screen.
• Hold to quickly return to the main menu.
• Select or to scroll through lists or menus.
• Hold or to scroll faster.
• Select to see a context-based menu of options for the
current screen.
Adjusting the Volume
1
Select
Volume
.
2
Select an option:
• If your device is not connected to a smartphone, use the
Master Volume
slider to adjust the device volume.
• If your device is connected to a smartphone, use the two
sliders to adjust the volume for different types of audio.
Getting Started
3


