


13-18-603 Page 29
·
Start/Stop controller to bump main motor cooling fan. Proper rotation is achieved when cooling
air is discharged over the main motor body.
Operation with incorrect motor rotation can damage equipment and cause oil
eruption from the compressor inlet. When checking motor rotation, induce
minimum rotation (less than one revolution if possible). Never allow motor to
reach full speed.
The compressor unit’s direction of rotation must be checked every time the
compressor is reconnected to the power supply.
8.
System Pressure
– For your convenience, the following excerpt from the Controller Manual
13-17-600 is presented to assist in programming the system pressure:
Quick Start Guide
Operation of the AirSmart controller is easy. Simply select a Target Pressure and then press the Run
button to start the compressor, no other settings are required. The Target Pressure comes
preset from the factory at pressure as ordered. The Unload Pressure is preset to 10 psi higher. If a
different pressure setting is desired, the following steps can be used as a guide.
·
Setting the Target Pressure
The Target Pressure setting is used to set the operating point of the compressor. To make any
adjustments in the operation of the compressor, the machine must be stopped and in the Ready
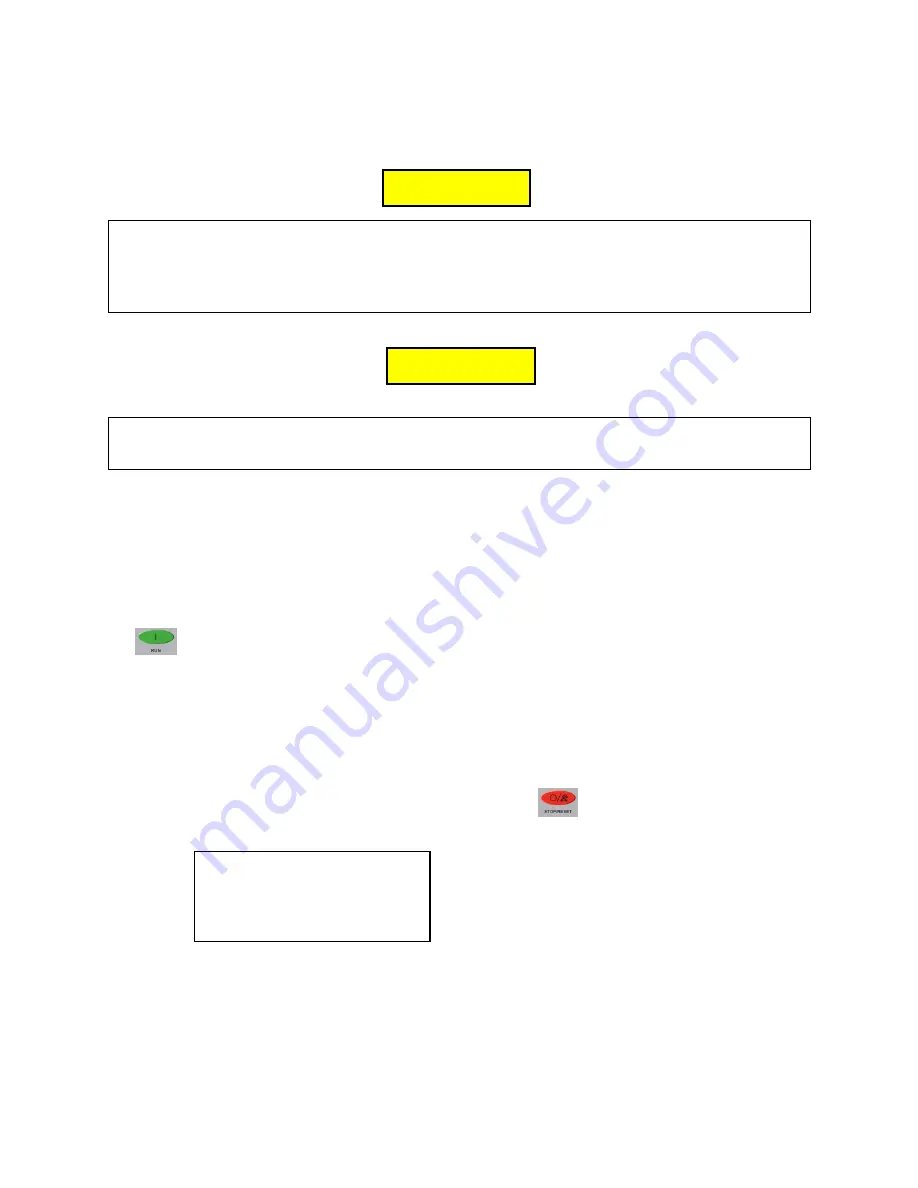
mode. Stop the compressor by pressing the Stop/Reset
button. The front panel display
should read
“READY” on line 3.
C
C
C
A
A
A
U
U
U
T
TT
I
II
O
O
O
N
N
N
C
C
C
A
A
A
U
U
U
T
TT
I
II
O
O
O
N
N
N
0 PSI 75°F
10 HRS AUTOMATIC
READY
NO SERVICE ADVISORY
Summary of Contents for AirSmart VS25A
Page 35: ...13 18 603 Page 34 Figure 4 1 ELECTRICAL ENCLOSURE HARDWARE 310CGC810 D Ref Drawing...
Page 39: ...13 18 603 Page 38 Figure 4 2 PIPING AND INSTRUMENTATION ILLUSTRATION 300CGC797 A Ref Drawing...
Page 41: ...13 18 603 Page 40 300CGC546 E Ref Drawing Page 2 of 4...
Page 42: ...13 18 603 Page 41 300CGC546 E Ref Drawing Page 3 of 4...
Page 43: ...13 18 603 Page 42 300CGC546 E Ref Drawing Page 4 of 4...
Page 45: ...13 18 603 Page 44 301CGC546 E Ref Drawing Page 2 of 4...
Page 46: ...13 18 603 Page 45 301CGC546 E Ref Drawing Page 3 of 4...
Page 47: ...13 18 603 Page 46 301CGC546 E Ref Drawing Page 4 of 4...
Page 49: ...13 18 603 Page 48 302CGC546 C Ref Drawing Page 2 of 4...
Page 50: ...13 18 603 Page 49 302CGC546 C Ref Drawing Page 3 of 4...
Page 51: ...13 18 603 Page 50 302CGC546 C Ref Drawing Page 4 of 4...
Page 53: ...13 18 603 Page 52 303CGC546 C Ref Drawing Page 2 of 4...
Page 54: ...13 18 603 Page 53 303CGC546 C Ref Drawing Page 3 of 4...
Page 55: ...13 18 603 Page 54 303CGC546 C Ref Drawing Page 4 of 4...
Page 57: ...13 18 603 Page 56 304CGC546 C Ref Drawing Page 2 of 4...
Page 58: ...13 18 603 Page 57 304CGC546 C Ref Drawing Page 3 of 4...
Page 59: ...13 18 603 Page 58 304CGC546 C Ref Drawing Page 4 of 4...
Page 61: ...13 18 603 Page 60 305CGC546 C Ref Drawing Page 2 of 4...
Page 62: ...13 18 603 Page 61 305CGC546 C Ref Drawing Page 3 of 4...
Page 63: ...13 18 603 Page 62 305CGC546 C Ref Drawing Page 4 of 4...
Page 65: ...13 18 603 Page 64 306CGC546 C Ref Drawing Page 2 of 4...
Page 66: ...13 18 603 Page 65 306CGC546 C Ref Drawing Page 3 of 4...
Page 67: ...13 18 603 Page 66 306CGC546 C Ref Drawing Page 4 of 4...
Page 69: ...13 18 603 Page 68 307CGC546 C Ref Drawing Page 2 of 4...
Page 70: ...13 18 603 Page 69 307CGC546 C Ref Drawing Page 3 of 4...
Page 71: ...13 18 603 Page 70 307CGC546 C Ref Drawing Page 4 of 4...
Page 73: ...13 18 603 Page 72 308CGC546 C Ref Drawing Page 2 of 4...
Page 74: ...13 18 603 Page 73 308CGC546 C Ref Drawing Page 3 of 4...
Page 75: ...13 18 603 Page 74 308CGC546 C Ref Drawing Page 4 of 4...
Page 77: ...13 18 603 Page 76 309CGC546 C Ref Drawing Page 2 of 4...
Page 78: ...13 18 603 Page 77 309CGC546 C Ref Drawing Page 3 of 4...
Page 79: ...13 18 603 Page 78 309CGC546 C Ref Drawing Page 4 of 4...
Page 104: ...13 18 603 Page 103 Figure 9 1 MINIMUM DISCHARGE PRESSURE CHECK VALVE...
Page 117: ......


