


14
WHITE BALANCE ATW
AWB
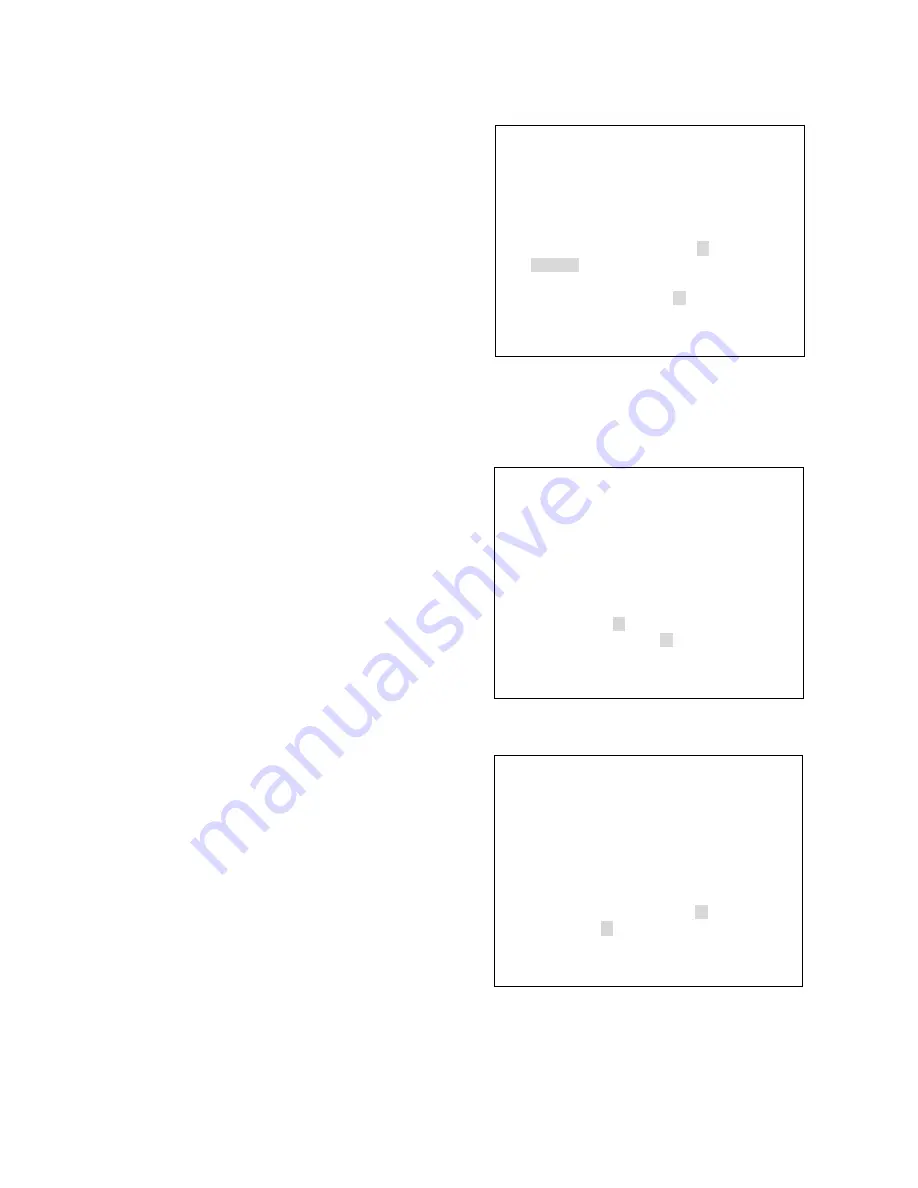
→MANUAL1
MANUAL2
MIN MAX
R ーーーーー*ー+ーーーーーーーー
B ーーーーーーー+ー*ーーーーーー
WHITE BALANCE ATW
AWB
MANUAL1
→MANUAL2
MIN MAX
R ーーーーーーー+ーーーー*ーーー
B ーーーー*ーー+ーーーーーーーー
When MANUAL 1 or MANUAL 2 is selected, the [
*
]
cursor in the indication of "R
ーー+ーー
" first flashes,
and a red level can be varied with the
▲
key and the
▼
key.
If you press the SET key to register the setting, the [
*
]
cursor in the indication of "B
ーー+ーー
" will then flash,
permitting a blue level to be varied.
When readjusting the red level here, press the CLR key.
The [
*
] cursor in the "R
ーー+ーー
" indication flashes,
and the red level can be varied again.
After blue level adjustment completion using the
▲
key
and the
▼
key, press the SET key for registration, and
the display returns to the initial screen.
●
White balance setting screen 3
WHITE BALANCE ATW
→AWB
MANUAL1
MANUAL2
→LAST
WAIT REFRESH
REDーーーーーーー+ー*ーーーーーBLUE
When AWB is selected, the cursor first flashes at the
position of LAST. Pressing the SET key here for
registration will return the display to the initial screen
without readjusting the white balance.
If you select "REFRESH" with the
▲
key and press the
SET key, the indication of "WAIT" lights for several
seconds, during the period of which the white balance is
readjusted. After readjustment completion, the [
*
] cursor
in the indication of "RED
ーー+ーー
BLUE" begins to
flash, permitting the white balance to vary as a level is
varied with the
▲
key and the
▼
key. Pressing the SET
key here for registration will return the display to the initial
screen.
●
White balance setting screen 2


