Installation
G&D RemoteAccess-GATE ·
5
English
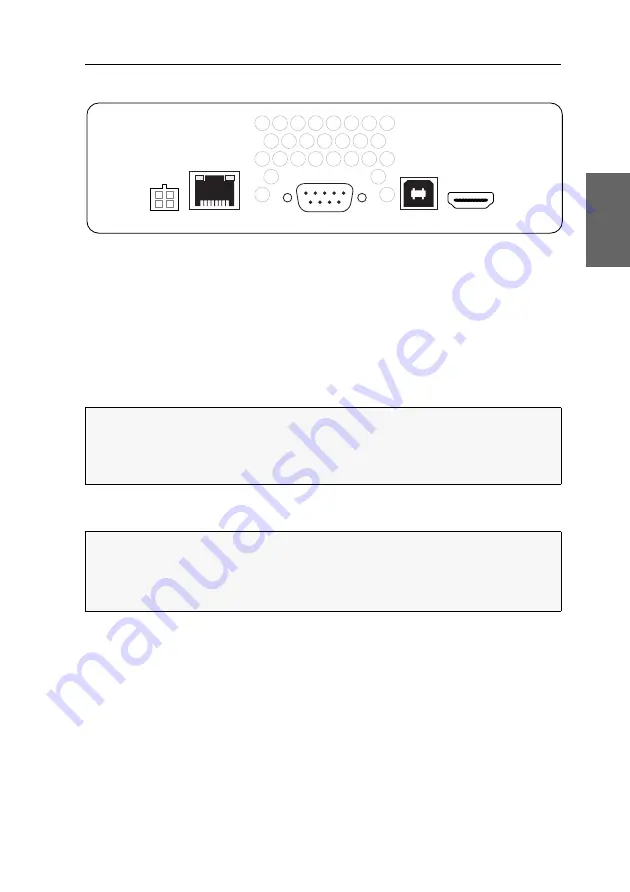
Interfaces on the back panel
Power:
Plug the connection cable of the supplied table power pack into this interface.
Connect the table power pack to a mains socket.
Network:
Plug in a category 5e (or higher) twisted-pair cable, which is available as
accessory. Connect the other end of the cable to a gigabit network.
Service:
Optionally, connect the computer whose terminal emulator (e.g.
Tera Term
or
PuTTY
) you want to use to execute CLI commands.
USB In:
Connect a USB port of a compatible G&D device or a computer to this inter-
face.
HDMI In:
Connect the HDMI video output of a compatible G&D device or computer
to this interface.
ADVICE:
When connecting a compatible G&D device, it is recommended to set
the
single mouse mode
in the
RemoteAccess-GATE
.
For detailed information about the
single mouse mode
, refer to the section of the sep-
arate
Configuration and Operation
manual for the client you are using (see page 6).
NOTE:
To connect a G&D device including a
DisplayPort
connector, use the
DP-
HDM-Converter-Cable
(A6300156), which is available as accessory.
To connect a G&D device including a
DVI
connector, use the
DVI-HDMI-Adapter-
Cable
(A6400049), which is available as accessory.
HDMI In
USB In
Service
Network
Power
Summary of Contents for RemoteAccess-GATE
Page 38: ......
Page 39: ...English...


