G
AMATRONIC
E
LECTRONIC
I
NDUSTRIES
L
TD
.
MegaV2 250 Installation Guide, Release 2.2
45
4.
R
EPLACING THE COMPUTER
The
MegaV2 250
's computer is built to provide trouble-free service for many years. However, if it
does at some point become necessary to replace the computer, the following steps explain how
to do so.
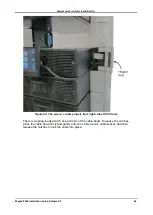
The process begins at the lower left of the
MegaV2 250
, when looking at the
MegaV2 250
from
the front. See the arrow in Figure 46.
Figure 46: The
MegaV2 250
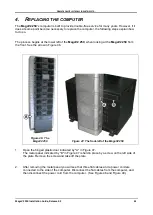
Figure 47: The front-left of the MegaV2 250
1.
Open the hinged plastic door indicated by "A" in Figure 47.
The metal panel indicated by "B" in Figure 47 is held in place by a screw on the left side of
the plate. Remove the screw and take off the plate.
2.
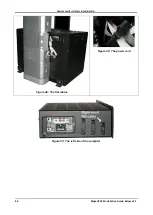
After removing the metal panel you will see that three flat cables and a power cord are
connected to the side of the computer. Disconnect the flat cables from the computer, and
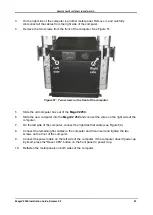
then disconnect the power cord from the computer. (See Figure 48 and Figure 49.)


