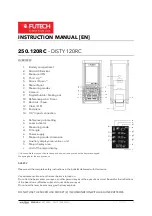


MANUAL
250.120RC – DISTY 120RC [EN]
V1.0 – 09.2022
2
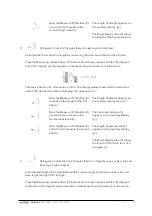
FIRST USE
Remove protective films where applied.
Open the battery compartment [1] on the back of the product and insert the recommended
batteries.
Type of battery: 3 x 1,2V AAA Ni-MH batteries (recharcheable) or 3 x 1,5V AAA Alkaline batteries
(not recharcheable).
Never use two types of batteries at the same time!
Using the micro-USB socket [2] and the supplied (micro-)USB cable you can charge the
recharcheable Ni-MH batteries.
Don’t use the micro-USB socket [2] in combination with Alkaline
batteries!
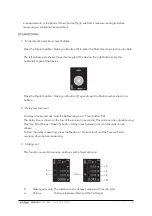
Switch on the device by holding the Measure / ON button [3] for 1 second. The screen lights and
the major interface is shown.
The product is turned off in two ways.
The product can be turned off by holding the Clear / OFF button [12] for 3 seconds.
When not being used, the meter will be turned off automatically after 150 seconds. This setting can
be changed in the menu.
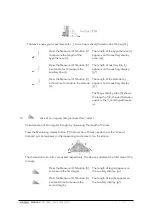
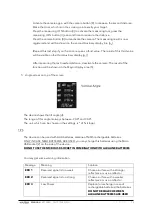
SETTINGS
Enter the menu by pressing the Menu / Equal button [6]. The settings menu will be visible.
Navigate in the menu using the Plus / Up [4] and the Minus / Down [5] button.
Select the item you like to change pressing the Menu / Equal button [6].
Change the value using the Plus / Up [4] and the Minus / Down [5] button.
Press the Menu / Equal button [6] again to confirm.
Repeat these steps to change other settings or exit the Menu using the Clear / OFF button [12].
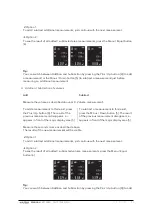
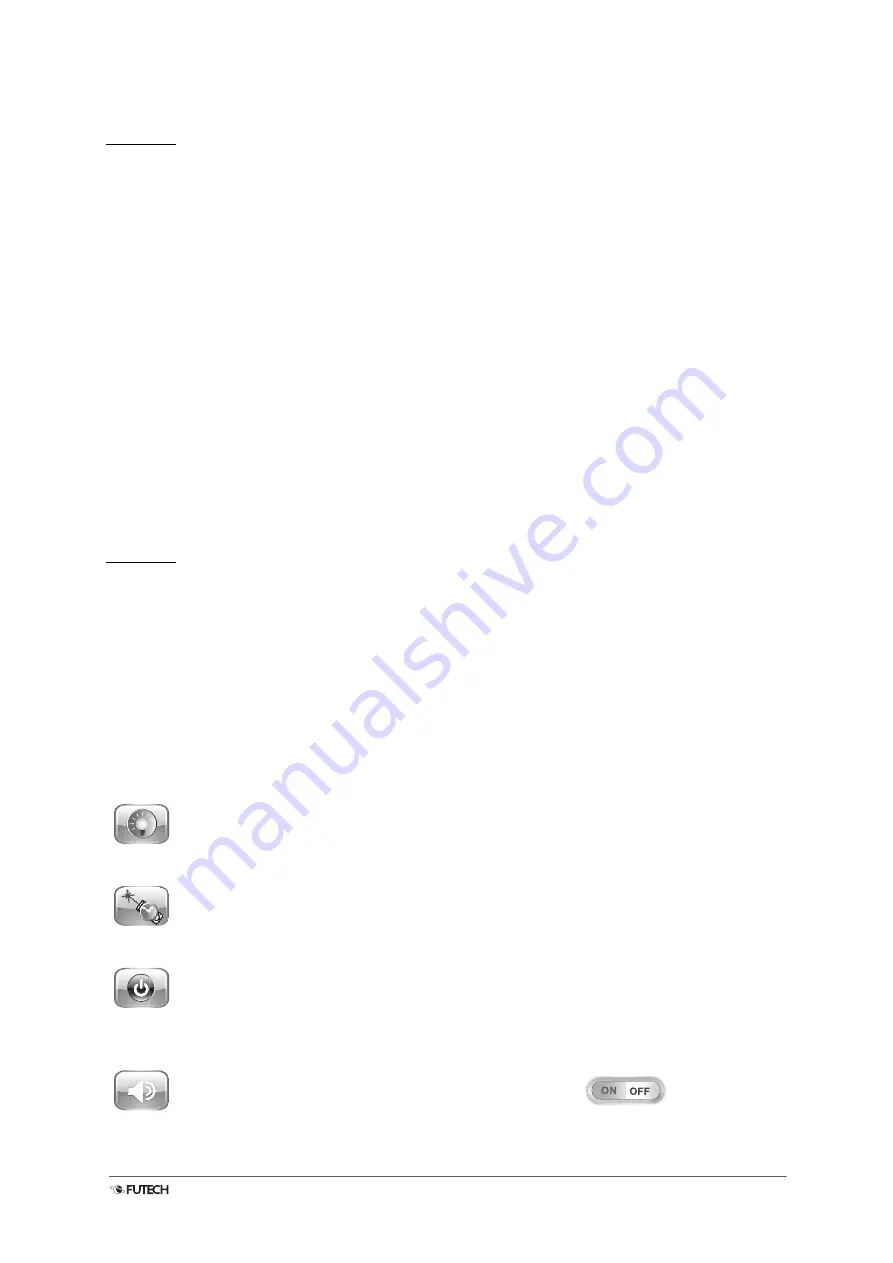
Backlight
Determine how long the display remains fully lit after
the last touch. After this time, the display will dim.
5 seconds ~ 60 seconds
Laser Lasting
Determine how long the laser is activated after
activation without measuring.
20 seconds ~ 120 seconds
Auto Power OFF
Determine how long the device remains switched on
after the last manipulation. After this time the device
will turn itself off.
100 seconds ~ 300 seconds
Tone
(De-)Activate the sound


