S e c t i o n F i v e
124
3. Slide the device into the Multi-function Bay
until it clicks into place. (Figure 5-10.)
4. A Dock Change alert may appear briefly.
Windows will conFigure the new device and
assign the drive letters that will appear in
the My Computer folder and in Windows
Explorer. The Eject PC command will
reappear in the Start menu.
Hot-Swapping Devices in the Detachable
Bay with Windows NT 4.0
Removing a Device from the Detachable Bay:
1. Close any open files on the removable device
that you plan to eject from the Multi-
function Bay.
2. Press the Undock Request button on the right
side of the Detachable Bay.
3. A System Device Change alert will appear
briefly. A Device Removal Warning window
will appear; click OK.
4. A Device Removal window will appear;
click OK.
5. Wait for the Undock OK indicator LED to
come on.
6. Slide the Bay Device Lock at the left rear cor-
ner of the Detachable Bay out from the unit.
(Figure 5-9.)
7. Slide the device in the Multi-function bay out
until the device is clear of the compartment.
This will require some force. Use the finger
ridges on the bottom of the device.
(Figure 5-9.)
8. Once the device has been removed from the
Detachable Bay, the Undock OK indicator
LED will go out.
Installing a Device in the Detachable Bay:
1. Orient the item to be installed with the
connector end toward the open Multi-
function Bay.
2. With the connector toward the back of the
Multi-function Bay, align the grooves on the
underside of the device with the tracks in the
bottom of the bay.
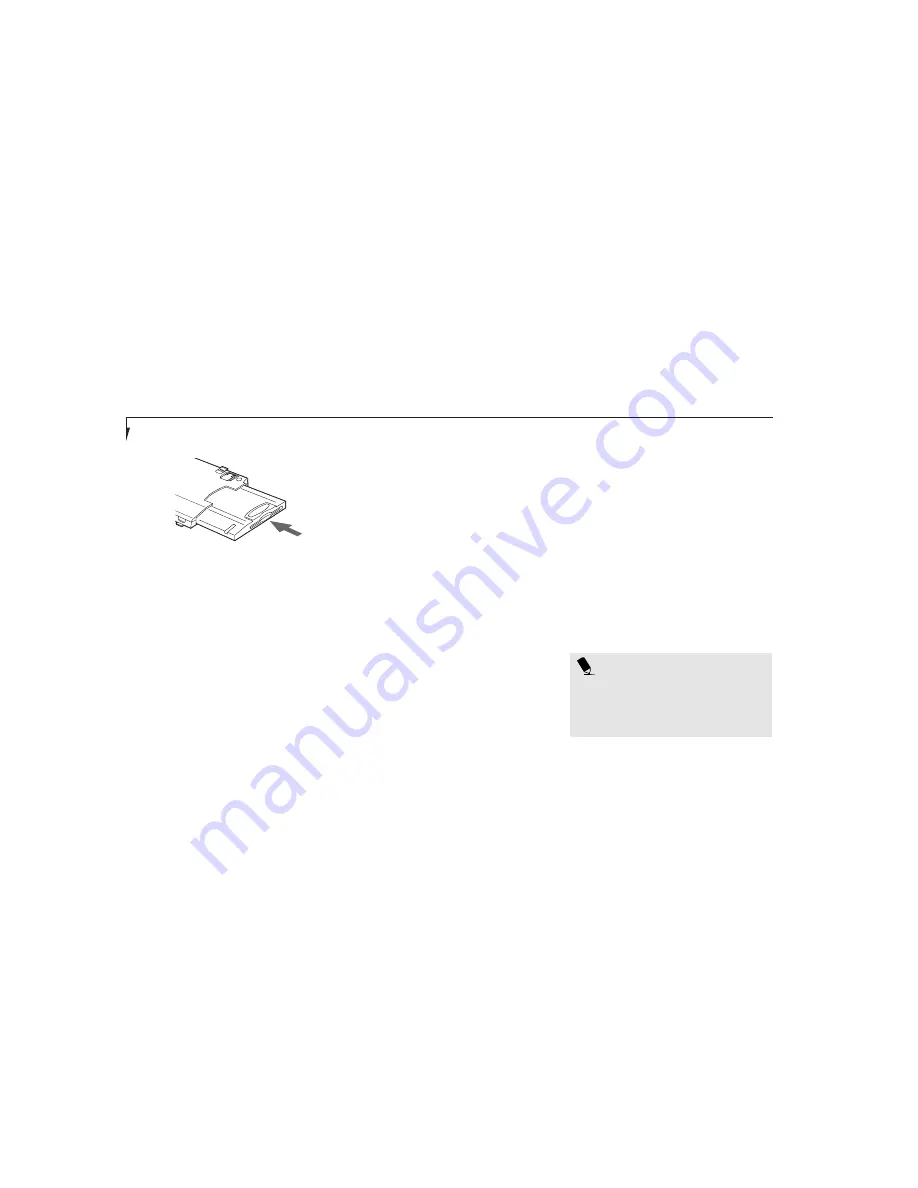
3. Slide the device into the Multi-function Bay
until it clicks into place. (Figure 5-10.)
4. A System Device Change alert will appear
briefly. A Device ConFigured window will
appear; click OK to continue.
Figure 5-10 Installing a Device in the Detachable Bay
P O I N T
The first time you Hot-Swap the SuperDisk
Drive, the system will prompt you to
reboot. Reboot the notebook in order to
properly configure the SuperDisk Drive.
Summary of Contents for Lifebook L470
Page 6: ...Black White of Cover to come ...
Page 7: ...T a b l e o f C o n t e n t s ...
Page 10: ...T a b l e o f C o n t e n t s iv ...
Page 11: ...LifeBook L Series from Fujitsu P r e f a c e ...
Page 14: ...P r e f a c e viii ...
Page 26: ...S e c t i o n O n e 12 ...
Page 70: ...S e c t i o n T h r e e 56 ...
Page 130: ...S e c t i o n F o u r 116 ...
Page 150: ...S e c t i o n F i v e 136 ...
Page 182: ...S e c t i o n S e v e n 168 ...
Page 196: ...A p p e n d i c e s 182 ...
Page 197: ...I n d e x ...


