En-5
Thicknesses of Annealed Copper Pipes (R410A)
Pipe outside diameter
[mm (in.)]
Thickness
[mm]
6.35 (1/4)
0.8
9.52 (3/8)
12.70 (1/2)
15.88 (5/8)
1.0
19.05 (3/4)
1.2
4.2. Protection of pipes
Protect the pipes to prevent the entry of moisture and dust.
Especially, pay attention when passing the pipes through a hole or connecting the end of
a pipe to the outdoor unit.
Location
Working period
Protection method
Outdoor
1 month or more
Pinch pipes
Less than 1 month
Pinch or tape pipes
Indoor
-
Pinch or tape pipes
4.3. Refrigerant pipe size and allowable piping length
CAUTION
Keep the piping length between the indoor unit and outdoor unit within the allowable
tolerance.
Pipe diameter <Liquid/Gas>
(Standard)
[mm (in.)]
9.52 (3/8) / 15.88 (5/8)
Max. piping length (L1)
[m]
75
*1
Min. piping length (L1)
[m]
5
Max. height difference (H1)
<Indoor unit to outdoor unit>
[m]
30
View (Example)
L1
H1
*1: For the standard pipe diameter.
4.4. Connectable pipe diameter and max. piping length
The
fi
gures enclosed by a thick-lined frame indicate the standard pipe diameter and max.
piping length.
Pipe diameter
[mm (in.)]
Liquid pipes
9.52 (3/8)
12.70 (1/2)
Gas pipes
15.88
(5/8)
19.05
(3/4)
15.88
(5/8)
19.05
(3/4)
Piping length
[m (m)]
Max. piping length < L1 >
*1
(Pre-charge length)
75
[30]
50
[30]
35
[15]
35
[15]
*1: Refer to “View” in the table of “4.3. Refrigerant pipe size and allowable piping length”.
5. PIPE INSTALLATION-1
5.1. Opening a knock out hole
CAUTION
Be careful not to deform or scratch the panel while opening the knock out holes.
To protect the piping insulation after opening a knock out hole, remove any burrs from
the edge of the hole. It is recommended to apply rust prevention paint to the edge of the
hole.
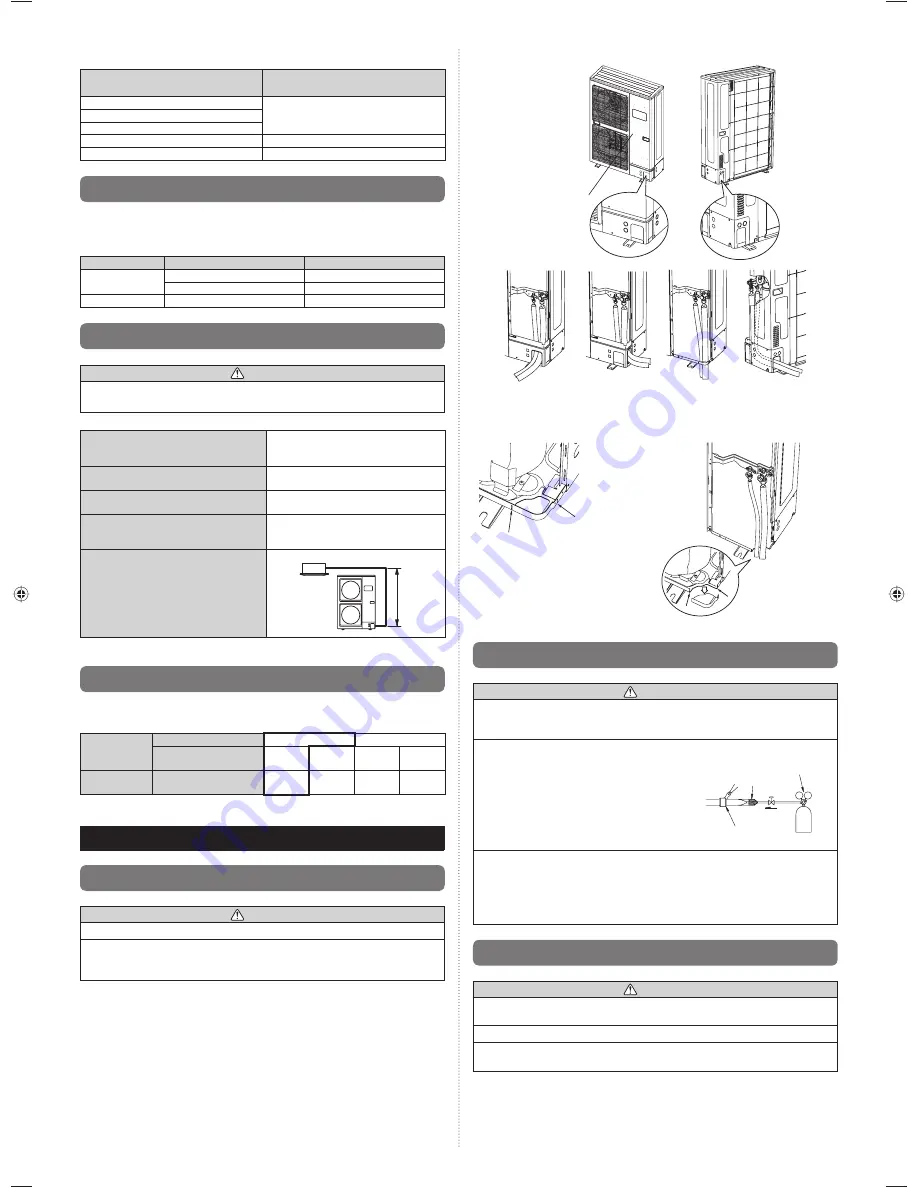
Pipes can be connected from 4 directions, front, lateral side, rear side and bottom.
•
(Fig. A)
When connecting at the bottom, remove the service panel and piping cover on the
•
front of the outdoor unit, and open the knock out hole provided at the bottom corner of
the piping outlet.
It can be installed as shown on “Fig. B” cutting out the 2 slits as indicated on “Fig. C”.
•
(When cutting slits, use a steel saw.)
Fig.
A
Service panel
Front
connection
Bottom
connection
(No. 1)
Lateral
connection
Rear
connection
Fig. B
Fig. C
Slit
Slit
Bottom
connection
(No. 2)
5.2. Brazing
CAUTION
If air or another type of refrigerant enters the refrigeration cycle, the internal pressure in
the refrigeration cycle will become abnormally high and prevent the unit from exerting its
full performance.
Apply nitrogen gas while brazing the pipes. If a pipe is brazed without applying nitrogen
gas, an oxidation
fi
lm will be created.
This can degrade performance or damage the
parts in the unit (such as the compressor or
valves).
Pressure regulating valve
Cap
Brazing area
Nitrogen gas
Nitrogen gas pressure: 0.02 MPa
(= pressure felt suf
fi
ciently on
the back of the hand)
For brazing material, use phosphor copper that does not require
fl
ux. Do not use
fl
ux to
braze pipes. If the
fl
ux is the chlorine type, it will cause the pipes to corrode.
Furthermore, if the
fl
ux contains
fl
uoride, it will adversely affect the refrigerant pipe
system such as by degrading the refrigerant.
If
fl
uoride is contained, quality of refrigerant deteriorates and affects the refrigerant
piping system.
5.3. Flare connection (pipe connection)
CAUTION
Do not use mineral oil on a
fl
ared part. Prevent mineral oil from getting into the system
as this would reduce the lifetime of the units.
While welding the pipes, be sure to blow dry nitrogen gas through them.
The maximum lengths of this product are shown in the table. If the units are further apart
than this, correct operation cannot be guaranteed.
9379069403_IM.indb 5
9379069403_IM.indb 5
1/29/2013 4:44:19 PM
1/29/2013 4:44:19 PM


