


109
CAUTION
Do not place heavy objects on the
camera.
This can cause the heavy object to tip
over or fall and cause injury.
Do not move the camera while the
AC power adapter is still connected.
Do not pull on the connection cord
to disconnect the AC power adapter.
This can damage the power cord or
cables and cause a fire or electric shock.
Do not use the AC power adapter
when the plug is damaged or the
plug socket connection is loose.
This could cause a fire or electric shock.
Do not cover or wrap the camera or the
AC power adapter in a cloth or blanket.
This can cause heat to build up and
distort the casing or cause a fire.
When you are cleaning the camera
or you do not plan to use the camera
for an extended period, remove the
battery and disconnect and unplug
the AC power adapter.
Failure to do so can cause a fire or
electric shock.
When charging ends, unplug the
charger from the power socket.
Leaving the charger plugged into the
power socket can cause a fire.
Using a flash too close to a person’s
eyes may temporarily affect their
eyesight.
Take particular care when taking
pictures of children.
When an xD-Picture Card is
removed, the card could come out of
the slot too quickly. Use your finger
to hold it and gently release the card.
Request regular internal testing and
cleaning for your camera.
Build-up of dust in your camera can
cause a fire or electric shock.
h
Contact your FUJIFILM dealer to
request internal cleaning every 2 years.
h
Please note this is not a free of charge
service.
Do not sit down putting the camera
into a trousers pocket etc.
When putting the camera into a bag,
keep it in the special protective case.
Do not place heavy objects on the
camera.
Do not leave the camera on the place
such as floor. When storing the
camera, keep it in the special
protective case. It prevents subjecting
the camera to strong shocks.
h
Any of these actions can cause an
unexpected injury by broken
reinforced glass.
h
Be careful of glass splinter if the LCD
monitor is broken. When the camera
suffers damage, put the camera into
a plastic bag and take in it to your
FUJIFILM dealer.
Do not heat, change or take apart the
battery.
Do not drop or subject the battery to
impacts.
Do not store the battery with metallic
products.
Do not use chargers other than the
specified model to charge the battery.
Any of these actions can cause the
battery to burst or leak and cause fire or
injury as a result.
Use only the battery or AC power
adapters specified for use with this
camera.
Do not use voltages other than the
power supply voltage shown.
The use of other power sources can
cause a fire.
If the battery leaks and fluid gets in
contact with your eyes, skin or
clothing. Flush the affected area with
clean water and seek medical
attention or call an emergency
number right away.
Do not use the charger to charge
battery other than those specified here.
The charger is designed for NP-40
Rechargeable Battery. Using the charger
to charge conventional battery or other
types of rechargeable battery can cause
the battery to leak fluid, overheat or burst.
When carrying the NP-40, install it in
a digital camera or keep it in the hard
case.
When storing the NP-40, keep it in
the hard case provided.
When discarding, cover the battery
terminals with insulation tape.
h
Contact with other metallic objects or
battery could cause the battery to
ignite or burst.
Keep xD-Picture Cards out of the
reach of small children.
Because
xD-Picture Card
s are small,
they can be swallowed by children. Be
sure to store
xD-Picture Card
s out of
the reach of small children. If a child
swallows an
xD-Picture Card
, seek
medical attention or call an emergency
number.
WARNING
CAUTION
Do not use this camera in locations
affected by oil fumes, steam,
humidity or dust.
This can cause a fire or electric shock.
Do not leave this camera in places
subject to extremely high temperatures.
Do not leave the camera in locations such
as a sealed vehicle or in direct sunlight.
This can cause a fire.
Keep out of the reach of small children.
This product could cause injury in the
hands of a child.
108
Safety Notes
h
Make sure that you use your FinePix Z1 camera
correctly. Read these Safety Notes and your
Owner’s Manual carefully before use.
h
After reading these Safety Notes, store them in a
safe place.
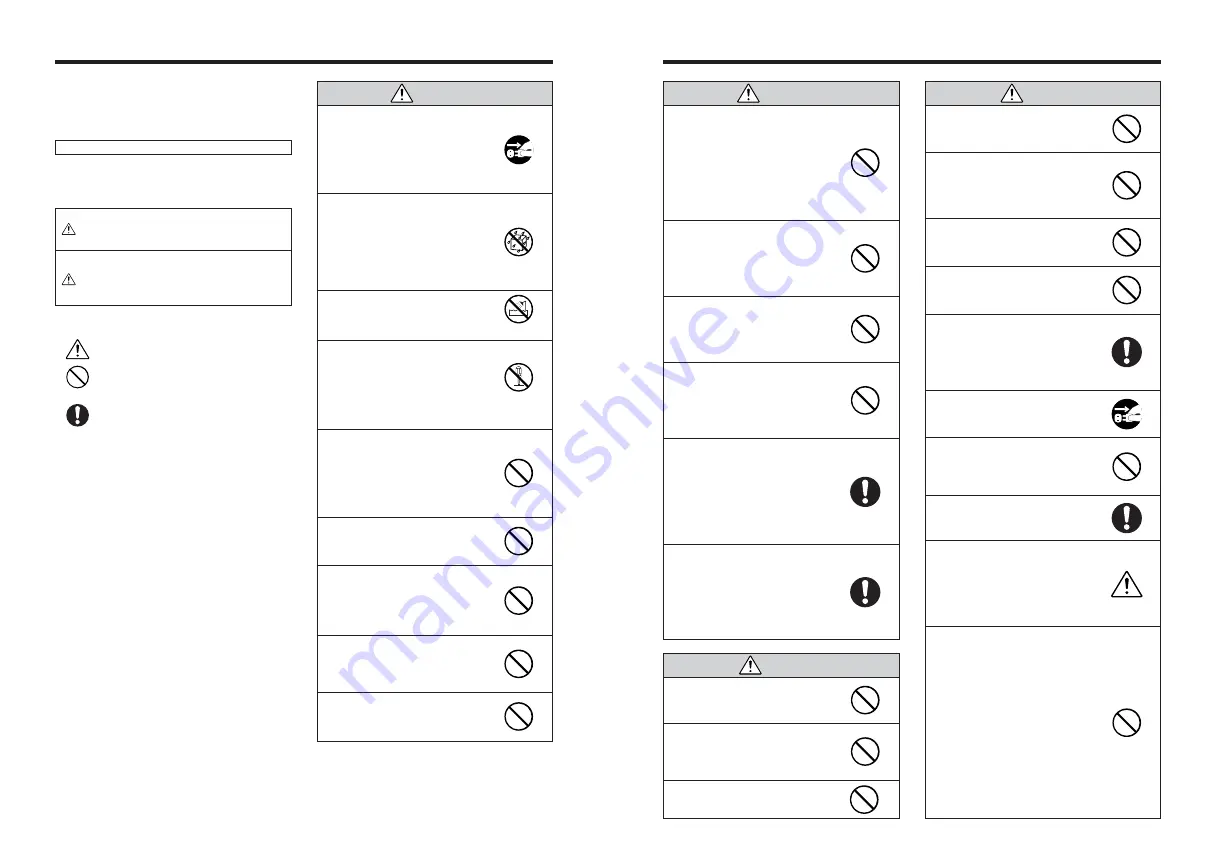
About the Icons
The icons shown below are used in this document to
indicate the severity of the injury or damage that can
result if the information indicated by the icon is ignored
and the product is used incorrectly as a result.
WARNING
This icon indicates that death
or serious injury can result if
the information is ignored.
CAUTION
This icon indicates that
personal injury or material
damage can result if the
information is ignored.
The icons shown below are used to indicate the nature
of the information which is to be observed.
Triangular icons tell you that this
information requires attention (“important”).
Circular icons with a diagonal bar tell you
that the action indicated is prohibited
(“Prohibited”).
Filled circles with an exclamation mark tell
you an action that must be performed
(“Required”).
If a problem arises, turn the camera
off, remove the battery, disconnect
and unplug the AC power adapter.
Continued use of the camera when it is
emitting smoke, is emitting any unusual
odor, or is in any other abnormal state
can cause a fire or electric shock.
h
Contact your FUJIFILM dealer.
Do not allow water or foreign objects
to enter the camera.
If water or foreign objects get inside the
camera, turn the camera off, remove
the battery and disconnect and unplug
the AC power adapter.
Continued use of the camera can cause
a fire or electric shock.
h
Contact your FUJIFILM dealer.
Do not use the camera in the
bathroom or shower.
This can cause a fire or electric shock.
Never attempt to change or take
apart the camera. (Never open the
casing.)
Do not use the camera when it has
been dropped or the casing is
damaged.
This can cause a fire or electric shock.
h
Contact your FUJIFILM dealer.
Do not change, heat or unduly twist
or pull the connection cord and do
not place heavy objects on the
connection cord.
These actions could damage the cord
and cause a fire or electric shock.
h
If the cord is damaged, contact your
FUJIFILM dealer.
Do not place the camera on an
unstable surface.
This can cause the camera to fall or tip
over and cause injury.
Never attempt to take pictures while
in motion.
Do not use the camera while you are
walking or driving a vehicle.
This can result in you falling down or
being involved in a traffic accident.
Do not touch any metal parts of the
camera during a thunderstorm.
This can cause an electric shock due to
induced current from the lightning
discharge.
Do not use the battery except as
specified.
Load the battery as aligned with the
indicator.
WARNING
Unplug from
power socket.
Do not use in the
bathroom or shower.
Do not
disassemble.
Summary of Contents for FinePix Z1
Page 56: ...111 110 ...


