92
92
93
Advanced
Features
Playback
4
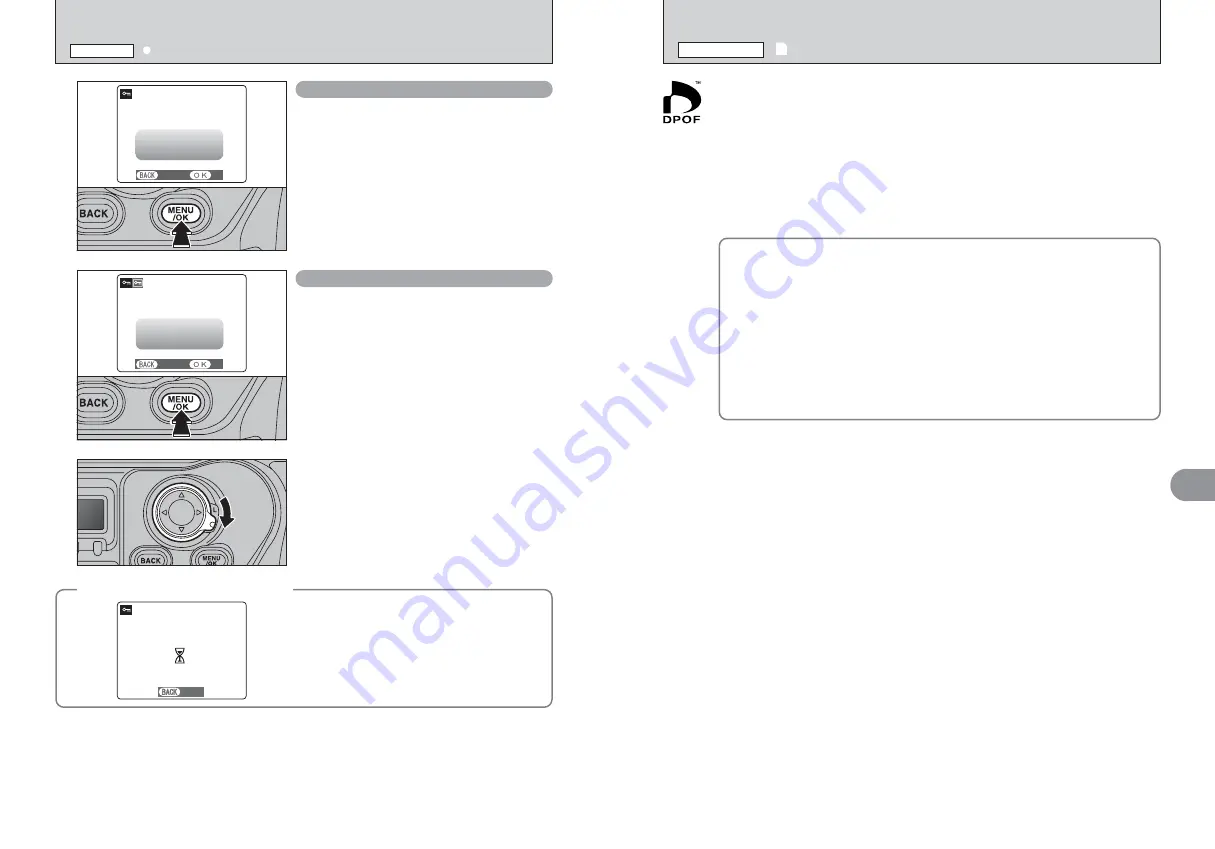
Press the “MENU/OK” button to protect all the
frames (files).
SET ALL
SET ALL
SET ALL
SET ALL OK?
SET ALL OK?
IT MAY TAKE A WHILE
IT MAY TAKE A WHILE
YES
YES
CANCEL
CANCEL
Press the “MENU/OK” button to unprotect all the
frames (files).
RESET ALL
RESET ALL
RESET ALL
RESET ALL OK?
RESET ALL OK?
IT MAY TAKE A WHILE
IT MAY TAKE A WHILE
YES
YES
CANCEL
CANCEL
◆
To stop the procedure midway
◆
If the images are very large, protecting or
unprotecting all the frames (files) may take some
time.
If you want to take a picture during the procedure,
press the “BACK” button. To then return to protecting
or unprotecting all the frames (files), start the
procedure on P.91 from step
1
.
SET ALL
SET ALL
CANCEL
CANCEL
When you have finished the procedure, lock the 4-
direction button to prevent accidental improper use.
4
i
PROTECTING IMAGES: SET ALL / RESET ALL
PLAYBACK MENU
u
HOW TO SPECIFY PRINT OPTIONS (DPOF)
PLAYBACK MENU
DPOF stands for Digital Print Order Format and refers to a format that is used for
recording printing specifications for images shot using a digital camera on media such as
an
xD-Picture Card
and CF/Microdrive. The recorded specifications include information
on which frames are to be printed.
This section gives a detailed description of how to order your prints with the FinePix S3
Pro.
✽
Note that some printers do not support date and time imprinting or specification of the
number of prints.
✽
Note that the warnings shown below may be displayed while you are specifying the
prints.
4
5
(
➡
P.86, 90)
When erasing the image, the DPOF setting for that image is deleted at the same time.
6
(
➡
P.94)
When inserting a media that contains images specified for printing on by another
camera, those print specifications are all reset and replaced by the new print
specifications.
u
(
➡
P.134)
Up to 999 images can be specified on the same media.


