43
Creating an automatic stitch
Ensure the Auto mode is selected, then in the stich interface drag and
drop one scan onto the other. The system will process the scans and
“roughly align them” before creating a stitch group. To add to this
stitch group simply select another scan and drag and drop it onto the
next logical scan.
Simply work around the item stitching together the scans. If a scan fails to align correctly
check there is sufficient overlap and there is not any surplus geometry.
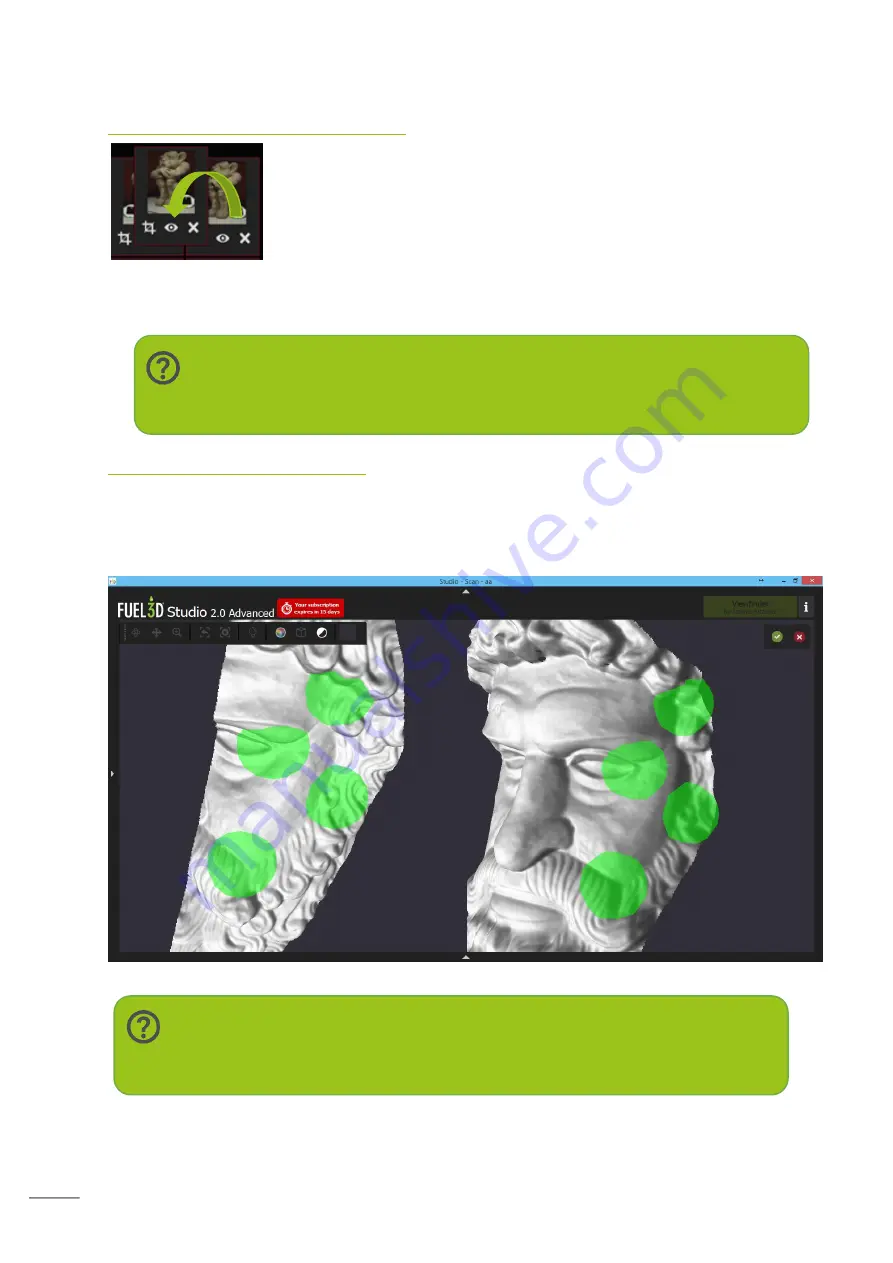
Creating a manual stitch
If automatic stitching does not give the results you require you can switch to manual
stitching. This still requires you to drag and drop the scans over each other but will then
present the user with both the selected scans. It is then left to the user to select matching
areas on both scans. A minimum if three areas are required but we recommend four.
Note:
You can use the trim icon to adjust the trimming of the scans during stitching
Note:
When selecting areas to use for alignment, choose areas with consistent detail.


