50
FONIX FP40 Portable Hearing Aid Analyzer
3.6.1 Preparing for the measurement
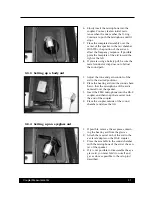
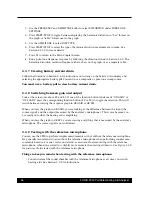
1. Set up your analyzer so that the speaker is in the upright position. See Section 5.1.1.2.
2. Position the stand or chair you are going to use to set up the hearing aid. If you are using
a chair, face the chair to the side, so that the sound field will not bounce against the large
flat surface of the back of the chair. The testing surface should be about 12 inches from the
speaker.
3. Use Fun-Tak to affix the large measurement microphone to the testing surface. If you are
going to be holding the aid during the test, then hold the measurement microphone about 12
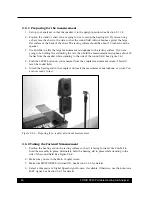
inches from the speaker while standing to the side of the sound field. See Figure 3.6.1.
4. Push the LEVEL button on your analyzer from the coupler measurement screen. This will
level the sound field.
5. Attach the hearing aid to the coupler and insert the measurement microphone, as usual. You
are now ready to test.
Figure 3.6.1—Preparing for a coupler directional measurement
3.6.2 Taking the Forward Measurement
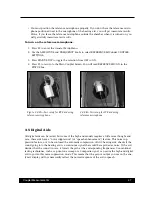
1. Position the hearing aid on the testing surface so that it is facing forward. Use Fun-Tak to
hold the assembly in place. Alternately, hold the hearing aid in place while standing to the
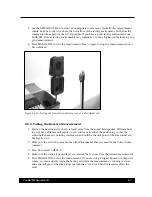
side of the sound field. See Figure 3.6.2.
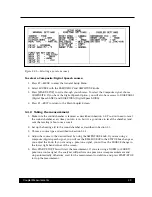
2. Make sure you are in the Main Coupler screen.
3. Make sure MULTICURVE is turned ON. See Section 3.4.3 for details.
4. Select a Composite or Digital Speech signal source, if available. Otherwise, use the pure-tone
FAST signal. See Section 3.4.1 for details.

