38
FONIX FP40 Portable Hearing Aid Analyzer
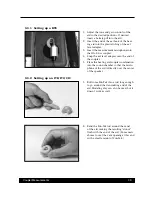
1. Set up the aid for testing as described in Section 3.3. If you are using a battery pill for test-
ing, don’t plug it in yet. If you are using a regular battery for testing, do not turn on the hear-
ing aid.
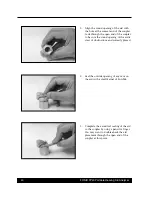
2. Insert the measurement microphone into the coupler.
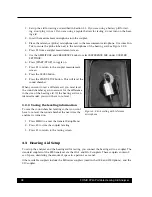
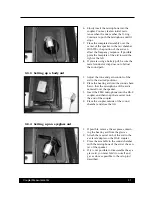
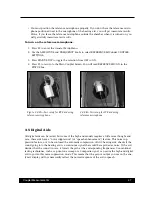
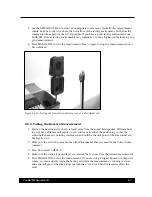
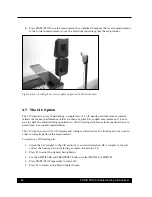
3. Place the reference (probe) microphone next to the measurement microphone. Use some Fun-
Tak to secure the probe tube next to the microphone of the hearing aid. See Figure 3.2.2.
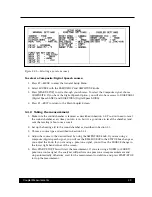
4. Press F1 from a coupler measurement screen.
5. Use the AMPLITUDE and FREQUENCY knobs to select REFERENCE MIC under COUPLER
SETTINGS.
6. Press [START/STOP] to toggle on.
7. Press F1 to return to the coupler measurement
screen.
8. Press the LEVEL button.
9. Press the START/STOP button. This will level the
sound chamber.
When you want to test a different aid, you must level
the sound chamber again to account for the difference
in the size of the hearing aid. (If the hearing aid is an
identical model, you won’t have to re-level.)
3.2.3 Saving the leveling information
To save the sound chamber leveling so that you won’t
have to re-level the sound chamber the next time the
analyzer is turned on:
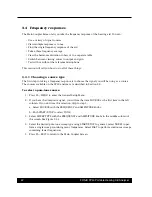
1. Press MENU to enter the General Setup Menu.
2. Press F5 to store the coupler leveling.
3. Press F1 to return to the testing screen.
3.3 Hearing Aid Setup
To set up the analyzer and the hearing aid for testing, you connect the hearing aid to a coupler. The
standard couplers of the FP40 analyzer are the HA-1 and HA-2 couplers. These couplers contain 2
cc of space, simulating the amount of space in a person’s ear canal.
Other available couplers include the MZ-series couplers (used in the OES and JIS Options), and the
CIC coupler.
Figure 3.2.2—Leveling with reference
microphone


