Cooking Systems with Oil
Super Easy Pasta 311 Super Easy Pasta 311 Built-In
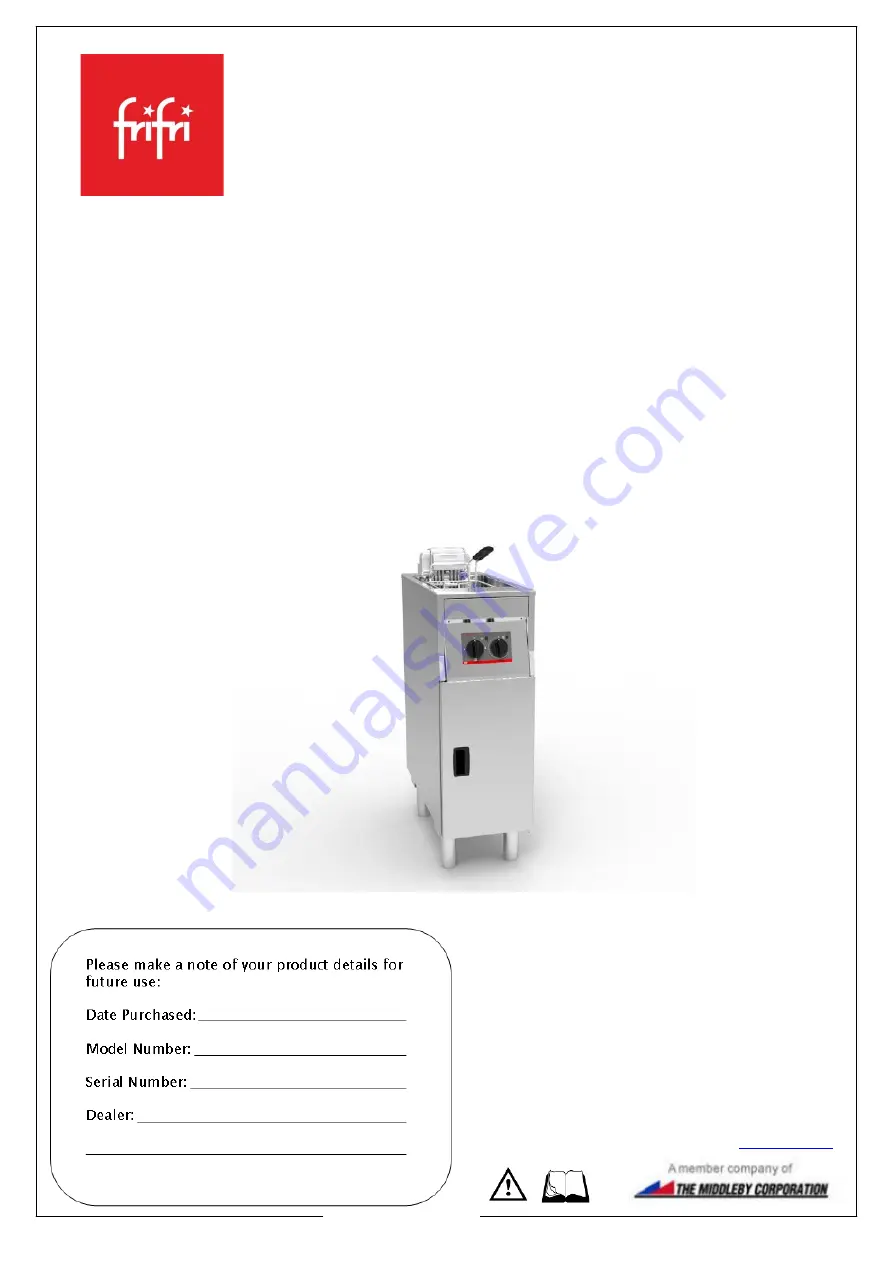
Installation and User manual
Lincat Ltd
Whisby Road
Lincoln
LN6 3QZ
Tel +44 (0) 1522 503250
Fax +44 (0) 1522 875530
[email protected]
IS553
Page 1: ...ing Systems with Oil Super Easy Pasta 311 Super Easy Pasta 311 Built In Installation and User manual Lincat Ltd WhisbyRoad Lincoln LN6 3QZ Tel 44 0 1522 503250 Fax 44 0 1522 875530 info frifri co uk I...
Page 2: ...2 LAYOUT AND DIMENSIONS Floor standing pastacooker Built In Unit Type 311 Net weight Kg 70 Number of baskets 1 Water quantity at maximum level l 30 Pasta quantity per cycle Kg 2...
Page 3: ...an electrician or a qualified person who can ensure that the installation meets the required standards Proceed as follows Check that the specifications of the electrical mains correspond to those giv...
Page 4: ...ithin the scope of cleaning work any of these warning symbols become detached the operator of the pastacooker is obliged to apply these warning symbols again immediately 3 1 Specified use of the pasta...
Page 5: ...ersonnel at the installation location of the pastacooker 4 INSTALLATION AND STARTING UP 4 1 Installation of the floor standing appliance When installing the machine please take into consideration the...
Page 6: ...nted to the chassis above the metal pressure pipe to prevent water getting trapped in the silicone pipe 4 2 3 Control panel The control panel may be either fitted on the supplied metal panel to a cuto...
Page 7: ......
Page 8: ...with water Heating control knob to regulate cooking temperature Green neon indicating power to the appliance Amber neon indicating element operation Selector control knob displays the following Off W...
Page 9: ...trol down The unit is now ready to cook 5 4 Switching off the pasta cooker Turn both control knobs to the Off position The neon indicators will extinguish Switch off at the mains supply 5 5 Emptying t...
Page 10: ...he guarantee is in addition to and does not diminish your statutory or legal rights The guarantee does not cover Accidental damage misuse or use not in accordance with the manufacturer s instructions...
Page 11: ...oad Lincoln LN6 3QZ Tel 44 0 1522 503250 Fax 44 0 1522 875530 info frifri co uk Notieren Sie bitte die technischen Daten Ihres Produkts zur sp teren Verwendung Kaufdatum _____________________ Modellnu...
Page 12: ...2 ANORDNUNG UND ABMESSUNGEN Pasta Cooker Standger t Einbauteil...
Page 13: ...ahl der K rbe 1 Maximaler Wasserinhalt l 30 Nudelmenge pro Zyklus Kg 2 2 1 Identifizierung des Ger ts Jeder Pasta Cooker ist mit einem technischen Typenschild ausgestattet Halten Sie die Daten des Typ...
Page 14: ...ld angegebenen Daten entsprechen Das Schild ist an der Innenseite der T r angebracht Stellen Sie die Verbindung gem IEC oder CEI 335 1 Normen und der rtlichen Bestimmungen her Der Netzstecker muss nac...
Page 15: ...vor der Auslieferung am Pasta Cooker an wichtigen Positionen Warnsymbole Aufkleber angebracht Sollten sich diese Warnsymbole w hrend des Betriebs oder durch die Reinigung abl sen ist der Betreiber de...
Page 16: ...cher dass der Pasta Cooker vom Stromnetz getrennt wurde Kontrollieren Sie nach Beendigung der Wartungsarbeiten alle Sicherheitsfunktionen 3 3 Verf gbarkeit der Betriebsanleitung Eine Kopie dieser Betr...
Page 17: ...uschnittanweisung f r den Abfluss ist f r den Boden der Einheit 4 2 2 Druckschalter Der eingebaute Druckschalter ist Teil des Stromkreises und sollte an dem Geh use oberhalb des metallenen Druckrohrs...
Page 18: ...nden Ablauf anschliessen unter Beachtung der rtlichen Abwassergesetze 4 23 Einlassmagnetventil Das Einlassmagnetventil wird mit Montageplatte geliefert Der erforderliche Zuschnitt ist unten abgebildet...
Page 19: ...Wahlschalter zeigt folgende M glichkeiten Aus Off Bef llung mit Wasser In Betrieb Aufheizen Nachf llen des Wassers w hrend des Heizvorgangs Der W rmeregler zeigt folgende M glichkeiten Aus Off Positio...
Page 20: ...Reinigung oder Wartung immer die Stromversorgung Stahlteile k nnen mit einem feuchten Tuch und einem milden Reinigungsmittel ges ubert werden aggressive oder Scheuermittel wie Stahlwolle oder auf Chlo...
Page 21: ...lsche Installation Modifizierung nicht autorisierte Servicearbeiten oder Besch digungen durch Kesselsteinbildung oder Ablagerungen von Nahrungsmittelresten usw Der Hersteller lehnt jegliche Verantwort...
Page 22: ...castrer Manuel d Installation et d Utilisation Lincat Ltd WhisbyRoad Lincoln LN6 3QZ Tel 44 0 1522 503250 Fax 44 0 1522 875530 info frifri co uk Veuillez prendre en note quelques d tails pour une util...
Page 23: ...2 LA DISPOSITION ET LES DIMENSIONS Cuiseur p tes poser sur le sol Unit encastrer...
Page 24: ...e quantit d eau l 30 Quantit de p tes par cycle Kg 2 2 1 Identification de l appareil Chaque cuiseur p tes est fourni avec une plaque d identification technique Gardez toujours cette plaque d identifi...
Page 25: ...l appareil la plaque est situ e l int rieur de la porte Connectez conform ment aux normes IEC ou CEI 335 1 et aux r glementations locales La fiche doit rester accessible apr s avoir install la friteu...
Page 26: ...osants internes chauds Attention la chaleur qui peut engendrer des blessures Laissez toujours refroidir les zones froides Eau chaude Attention l eau chaude qui peut engendrer des blessures Laissez tou...
Page 27: ...ifs de s curit en effectuant des changements sur le cuiseur p tes Ne retirez jamais les symboles de dangers qui ont t appos s sur le cuiseur p tes en fonction du pays Remplacez imm diatement les symbo...
Page 28: ...21 Installation de la cuve Le plan de cuisson en acier inoxydable doit tre d coup la taille indiqu e ci dessous Le cadre fourni doit tre soud au plan de cuisson et scell par un joint en silicone afin...
Page 29: ...panneau m tallique fourni selon la d coupe montr e ci dessous ou les composants peuvent tre mont s directement sur la plaque de bord Raccordez le drainage de la cuve un drainage appropri conform ment...
Page 30: ...l eau Un bouton de contr le de chaleur pour r guler la temp rature de cuisson Un n on vert indiquant la puissance de l appareil Un n on ambre indiquant le fonctionnement de l l ment Le bouton de cont...
Page 31: ...isiner 5 3 Eteindre le cuiseur p tes Tournez les deux boutons de contr le la position Off Les indicateurs lumineux s teindront D connectez l alimentation secteur 5 4 Vider le r servoir Ouvrez le robin...
Page 32: ...garanti de mani re globale en Grande Bretagne durant 2 ans Cette garantie est propos e en plus et ne diminue pas vos droits statutaires ou l gaux La garantie ne couvre pas Les dommages accidentels le...