


80
MyCrown Mill
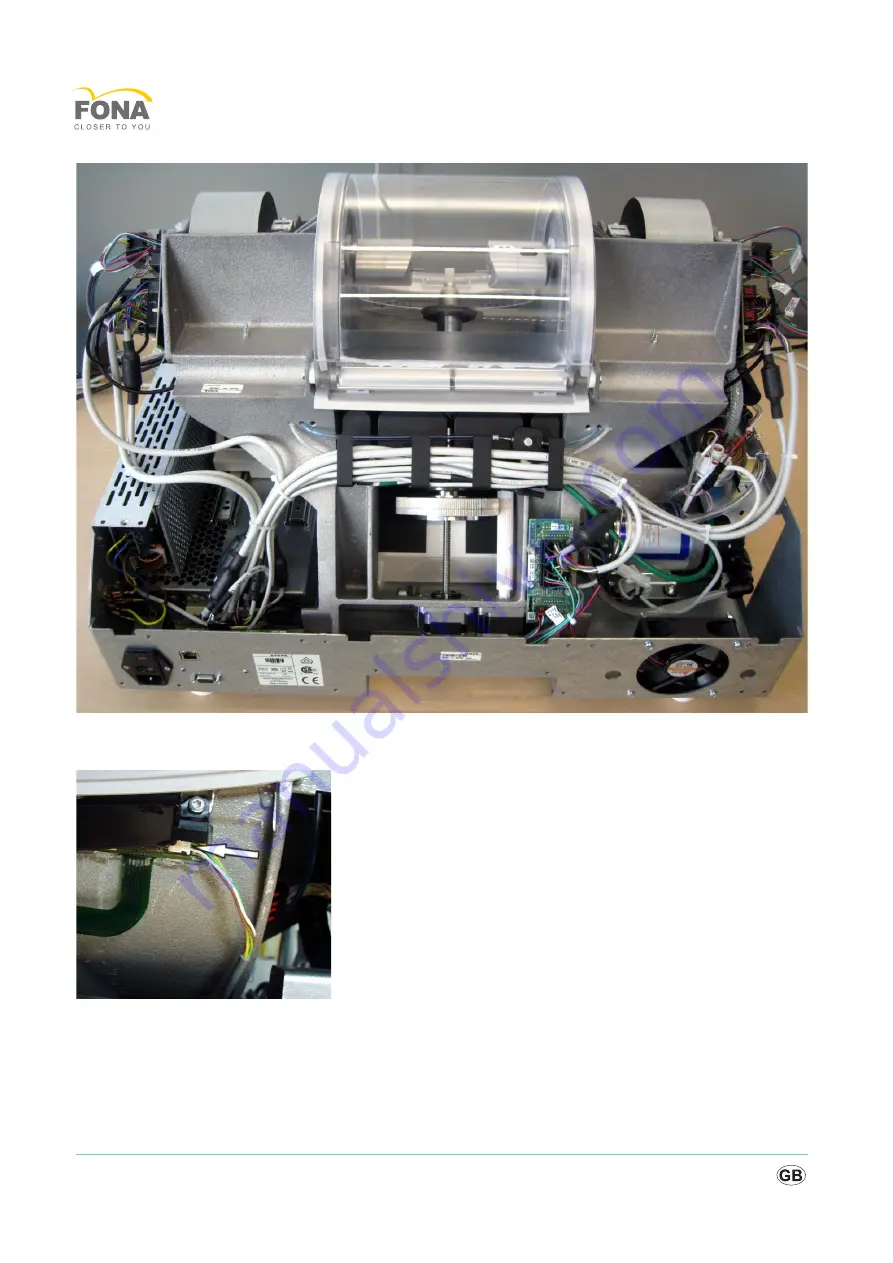
Inserting the cable harness
5. Place the cable harness in the cable holder.
6. Plug connector X1 into the milling chamber lighting.
7. Connect reed contact connector X5.
8. Plug connectors GX1, BX1 and MX1 into the respective distribution
board.
9. Fasten the cables with cable ties.
10. Install the DC motors (see chapter "Replacing the DC motors",
Installation, Installing the motor unit).
Summary of Contents for MyCrown Mill
Page 1: ...j j p j b Service Manual...
Page 15: ...15 Service Manual b Example Total test Total test...
Page 33: ...33 Service Manual b 3 1 Force measurement errors...
Page 34: ...34 MyCrown Mill 3 2 Stepping motor does not move...
Page 35: ...35 Service Manual b 3 3 Spindle motor does not lock...
Page 36: ...36 MyCrown Mill 3 4 Milling chamber door switch...
Page 37: ...37 Service Manual b 3 5 Unit switches off Continued on next page...
Page 38: ...38 MyCrown Mill Continued from previous page...
Page 40: ...40 MyCrown Mill Continued from previous page...
Page 41: ...41 Service Manual b 3 7 Insufficient air pressure...
Page 42: ...42 MyCrown Mill 3 8 Stepping motor cannot be controlled...
Page 43: ...43 Service Manual b 3 9 Faulty water pressure...
Page 44: ...44 MyCrown Mill Continued from previous page...
Page 45: ...45 Service Manual b 3 10 Unit cannot find starting position...
Page 46: ...46 MyCrown Mill 3 11 Unit cannot be turned on...
Page 47: ...47 Service Manual b 3 12 Touch errors...
Page 48: ...48 MyCrown Mill 3 13 Service life of the milling and grinding machine is too short...
Page 49: ...49 Service Manual b 3 14 Milling unit not addressable...
Page 50: ...50 MyCrown Mill 3 15 LAN communication problems Continued on next page...
Page 51: ...51 Service Manual b Continued from previous page...
Page 52: ...52 MyCrown Mill 3 16 WLAN connection occasionally interrupted...
Page 53: ...53 Service Manual b 3 17 WLAN communication problems...
Page 67: ...67 Service Manual b 4 5 Replacing stepping motors Overview of stepping motors...


