It is not necessary to go through the reset procedure if the previous reset options
are to be re-used: see p. 26.
The procedure described here uses the Insight software’s Logger Reset dialog. If
you are less sure of the process, you can instead use the Logger Reset Wizard to
guide you, step-by-step, through this stage of running a profile: click on the
Insight toolbar, or select Tools > Wizards from the menu.
Any data stored in the logger but not yet analyzed must be downloaded before
proceeding, as resetting the logger will permanently erase all data stored in it. If
the reset process is started on a logger which contains data from a previous run
which has not been downloaded, a warning message will show this
(
and the logger-
status red LED will be flashing every 5 s
)
.
1. Use the communications lead supplied to connect the logger to a free USB
port on the PC.
To minimize communications problems: a
)
connect the lead first to the PC and
then to the logger; b
)
always use the same USB port – the one which was first
used to set up communications
(p. 21)
.
The red LED on the logger should flash five times to confirm that the
connection between the communications lead and the logger has been made
(if it does not, see ‘Communications Setup’, p. 21). If the logger is not
already charged, connect the battery charger lead to the logger.
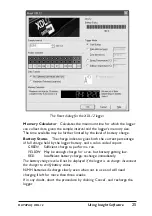
2. Open the Logger Reset dialog (click
on the Insight toolbar, or press
function key F2, or select Logger > Reset from the menu bar) and specify
your reset options.
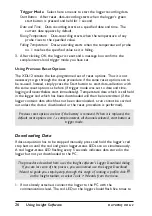
Sample Interval
Set the time which is to elapse between each set
(sample) of data points (one data point for each probe) that the logger will
collect. The shorter the sample interval the better you will be able to
record short-term variations in the temperature regime – but the total
recording time available will be reduced, data will take longer to download
to the PC after a run, and battery life could be shortened so much that it
will not be enough for a particularly long process. For longer processes, a
rule of thumb is to set sample interval at 1 minute per day of operation, e.g.
use 3-minute interval for a 3-day process, 15-s interval for a 6-hour process.
Probes Selected
To exclude them from the temperature profile, click
on the relevant buttons to deselect those probes which will not be used.
The thermocouple type of each probe and its socket color are shown.
Probe
1 must always be one of those selected
.
Telemetry
Select ‘No Telemetry’.
24
Using Insight Software
DATAPAQ XDL12


