


3.3
How to create .g file?
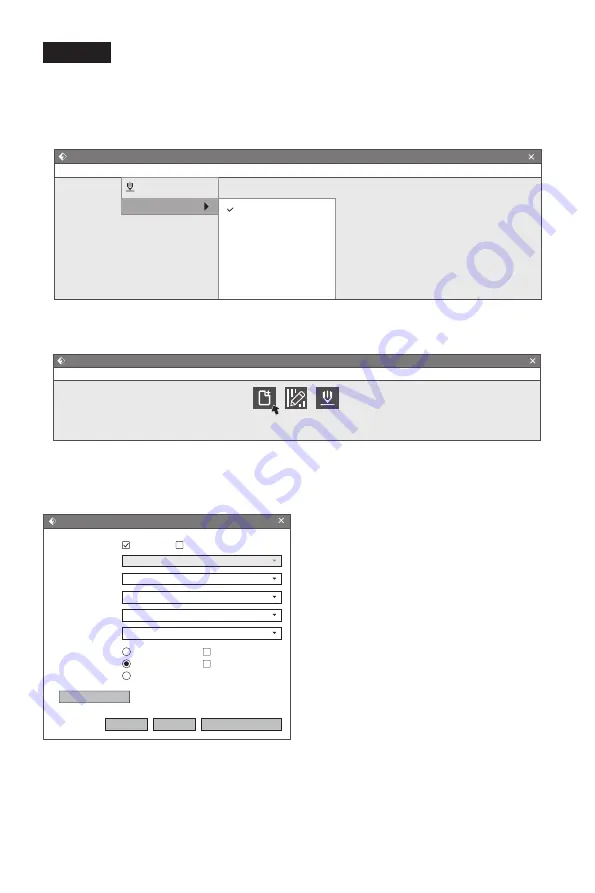
1.Click [Print]-[Machine Type] to select FlashForge Creator Pro 2.
2.Click the [Load] icon to load a .stl model file and the object will display on the build
area.
3.Click [Print] and enter the setting window. Click [Ok] and save the .g file to SD card.
Insert the SD card to the machine and start to print.
Preview:
Check the function recommend.
Machine Type:
FlashForge Creator Pro 2.
Materials:
Choose the targeted materials.
Supports:
You are suggested to select
[Enable].
Raft:
You are suggested to select [Enable].
Resolution:
You are suggested to select
[Standard].
More Options:
You are suggested to keep
them default.
Note: default parameter setting is good for
first users.
By default, the left extruder is used as a supporting material extruder, and the right
extruder is a printing extruder. When printing a monochrome model, if the user does
not set it, the right extruder is automatically used as the printing extruder.
I want to:
Machine Type:
Material Right:
Material Left:
Supports:
Raft:
Resolution:
Preview
ABS
More Options >>
Print When Slice Done
OK
Cancel
Save Configuration
ABS
Enable
Enable
FlashForge Creator Pro 2
Low(Faster)
Standard
High(Slower)
Wall
Brim
Flashprint - untitle.fpp
Flie(F) Edit(E) Print(P) View(V)
Machine Type
FlashForge Creator Pro 2
FlashForge Creator Pro
FlashForge Creator 3
FlashForge Dreamer
FlashForge Finder
FlashForge Guider
FlashForge Guider II
Ctrl+P
Tools(T) Help(H)
Flashprint - untitle.fpp
File(F)
Load Supports Print
Edit(E) Print(P) View(V) Tools(T) Help(H)
44


