


2.Saving
After finishing the model edit and adjustment, there are two ways below to save all
models in the scene.
Method 1:
Method 2:
Click [File]-[Save Project] in the menu bar to save the file as a project file with
the “.fpp” suffix, all models in the scene (include support) are independent.
If reloading the files, extruder configuration information and model position
will be the same as the configuration during saving.
Click on [File]-[Save As...] to save the model as project file .fpp or .stl and .obj.
For .stl and .boj, models are integrated as one (include support part). If load
it again, only the position of the model was saved, not included the printing
parameters.
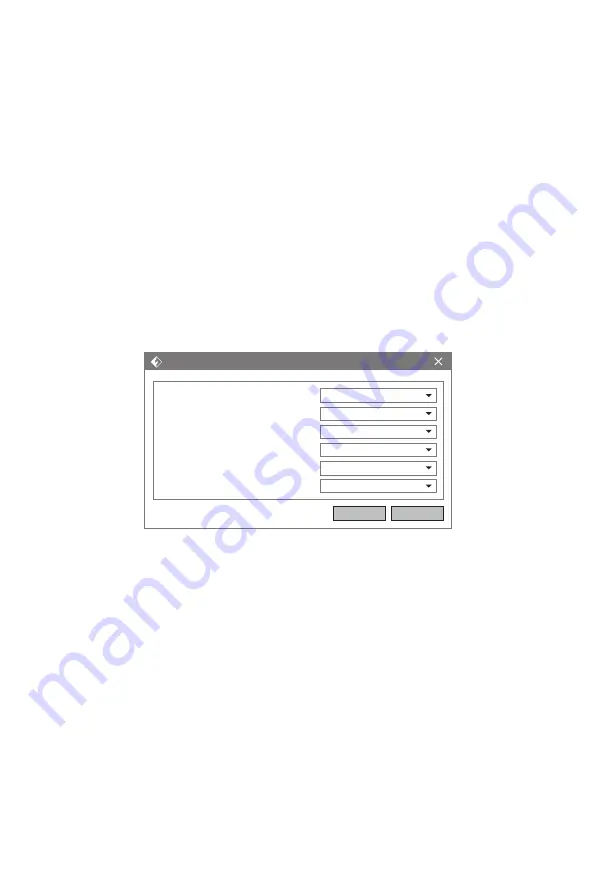
3.Preferences
Click [File]-[Preferences], you can choose language font size and if needs detecting
update when start.
Preference
Basic mode and expert mode. Under the expert mode, there are more available
parameters.
Check for update after start up
Choose [Yes] and automatically detect update version every time when starting the
software. If there is a new version, the user is prompted to updated.
Language:
Font Size:
Auto Layout newly-imported model:
Preferred Extruder:
Printing Window Type:
Check for updates after start up:
Preferences
English
Small
No
Right Extruder
Basic Mode
Yes
OK
Cancel
41


