6
INSTALLATION INSTRUCTIONS
Please read and follow the ‘Safety and warnings’ and ‘Installation instructions’
sections carefully before using your dryer!
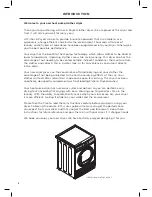
Moving your appliance
If the dryer needs to be placed at an angle for moving, only tip towards the right hand
side (when viewed from the front). If the dryer has not been transported as described,
leave it standing upright for at least one hour before turning on.
Accessories
Please check you received the following accessories with your Fisher & Paykel dryer.
You will find them inside the drum:
●
●
1 x Drying rack
●
●
1 x Drain hose
●
●
1 x Installation instructions and user guide
Unpacking
To ensure the best performance from your new dryer please follow the instructions below.
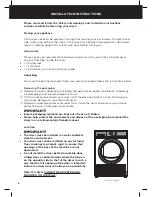
Removing the packaging
1
Remove the outer packaging (including the polystyrene packer and plastic wrapping).
All packaging must be removed prior to use.
2
Tilt the machine backwards and ‘walk’ it off the base one foot at a time. Not doing so
may cause damage to your floor and dryer.
3
Remove all packaging and accessories from inside the drum and ensure you remove
protective covers from door and console.
IMPORTANT!
●
●
Ensure packaging materials are kept out of reach of children.
●
●
Please help protect the environment and dispose of the packaging from around the
dryer in an environmentally friendly manner.
Location
IMPORTANT!
●
●
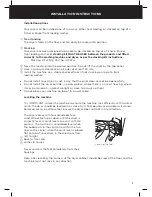
The dryer must be installed in a well-ventilated,
dust-free environment.
●
●
The dryer must not be installed on any textured
floor coverings (eg carpet, rugs) to ensure that
openings at the base of the machine are not
obstructed.
●
●
Do not install the dryer behind a lockable door,
sliding door, or behind a door where the hinge is
on the opposite side to that of the dryer in such a
way that the full opening of the door is inhibited.
Ensure the dryer door can always be opened fully.
Note: this dryer CANNOT BE INVERTED AND
MOUNTED ON THE WALL.
Free standing


