478182
18
Testing the Stator
If the stator needs to be tested we would first recommend testing the resistance of the windings
from the harness end that is connected to the Motor Control Module. (Refer to Section 5.2).
Note: Ensure that the Rotor or basket is stationary when measurements are made.
Testing the stator from the console
The resistance of each individual winding is approximately 19
Ω
, however when testing the stator
from the console we are testing across two windings therefore the resistance should be approx.
39
Ω
+/- 10%.
To test all windings you will need to measure across:
•
Red & Blue
•
Blue & Yellow
•
Yellow & Red
If the meter shows an incorrect reading we would then recommend testing the stator from
underneath the machine, as there could be a fault in the wiring harness. To test the stator, both
rotor and stator need to be removed. (Refer to Sections
10.23and 10.24).
Note: Two clamp plates are used to secure the Stator, one on each side. The four bolts are
tightened to a torque of 44in/Lbs (5Nm). The plastic bolt for securing the Rotor requires a
5/8” (16mm) socket and should be tightened to70 in/lbs (8Nm)
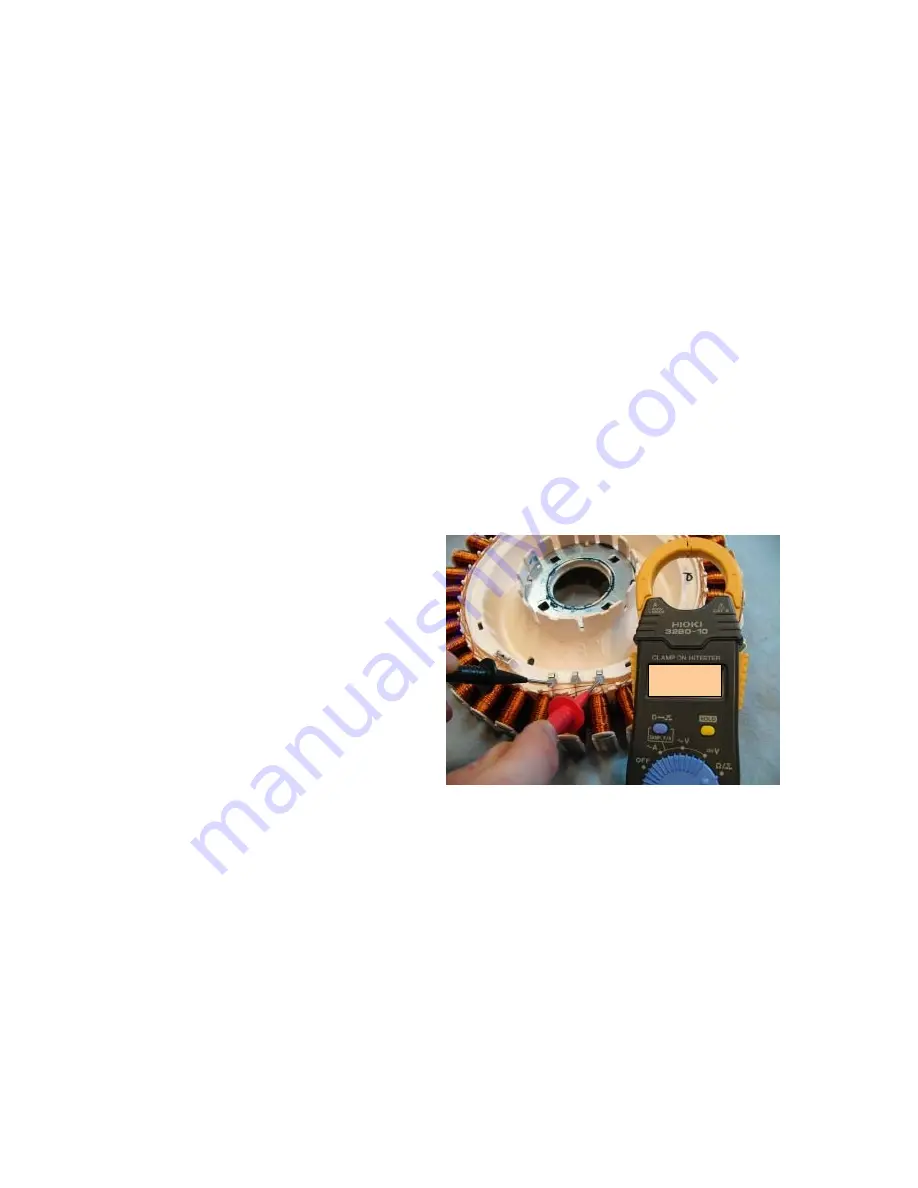
Testing the Stator
After removing the Stator, it can now be tested.
Test points are:
R / B
B / Y
Y / R
The value should be approx. 39
Ω
+/- 10%
across any of the two windings.
4.8.2 Rotor
The rotor is also unique to this series of AquaSmart machines. It has 48 blocks of individual
magnets in a black moulding, as opposed to earlier machines having 16 blocks, containing 3
magnets in a white moulding.
The rotor is not interchangeable with any previous phase or series of machine.
The rotors can physically be interchanged, however electrically they are
incompatible
.
If the black rotor is fitted to earlier machines, fault code 240 will occur. Conversely fault code 240
will also occur if a white rotor is fitted to an AquaSmart machine.
The photographs below show the difference between black and white Rotors.
39.0
Ω


