


PROMPT
VALID ENTRIES
EXPLANATION
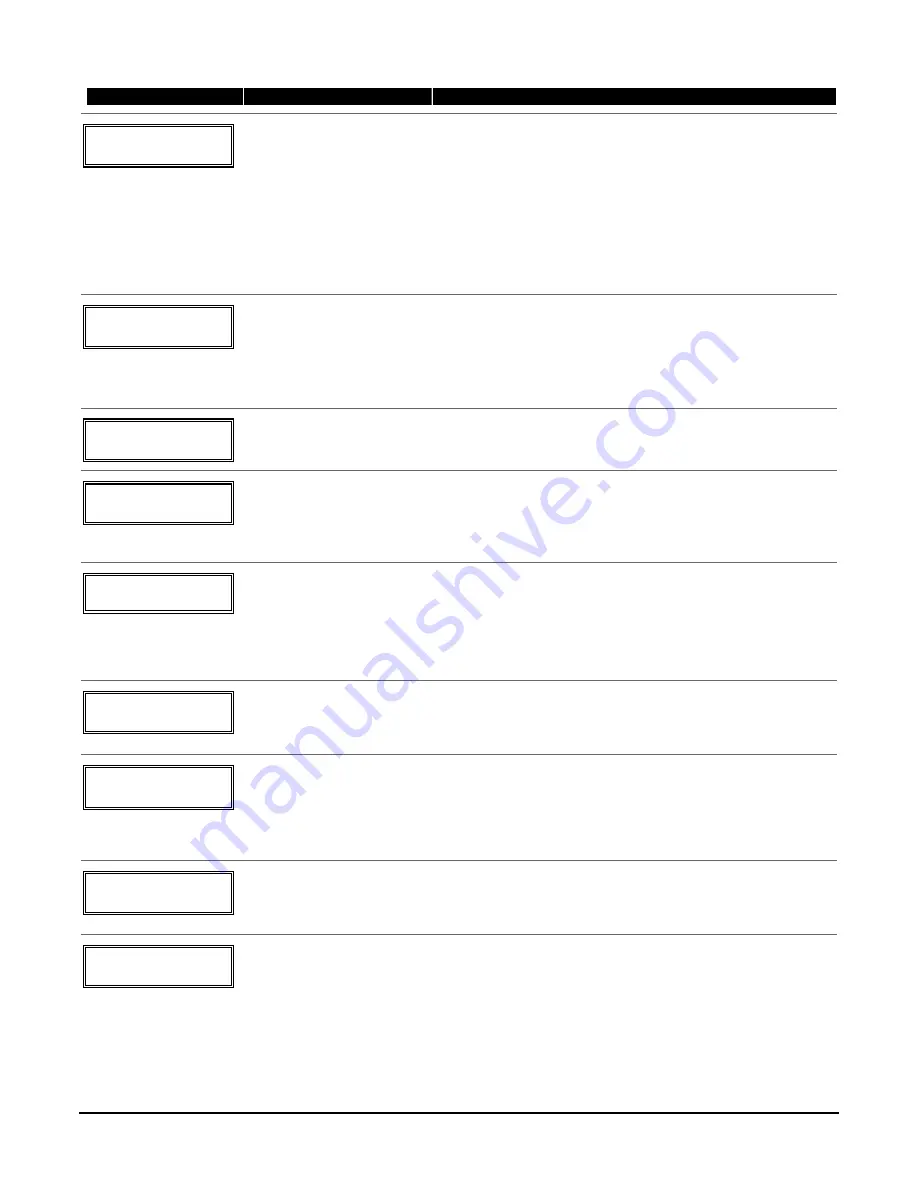
10 INPUT S/N: L
A 0 2 2 - 4 0 6 4 1
Serial number Entry and
Loop Number Entry
see explanation
[
∗
] to continue
Used only when enrolling wireless transmitters.
a. Transmit two open/close sequences. If using a button-type
transmitter, press and release the button twice, but wait about 4
seconds before pressing the button the second time.
OR
b. Manually enter the 7-digit serial number printed on the label of
the transmitter. Then press the [
✱
] key – the cursor will move to
the “L” position. You can edit the loop number, if necessary.
When the loop number is acceptable, press [
✱
].
c. Press key [C] to copy the serial number previously enrolled (used
when programming a transmitter with several input loops).
10 INPUT S/N L
A 0 2 2 - 4 0 6 4 ?
Loop Number Change
[
∗
] to continue
NOTE:
If the [C] key is used to copy the previously enrolled serial
number, the cursor will move to the Loop column (L) with the
previous serial number displayed, and display a highlighted question
mark for the loop number.
Enter the loop number and press [
✱
]. The system will now check for
a duplicate serial/loop number combination.
10 INPUT S/N L
A 0 2 2 - 4 0 6 4 1
Enroll Summary
[
∗
] to continue
If the serial/loop number combination is not a duplicate in the
system, a display showing the serial number and loop number entry
will appear.
XMIT
TO
CONFIRM
PRESS
✱
TO SKIP
Confirmation Option
[
∗
] to continue
This prompt will only appear if you answered “Yes” at the first
prompt in this section.
The system will enter a confirmation mode so that the operation of
the actual programmed input can be confirmed.
Activate the loop input or button that corresponds to this zone.
E n t d A 0 2 2 - 4 0 6 3 1
R c v d A 0 2 2 - 4 0 6 4 1
If Serial or Loop
Numbers do not match
after activating the
transmitter
[
∗
] to continue
If the serial number transmitted does not match the serial number
entered, a display similar to the one shown appears. If the loop
number does not match, it will also be displayed.
If so, activate the loop input or button on the transmitter once again.
If a match is not obtained (i.e., summary display does not appear),
press the [#] key twice and then enter (or transmit) the correct serial
number.
10 INPUT S/N:
L
A 0 0 0 - 0 0 0 0 0
To Delete a Serial No.
enter 0 in loop number field
# = undo deletion
[
∗
] to continue
To delete an existing serial number, enter 0 in the loop number field.
The serial number will change to 0's.
If 0 was entered in error, simply re-enter the loop number or press
[#], and the serial number will return to the display.
Zn ZT RC In: L
10 03 10 RF: 1
s
Summary Screen
[
∗
] to continue
If the serial number transmitted matches the serial number
entered, the keypad will beep 3 times and a summary display
will appear, showing that zone's programming. Note that an
“s” indicates that a transmitter’s serial number has been
enrolled.
Press [
✱
] to accept the zone information and continue.
PROGRAM ALPHA?
0 = NO 1 = YES 0
Alpha Descriptors
0 = no
1 = yes
[
∗
] to continue
If you want to program descriptors for zones now, enter 1 (Yes) and
refer to the Alpha Descriptor Programming section for available
descriptors.
E N T E R Z N N U M.
( 0 0 = Q U I T ) 1 1
Next Zone Number
00 = quit
[
∗
] to continue
If 0 (No) was entered above, the system will return you to the
ENTER ZN NUM. prompt for the next zone.
When all zones have been programmed, enter 00 to quit.
5-3
Summary of Contents for FA148CP Series
Page 20: ...Installation Instructions 2 14...
Page 48: ...Installation Instructions 5 8...
Page 54: ...Installation Instructions 6 6...
Page 58: ...Installation Instructions 8 2...
Page 68: ...11 4...
Page 76: ...Installation Instructions 13 4...
Page 81: ...NOTES 14 5...
Page 82: ...NOTES Installation Instructions 14 6...
Page 83: ...NOTES 14 7...
Page 84: ...NOTES Installation Instructions 14 8...
Page 85: ...NOTES 14 9...
Page 86: ...NOTES Installation Instructions 14 10...
Page 87: ...NOTES 14 11...


