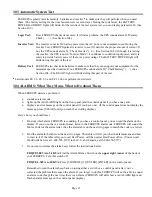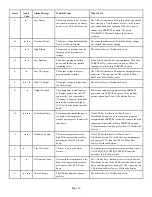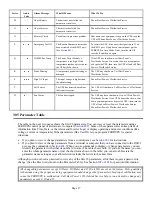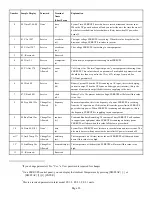
Page 9
6
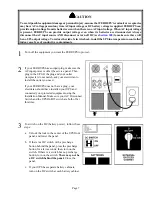
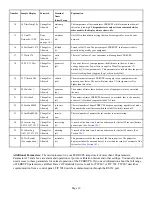
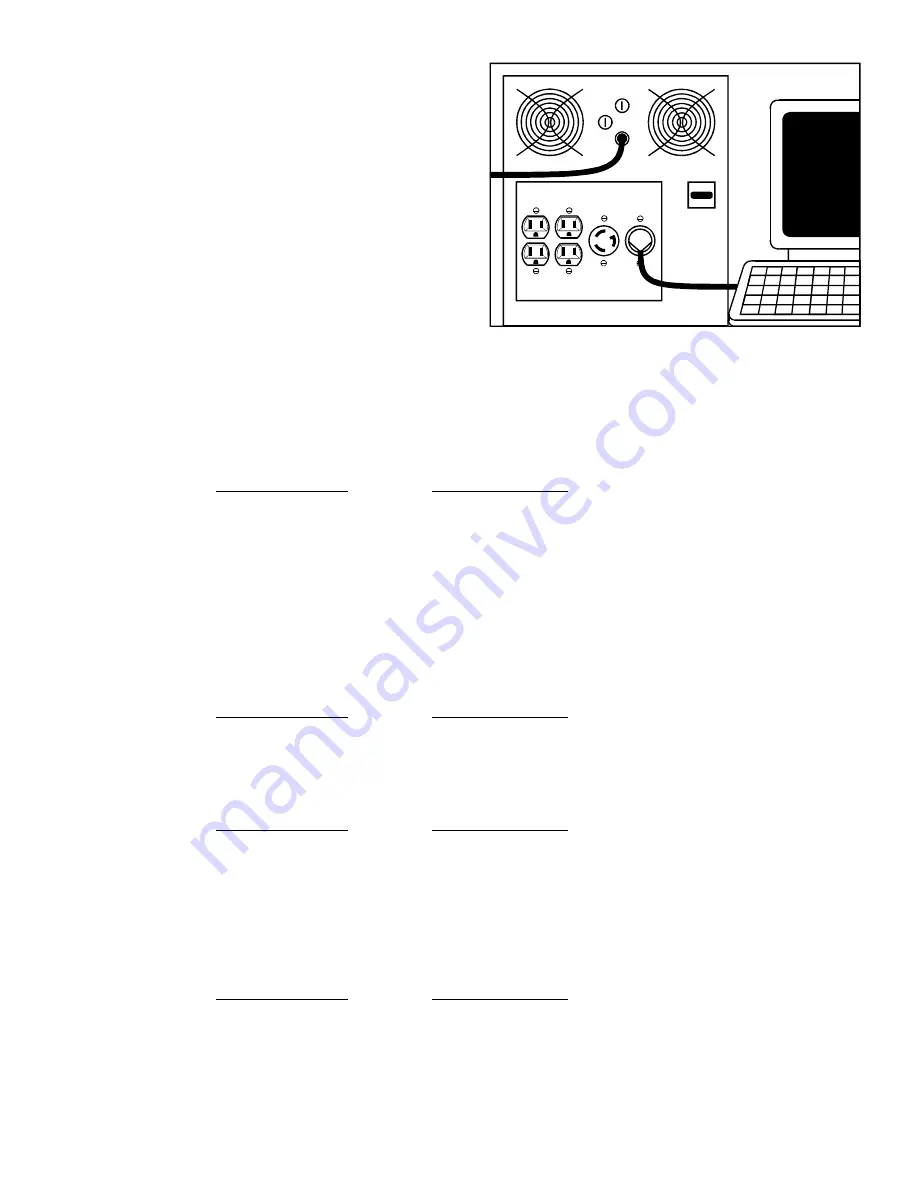
FERRUPS units with receptacles on the back:
Plug the equipment you want to protect into the
FERRUPS’ receptacles. Then, switch on your
equipment. If the red ALARM light comes
on, see
FERRUPS units without receptacles: Switch on
the equipment connected to your FERRUPS. If
the red ALARM light comes on, see
7
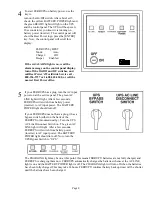
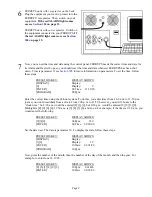
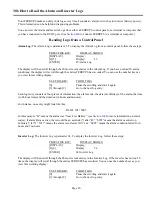
Now, you can set the time and date using the control panel. FERRUPS needs the correct time and date for
its Alarm and Inverter Logs, so you should reset the time and date whenever FERRUPS has been shut
down. Time is parameter 0; see
for more information on parameters. To set the time, follow
these steps:
PRESS THIS KEY:
DISPLAY SHOWS:
[DISPLAY]
Display:
[0]
Display: 0
[ENTER]
00 Time: 11:30:20
[PROGRAM]
00 Pgm:
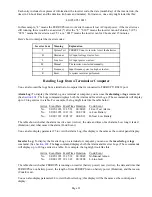
Enter the correct time using the 24-hour system. To do this, you enter times from 1:00 a.m. to 12:59 p.m.
just as you would read them from a clock. From 1:00 p.m. to 11:59, however, you add 12 hours to the
“clock time.” So 8:30 a.m. would be entered [8] [3] [0], but 8:30 p.m. would be entered [2] [0] [3] [0].
Midnight is [0] [0] [0] [0], 12:30 a.m. is [0] [0] [3] [0], and so on. For example, if the time is 9:30 a.m., you
would enter the following:
PRESS THIS KEY:
DISPLAY SHOWS:
[9][3][0]
00 Pgm: 930
[ENTER]
00 Time 09:30:00
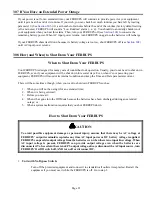
Set the date next. The date is parameter 10. To display the date, follow these steps:
PRESS THIS KEY:
DISPLAY SHOWS:
[DISPLAY]
Display:
[1][0]
Display: 10
[ENTER]
10 Date: 01/01/96
[PROGRAM]
10 Pgm:
Now, press the number of the month, then the number of the day of the month, and then the year. For
example, to enter June 14, 1996:
PRESS THIS KEY:
DISPLAY SHOWS:
[0] [6] [1] [4] [9] [6]
10 Pgm: 061496
[ENTER]
10 Date 06/14/96


