3<B3@>@7A3
2
Configuring a Remote Control Enabled (RCE) Console
In order to create an RCE console, the console must first be created. This is done using the Deep Freeze
Enterprise Configuration Administrator.
Remember that an RCE console is used in place of the Server Service; the two utilities are never used
at the same time. Once the console is created, it should be moved to the machine where it is to be run.
The steps used to create and deploy the console are exactly the same for any console that is created.
To create, configure, deploy, and enable an RCE console, complete the following steps:
1. Open the Deep Freeze Configuration Administrator.
2. On the
Configuration
tab, click the
Miscellaneous
sub-tab.
3. Configure the port settings to match the settings used by the client machines. If the clients are
using port 7725, the console must also be configured for 7725. This is explained in more detail
in the section titled
Ports & Protocols Explained
. For the consoles, it does not matter whether
the LAN or LAN/WAN option is selected.
4. Click the
Create Programs
tab.
5. Click
Create Enterprise Console
to create the
DF6Console.exe
program.
A prompt to save the file appears. By default, the file is saved to
...\Program Files\Faronics\
Deep Freeze 6 Enterprise\Install Programs
.
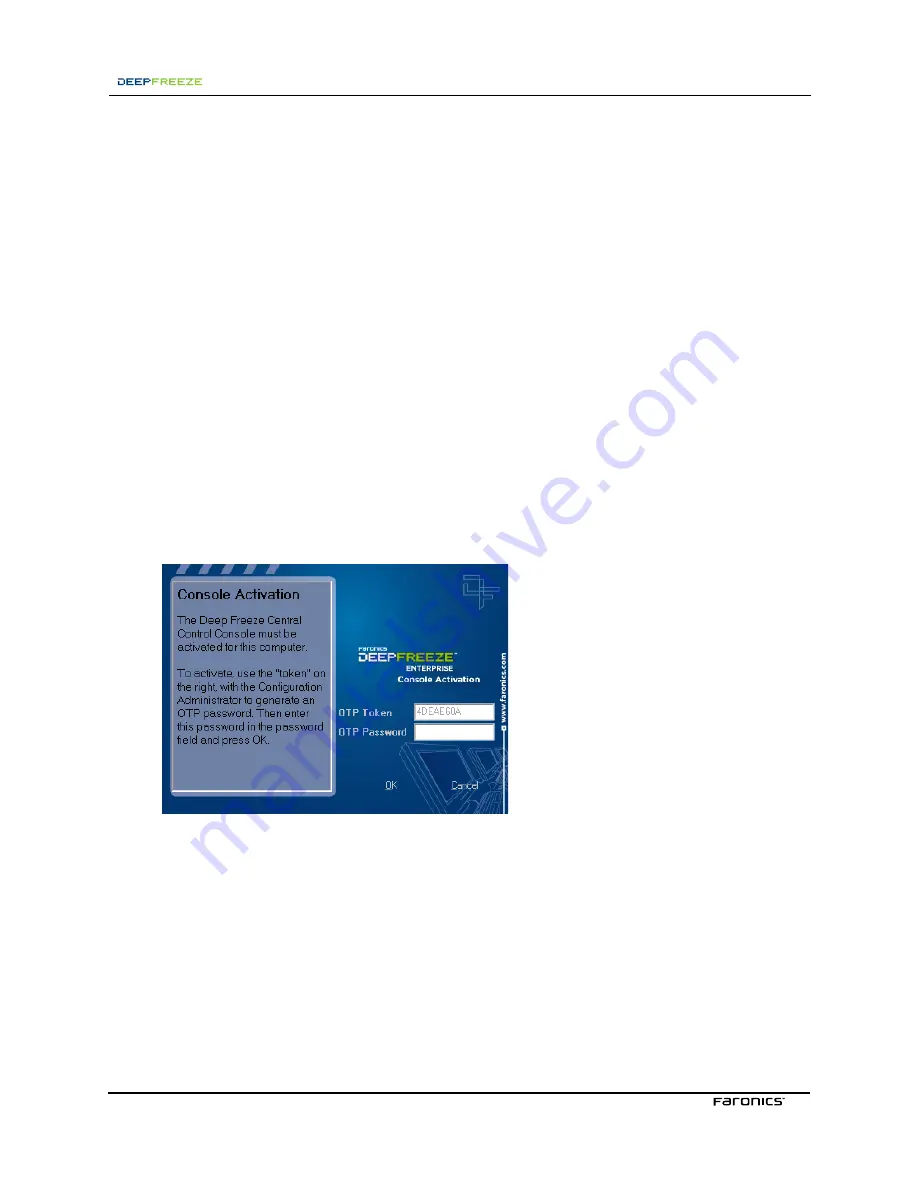
6. Move the console program to the machine where it will be run. When the program is run, a
prompt for a
One Time Password
appears. A token is provided, as shown below.
7. Use the
One Time Passwords
tab in the Configuration Administrator to generate a password.
After entering the password, the console launches.