b)
Automatically: set the “Auto Timeshift”option as “Auto” in PVR/Timeshift menu
( Stop: set “Auto Timeshift”as “Off”) .
3.
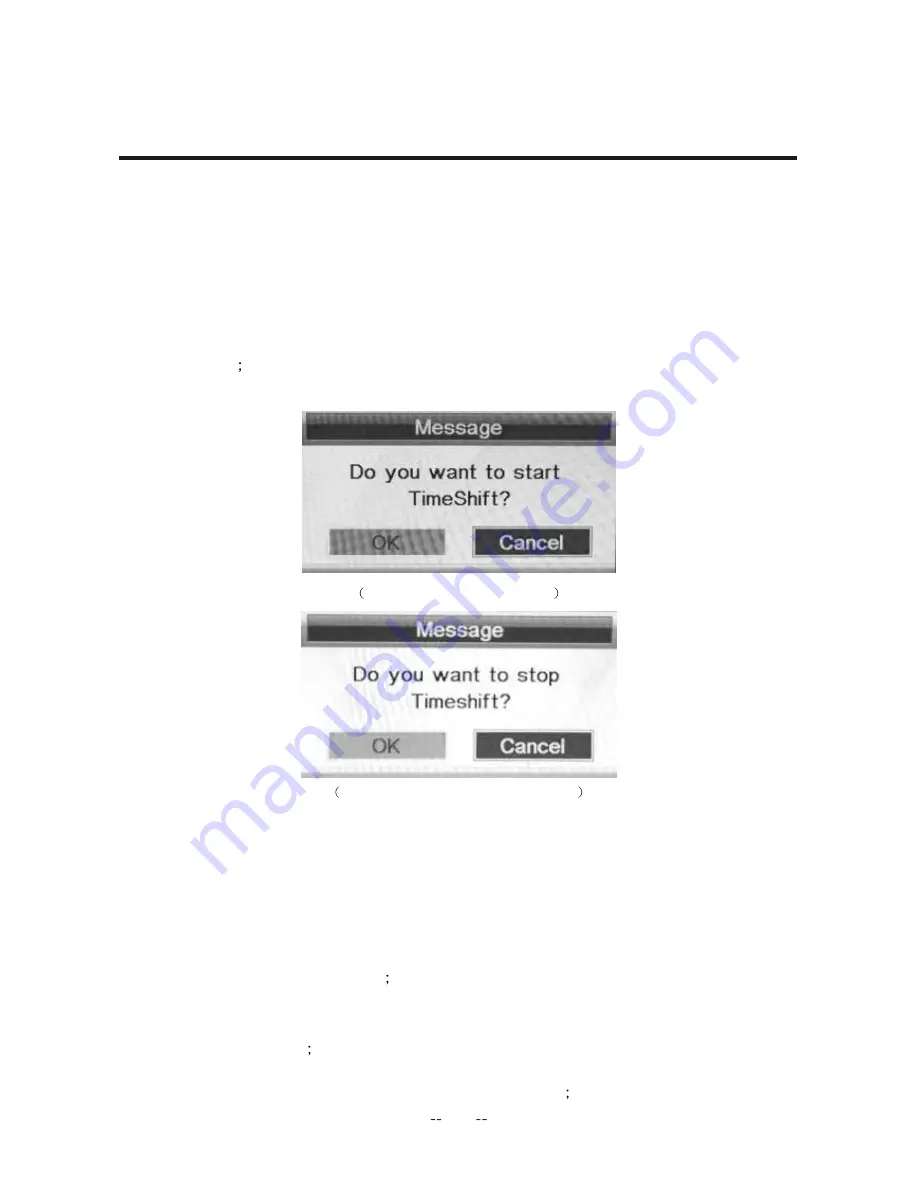
Before Manually Timeshift, there is a message “Do you want to start Timeshift”. After
confirm,If signal is stable, it will check whether the speed of the storage device that the
user inserted is enough for Timeshift. If the speed is not enough, a warning message
will pop up to let the user make decision whether to go on. If timeshift is force to take
place, there may be some pause or mosaic. Otherwise the speed is enough for
Timeshift, it’ll take place under background and users are able to pause or move fast
backward After a pause, users are able to pause or move fast backward;
4.
After Automatically Timeshift, it will take some minutes to initialize, then it take place
automatically;
Timeshift Play start prompt menu
Timeshift Play Info menu and stop prompt
5.
A UI (Timeshift time menu) on the right top corner shows the fallen time between the
current picture and the living broadcasting picture;
6.
During the recoding progress, if the signal is missing, the recording process will take a
pause until the signal is stable again.
1.
The recorded Videos can be played in Record List menu , in Record manage menu or
in Source Media Movie mode
2.
When a video playing, the Info Banner menu shows the length of the video and the
time that the video has been played. Also there is a progress bar indicating the process
of playing the video
3.
A playing video can move fast forward with the speed “x2”,“x4”,“x8”,“x16” or play in
a normal speed by pressing the button “fast forward”
OSD Menu
Play videos and recorded files
REC Playback
45


