


-16-
Configuring Your Scanner
The BT scanner configuration utility provide user with easy configurations of
barcode settings, function settings and operating modes according to user
requirement.
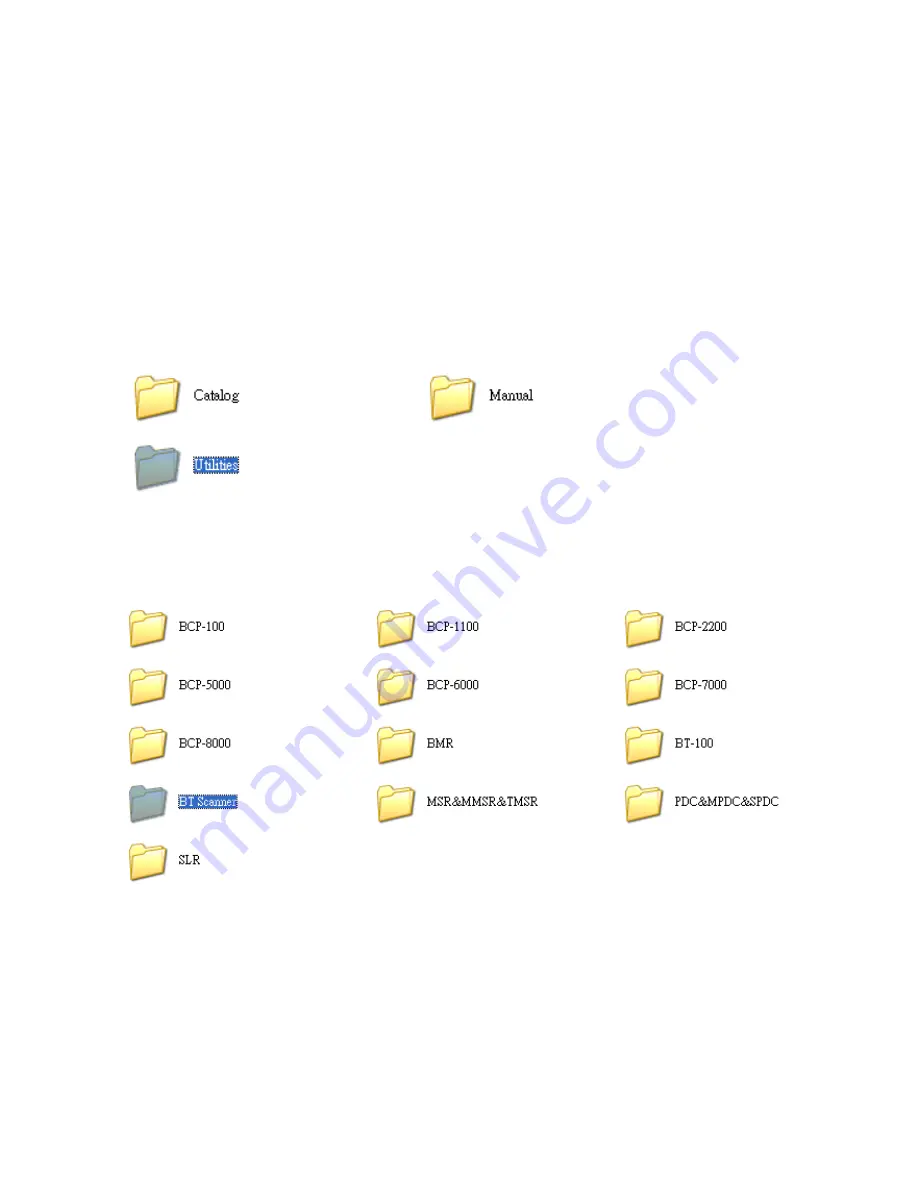
Utility installation
1.
Please browse the CD a
nd select folder “Utility”.
2.
Move the cursor to the folder
“BT Scanner” and double click to access
the sub folders.


