- 12 -
- 13 -
Preparations
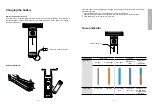
Assembling
Step 1.
↘
Align the marks of the optical lens and control unit.
Mark on the
optical lens
Mark on the control unit
Step 2.
→
Hold the optical lens and attach it to
the control unit. Rotate and fasten the
optical lens in a clockwise direction.
You will hear a click when the lens locks
into the control unit.
Step 3.
←
Turn on the power (
optical lens and control unit are
assembled correctly, the information
icons will appear on the top of LCD touch
panel. The screen will turn on, and then the blue light of the
power indicator (
Step 4.
→
To unlock the optical lens,
press the lens lock and then
rotate the optical lens in a
counterclockwise direction.
Then the optical lens will be
unfastened.
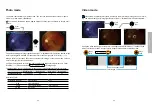
Using the Setup mode
Turn on the power
To turn on the system, press the power button (
) to turn on the control unit. Approxi
-
mately one to two seconds later, the boot screen will appear on the LCD panel.
Once the LCD panel shows the live image, it takes about 10 seconds for the on-screen display
(OSD) to be superimposed.
→ 10 seconds →
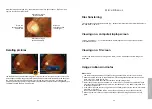
Enter the Setup mode
Using the [Setup] menu
It is recommended that all setting items are set according to user’s requirements for
first-time use.
Bring up the [Setup] menu
Touch the photo icon and then touch the setup icon.


