An EyeLink 1000 Plus Tutorial: Running an Experiment
©
2013-2017 SR Research Ltd.
57
software by drawing appropriate graphics on the Display PC. The advantage of
the Display PC based control is that it allows the operator to work near the
participant, or for self-setup. We will perform most of the EyeLink 1000 Plus
setup by using the Host PC keyboard.
3.1 The Camera Setup Screen
The first step in an eye-tracking session is to set up the participant and eye
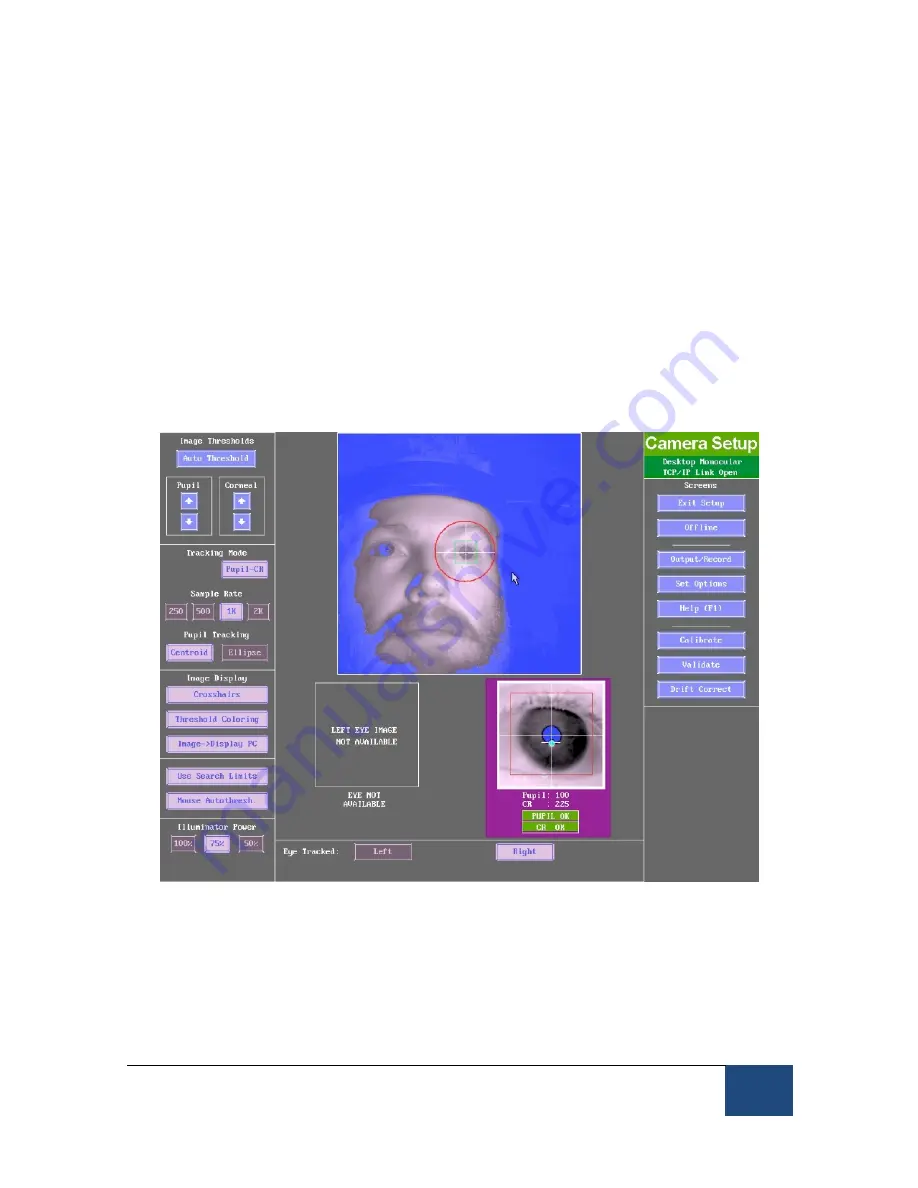
tracker. Begin by navigating to the Camera Setup screen. You will see camera-
image windows in the middle of the display, a global view of the tracked eye on
the top and zoomed view(s) at the bottom. Navigation buttons to access other
Tracker screens are on the right, while selection buttons for tracking mode and
other functions are on the left of the screen.
Figure 3-1: Example Camera Setup Screen (Desktop Mount).
Throughout the EyeLink 1000 Plus Host
software, you can use the Host PC
mouse to select options and navigate throughout the tracker screen. Almost
every button has an equivalent keyboard shortcut. The key shortcut mappings
available for the currently displayed screen can be accessed via the Help
button, or by pressing F1.


