Table 5: C5215 Box Contents (continued)
Quantity
Item
1
Rack mounting kit
1
Front panel bezel
Note
The power cord needs to be purchased separately for the respective deployment country.
They can be ordered at
http://www.extremenetworks.com/product/powercords/
2 Perform a visual inspection of the controller for any signs of physical damage. Contact Extreme
Networks if there are any signs of damage.
Connecting to a Power Source
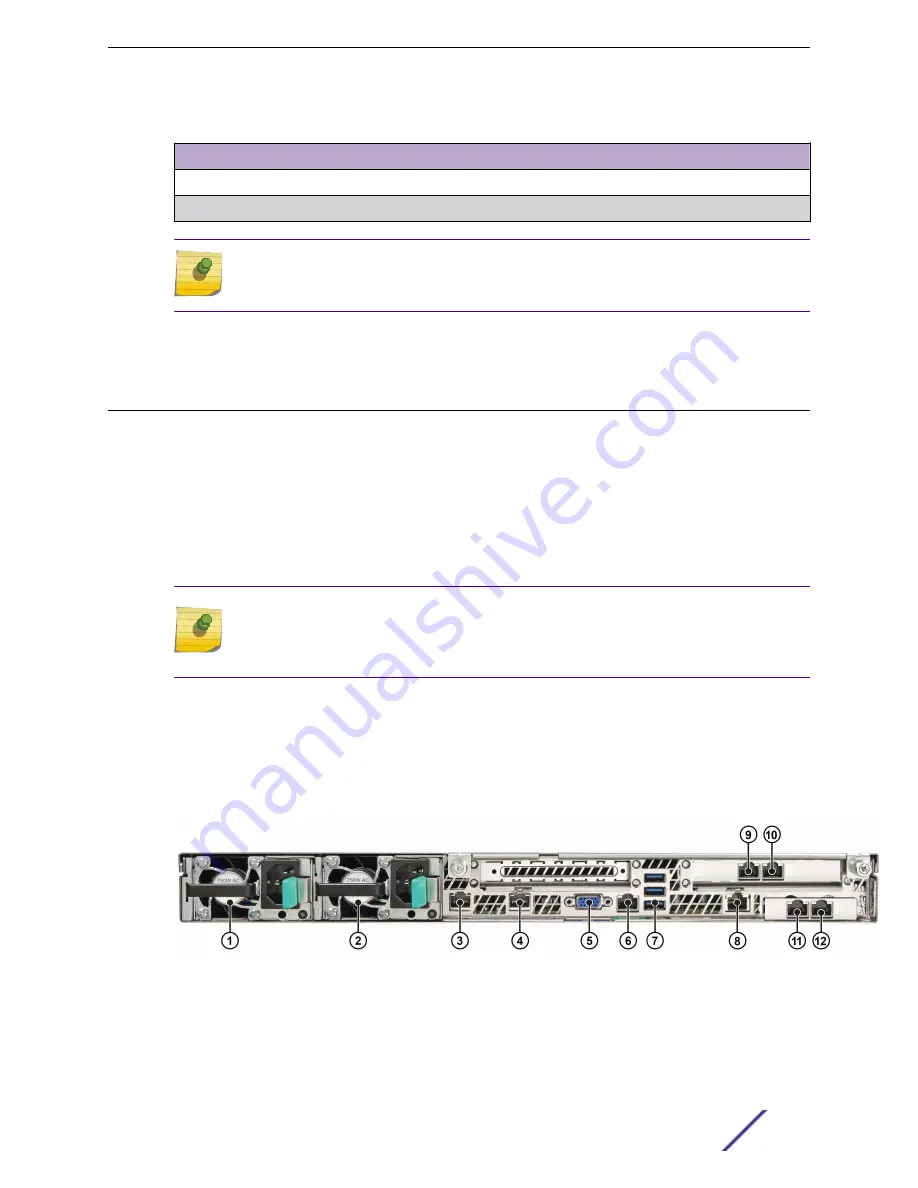
Refer to the image in this procedure for the back panel features.
1 Optionally, attach the power cord bracket and nylon cable clamp tie:
a Using the two nuts shipped with the bracket, attach the bracket to the chassis tab to the right of
power supply 2.
b Push the arrowhead end of the cable clamp tie into the hole in the bracket to anchor the tie.
2 Connect the two AC power cables to power supplies 1 and 2. These two power supplies combine to
create a redundant power supply.
Note
The unit comes with only one power supply. Users have the option to purchase an optional
power supply and a cable. Using the optional power supply, the user can create a
redundant power supply.
3 Optionally, wrap the cable clamp tie around the power cables and fasten the end of the tie under the
hook at the head of the tie.
4 Plug the other end of the cables into grounded electrical outlets or to separate power sources such
as an uninterrupted power supply (UPS) or a power distribution unit (PDU).
5 Power on the appliance. The power button is on the front control panel as shown in
and
Figure 1: C5215 Back Panel Layout
Installation Process
ExtremeWireless™ Appliance C5215 Installation Guide
9


