97
succeeded.
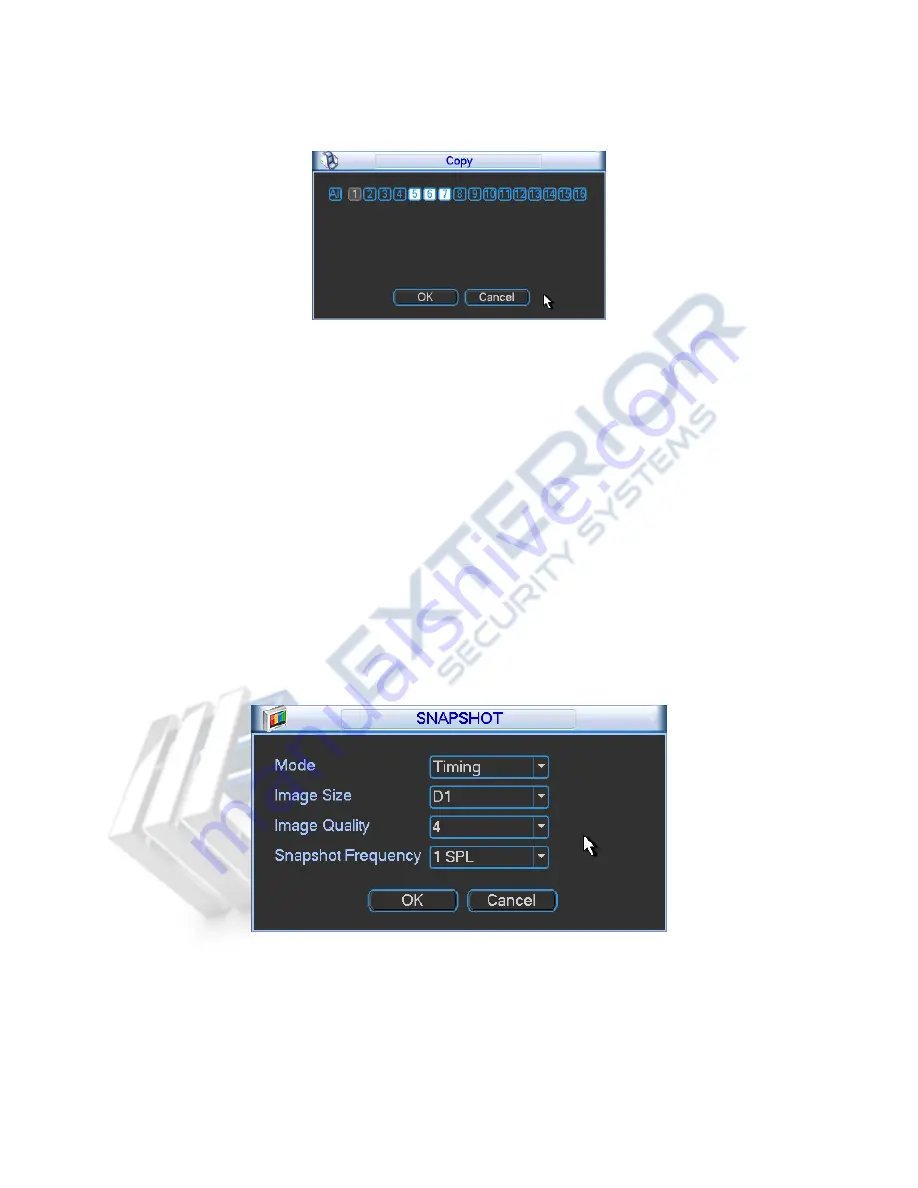
Please note, if you select ALL in Figure 5-37, the record setup of all channels are the same and
the Copy button becomes hidden.
Figure 5-37
Click OK button to save current setup.
5.6.3
Schedule Record/Snapshot
5.6.3.1 Schedule Record
From Main menu->Setting->Schedule, go to the Schedule interface. See Figure 5-36.
Select record channel, period, and record type is general. Please refer to chapter 5.6.2.
Click Copy to copy current setup to other channel(s).
Click OK button.
5.6.3.2 Schedule Snapshot
From Main menu->Setting->Encode, you can go to encode interface. See Figure 5-33.
Select the snapshot channel from the dropdown list and then click Snapshot button. See Figure
5-38.
Select snapshot mode as Timing (Schedule) from the dropdown list and then set picture size,
quality and snapshot frequency.
Figure 5-38
From Main menu->Setting->Schedule, you can see Figure 5-36.
Select snapshot channel and enable snapshot function. Set snapshot period.
Click OK button.
Note
Please note the activation snapshot has the higher priority than schedule snapshot. If you have
Summary of Contents for NVR21 Series
Page 1: ...Network Video Recorder User s Manual V 3 5 0...
Page 167: ...155 Figure 5 120...
Page 196: ...184 Figure 7 35 Figure 7 36 Figure 7 37...
Page 210: ...198 Figure 7 60 Figure 7 61...
Page 211: ...199 Figure 7 62 Figure 7 63...
Page 222: ...210 Figure 7 81 Figure 7 82 Please refer to the following sheet for detailed information...


