


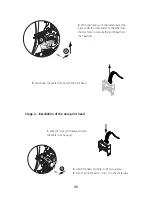


4.
Close the cover of the printer. The print head is
now installed.
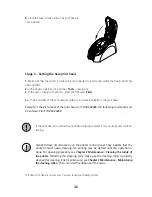
Stage 3 – Setting the new print head
1.
Make sure that the printer is turned on and connected to a computer where the Dualys driver has
been installed.
2.
In the driver properties, click on the «
Tools
» dialog box.
3.
In the part « Dialog with printer » enter the following:
Pkn;x
x =
the kit number of the print head recorded on a transparent label on the print head
Example: if the kit number of the print head is: 179-004-00048, the following command must
be entered: Pkn;179-004-00048
If the print head kit number has not been correctly entered, it may cause printer malfunc-
tioning.
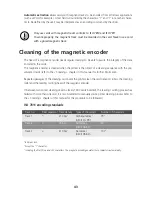
Two LEDs flash simultaneously on the printer control panel. They indicate that the
printer interior needs cleaning. No printing may be started until this operation is
done. For cleaning procedure, see
Chapter 3 Maintenance - Cleaning the inside of
the printer
. Following this cleaning cycle, make sure the cleaning roller is properly
cleaned (for cleaning roller maintenance, see
Chapter 3 Maintenance – Maintaining
the cleaning roller
). Then, reinstall the ribbon and the cards.
The new print head is now set up. You can reuse your Dualys printer.
36


